Click here to jump straight to the recipe.
My first sewing project was a mask, started in about June or July. I followed a pattern which resulted in a rounded, face-shaped mask. This worked pretty well, but there was one outstanding problem: it was super frickin ugly lmao
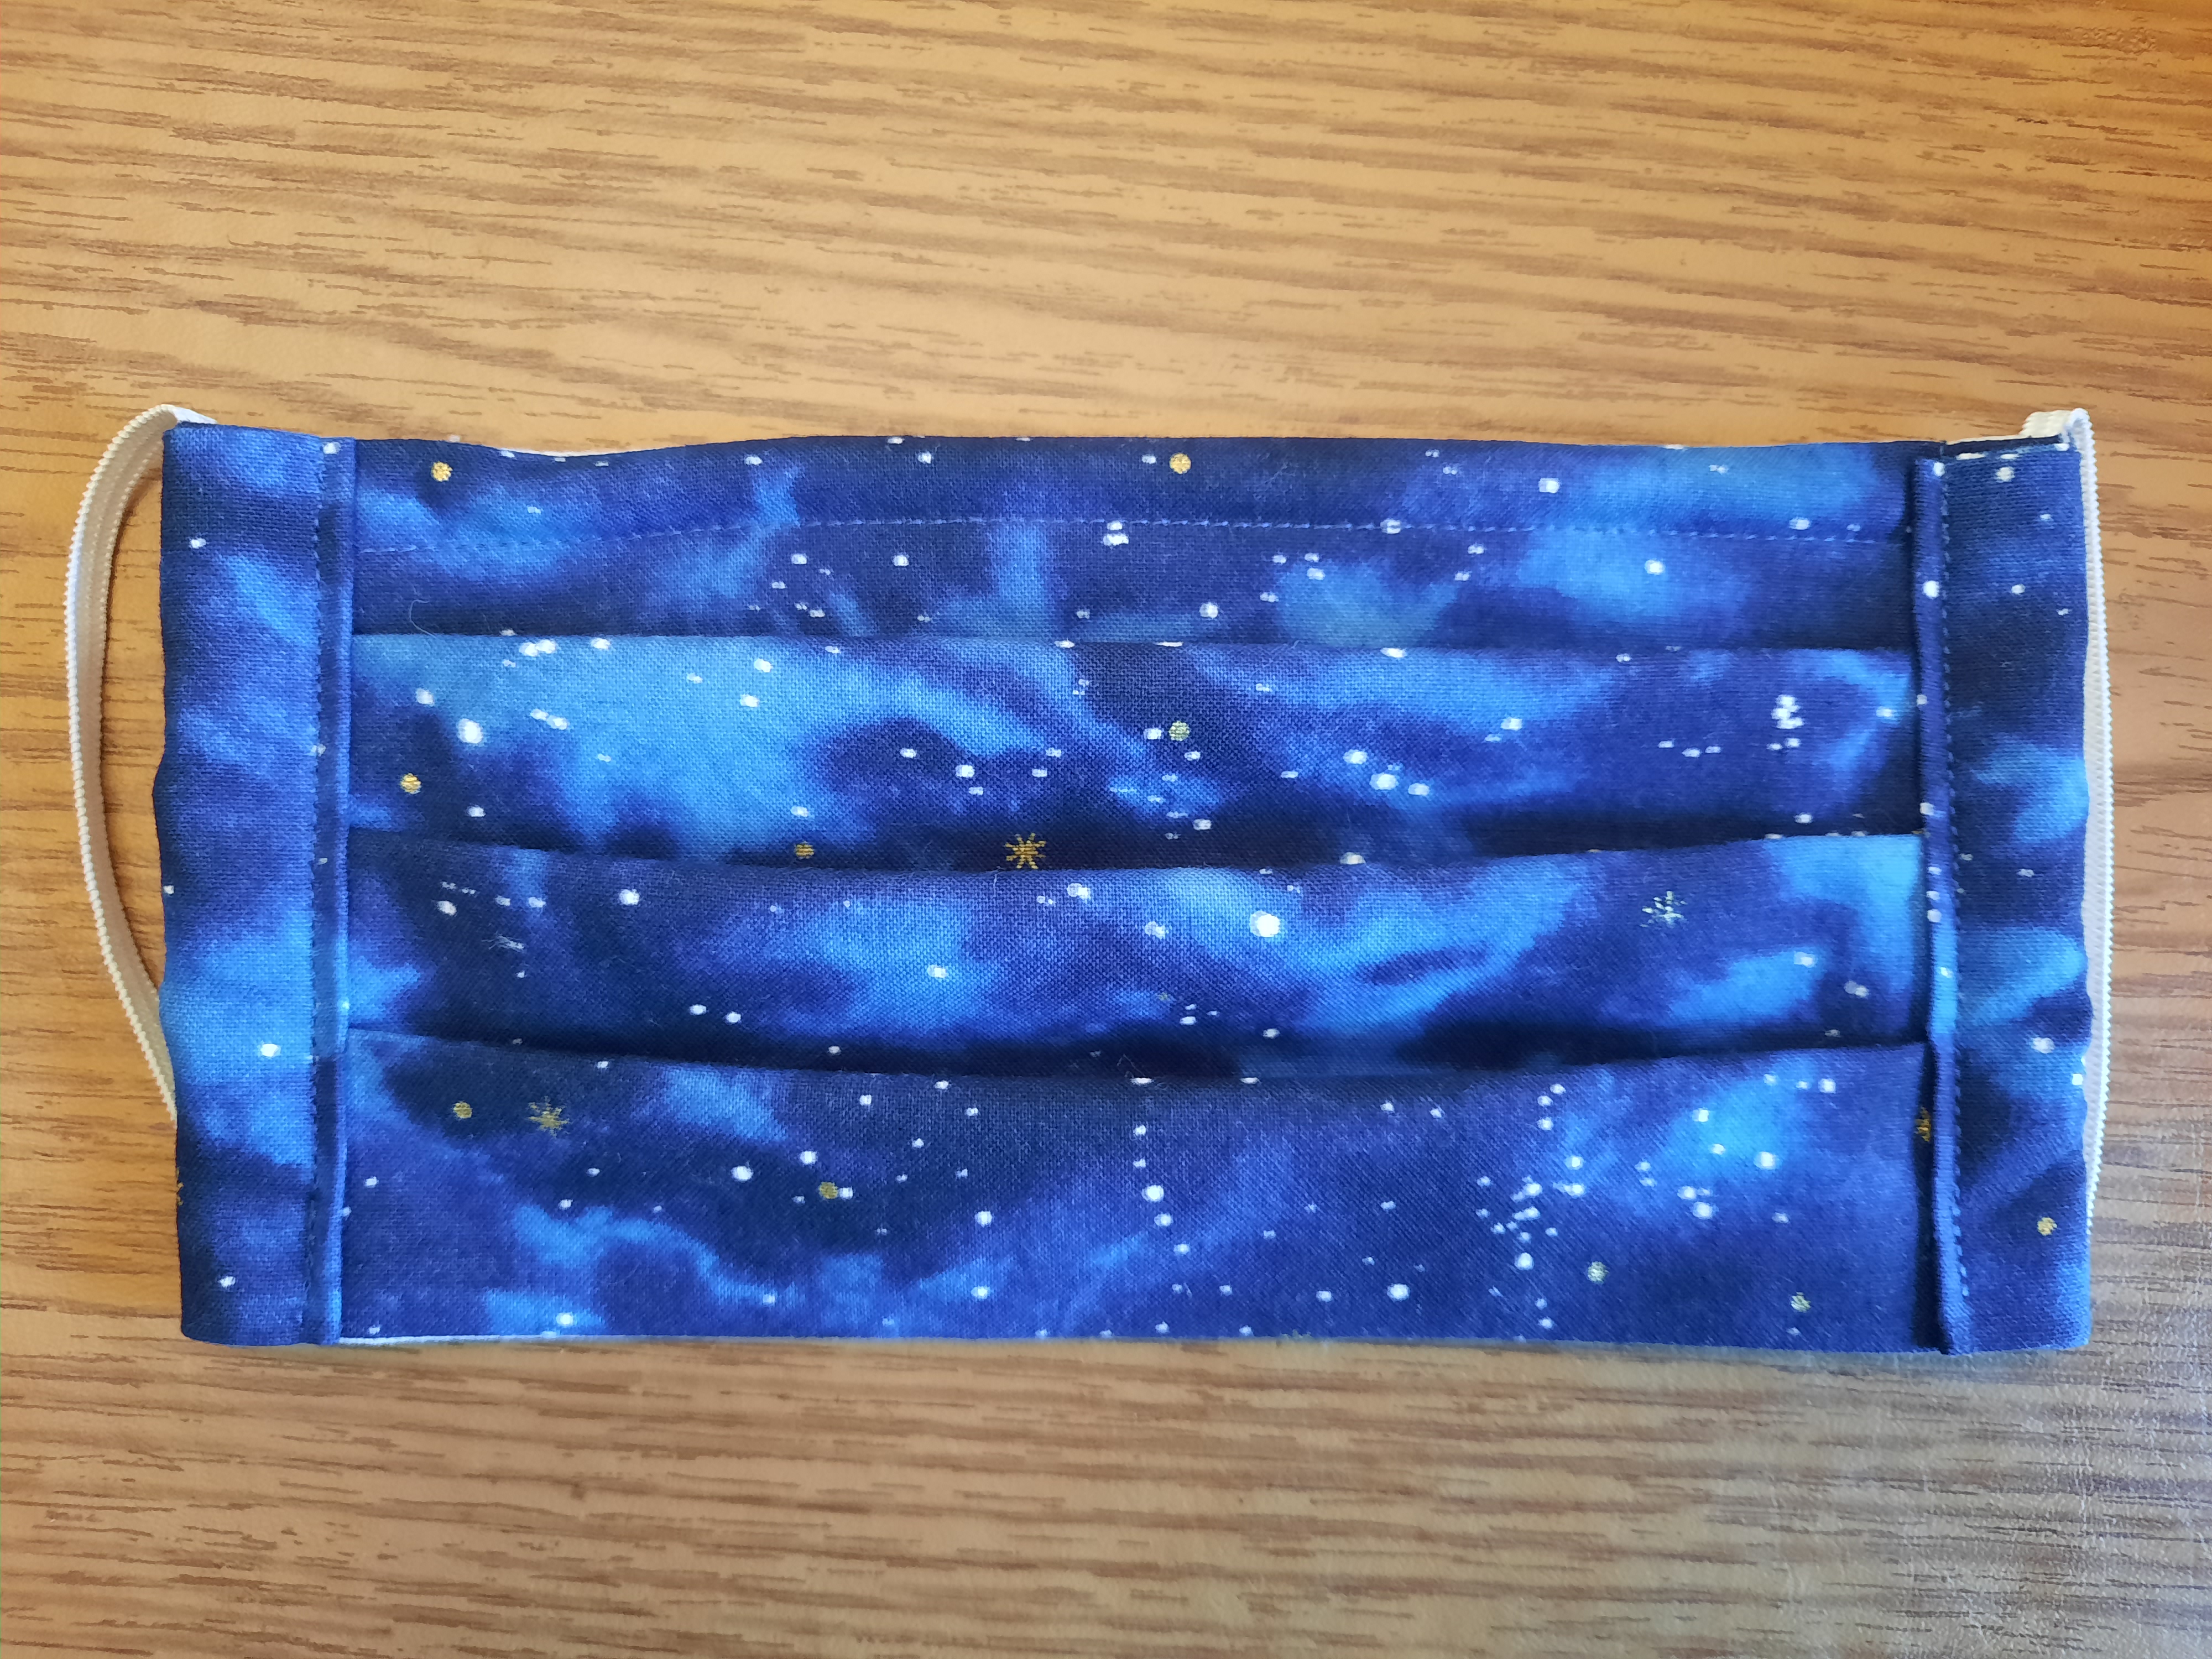
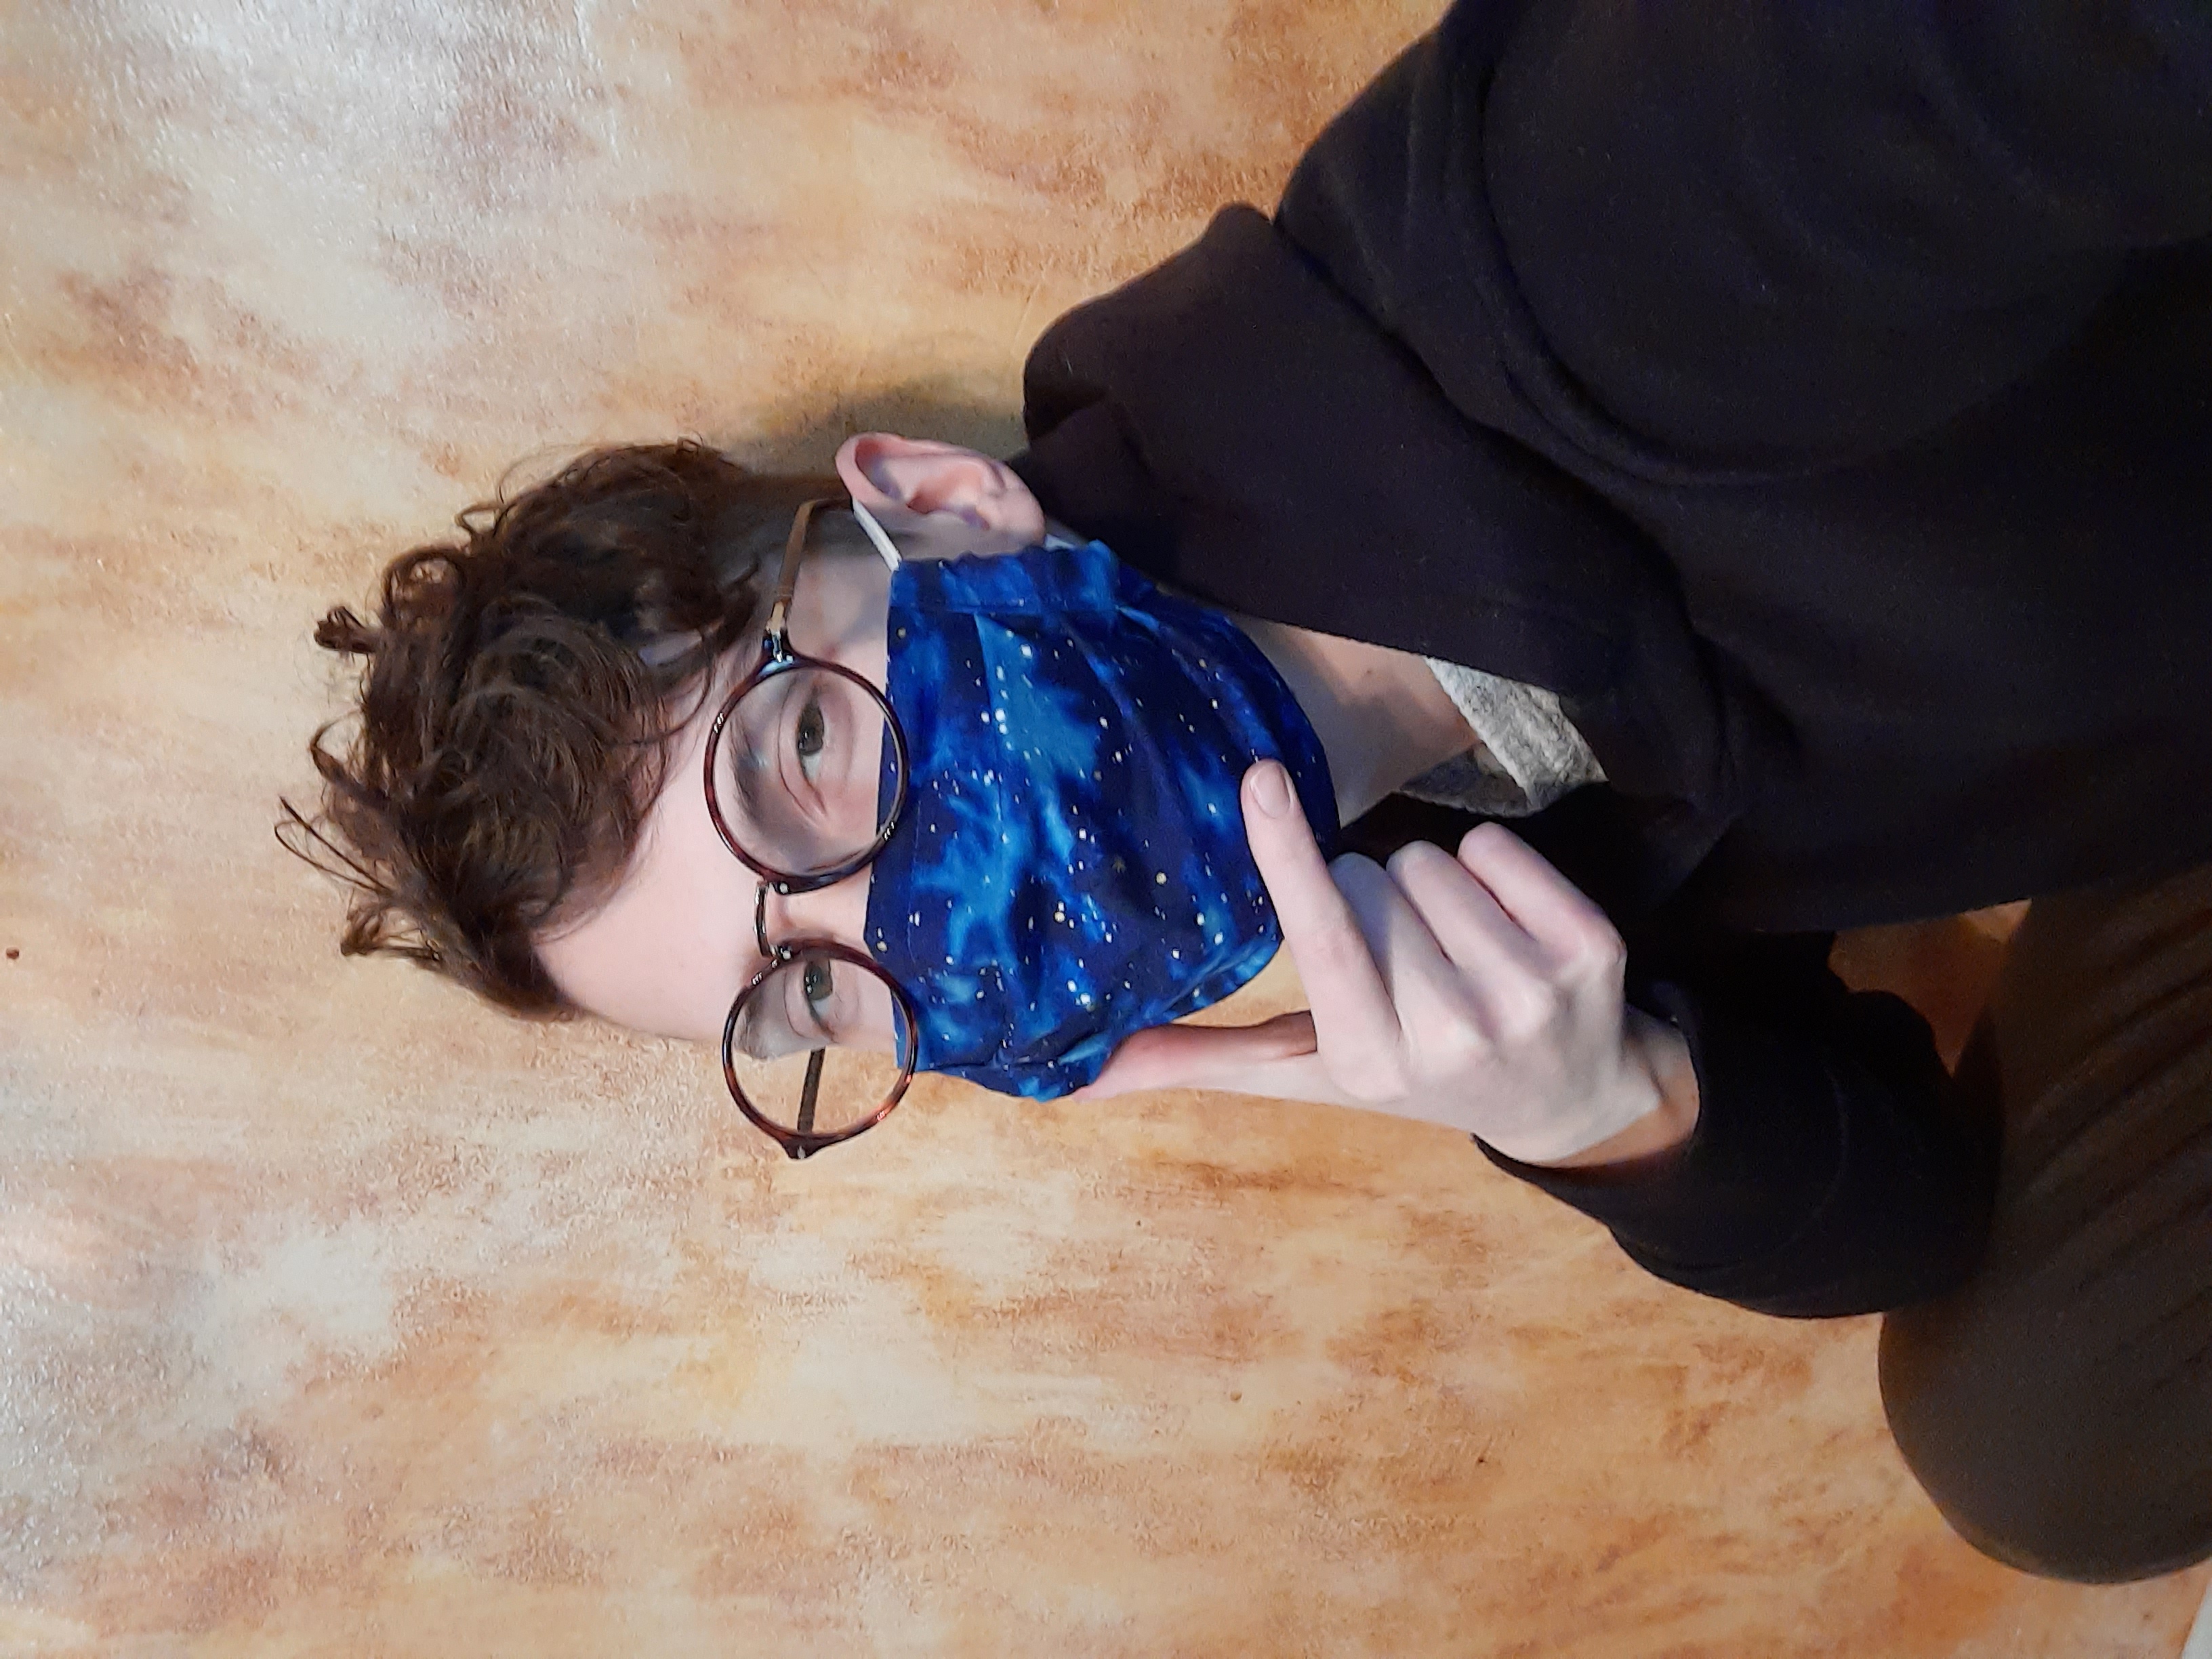
This led me to seek out this pattern, because I wanted a surgical mask lookin one. And it worked great! I've made several and they've enjoyed critical acclaim.

This pattern recipe is adapted from the one by Little Stitch Studio, and is aimed at people who have never sewn a mask before, because that's who I was when I first started making masks. I'm going to use the jargon of the trade to be as precise as possible. Here's a glossary of terms:
- Bias or bias tape - an extra bit of fabric to cover up rough edges that would otherwise show through.
- Pin - stick a pin through all layers of the project to temporarily hold it together. You want to pin down through all layers, then pin back up through all layers, so that the pointy end and the safe end are on the same side of the fabric.
- Press - use an iron on the project to flatten it down.
- Right side - the outward-facing side of the fabric; the side with the design printed on it that you want to show on the outside.
- Seam allowance - the space between a line of stitches and the edge of the fabric.
- Topstitch - a line of stitches made directly on the right side of the fabric.
- Turn - turn the project inside-out.
- Wrong side - the inward-facing side of the fabric; the opposite of the right side.
Don't trust me to tell you whether these masks work or not - in the list below you can find information about the efficacy of 100% cotton cloth facemasks from sources I find to be reputable. Do give them a quick read.
- Considerations for Wearing Masks (CDC)
- Performance of fabrics for home-made masks against the spread of COVID-19 through droplets: A quantitative mechanistic study (ScienceDirect)
- Aerosol filtration efficiency of common fabrics used in respiratory cloth masks (ACS Publications)*
*This document is a bit dated (April 2020), but it includes a lot of great visuals. Be sure to read the linked corrections.
The recipe
Ingredients
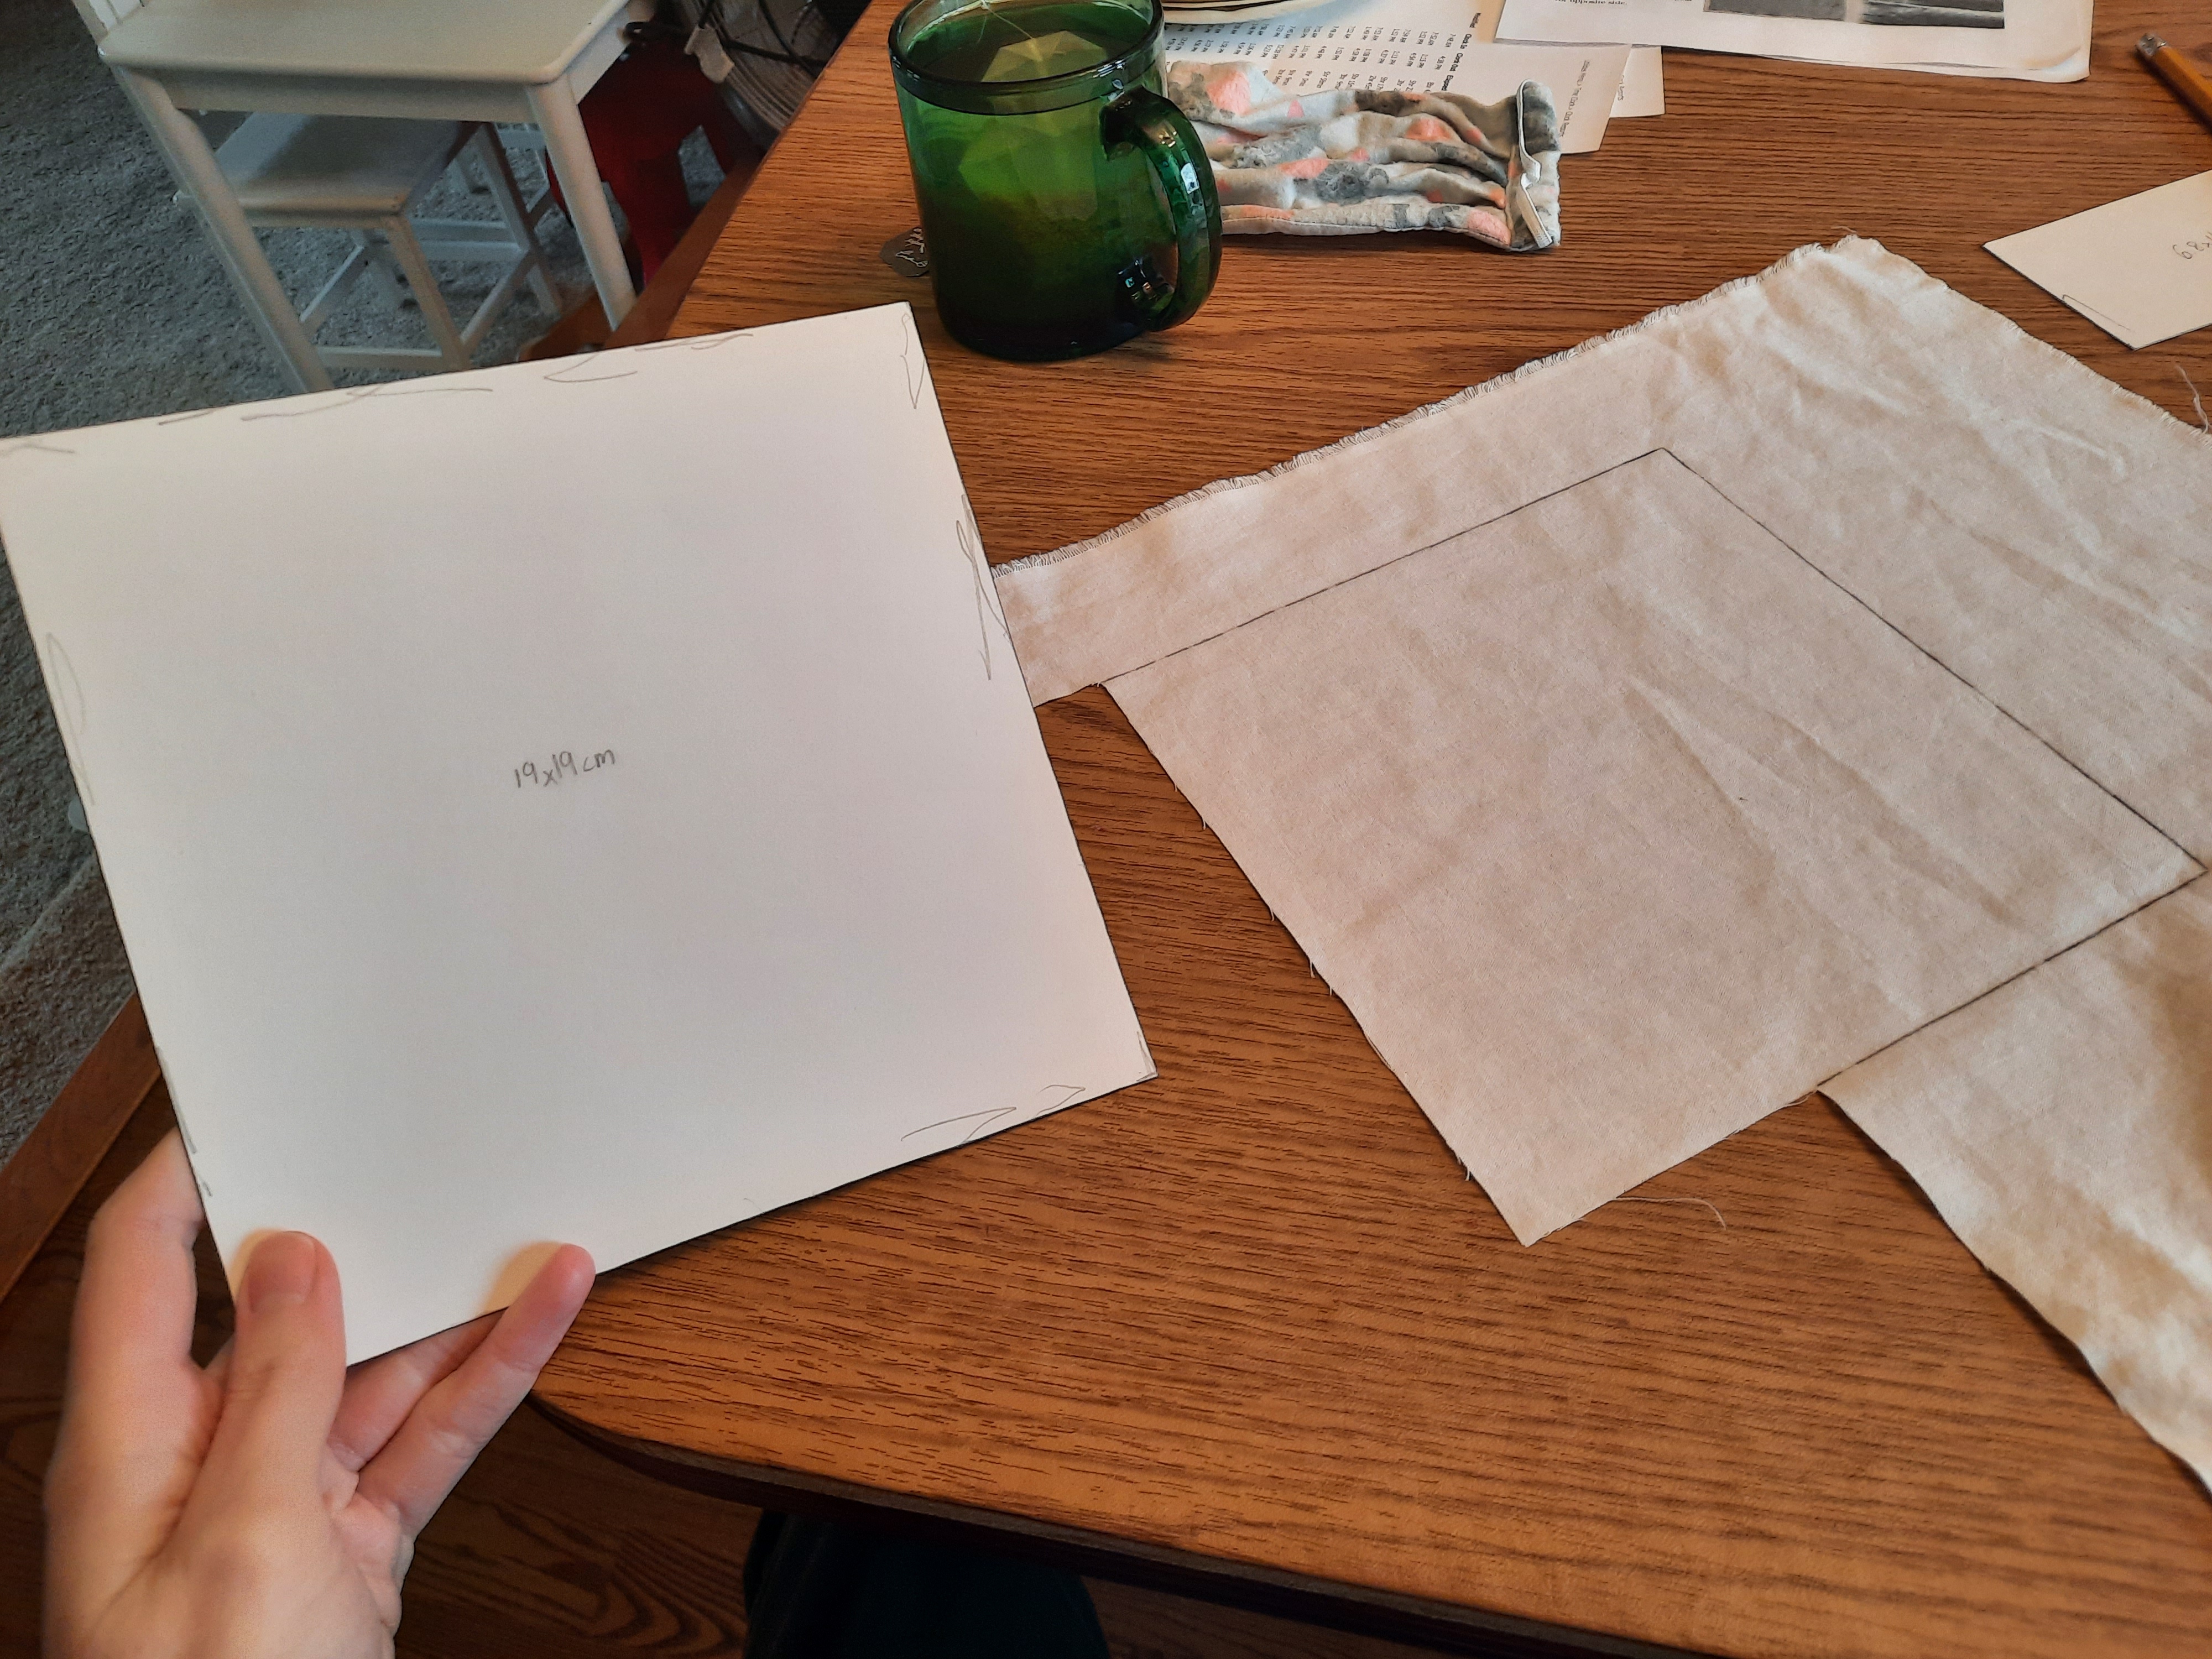
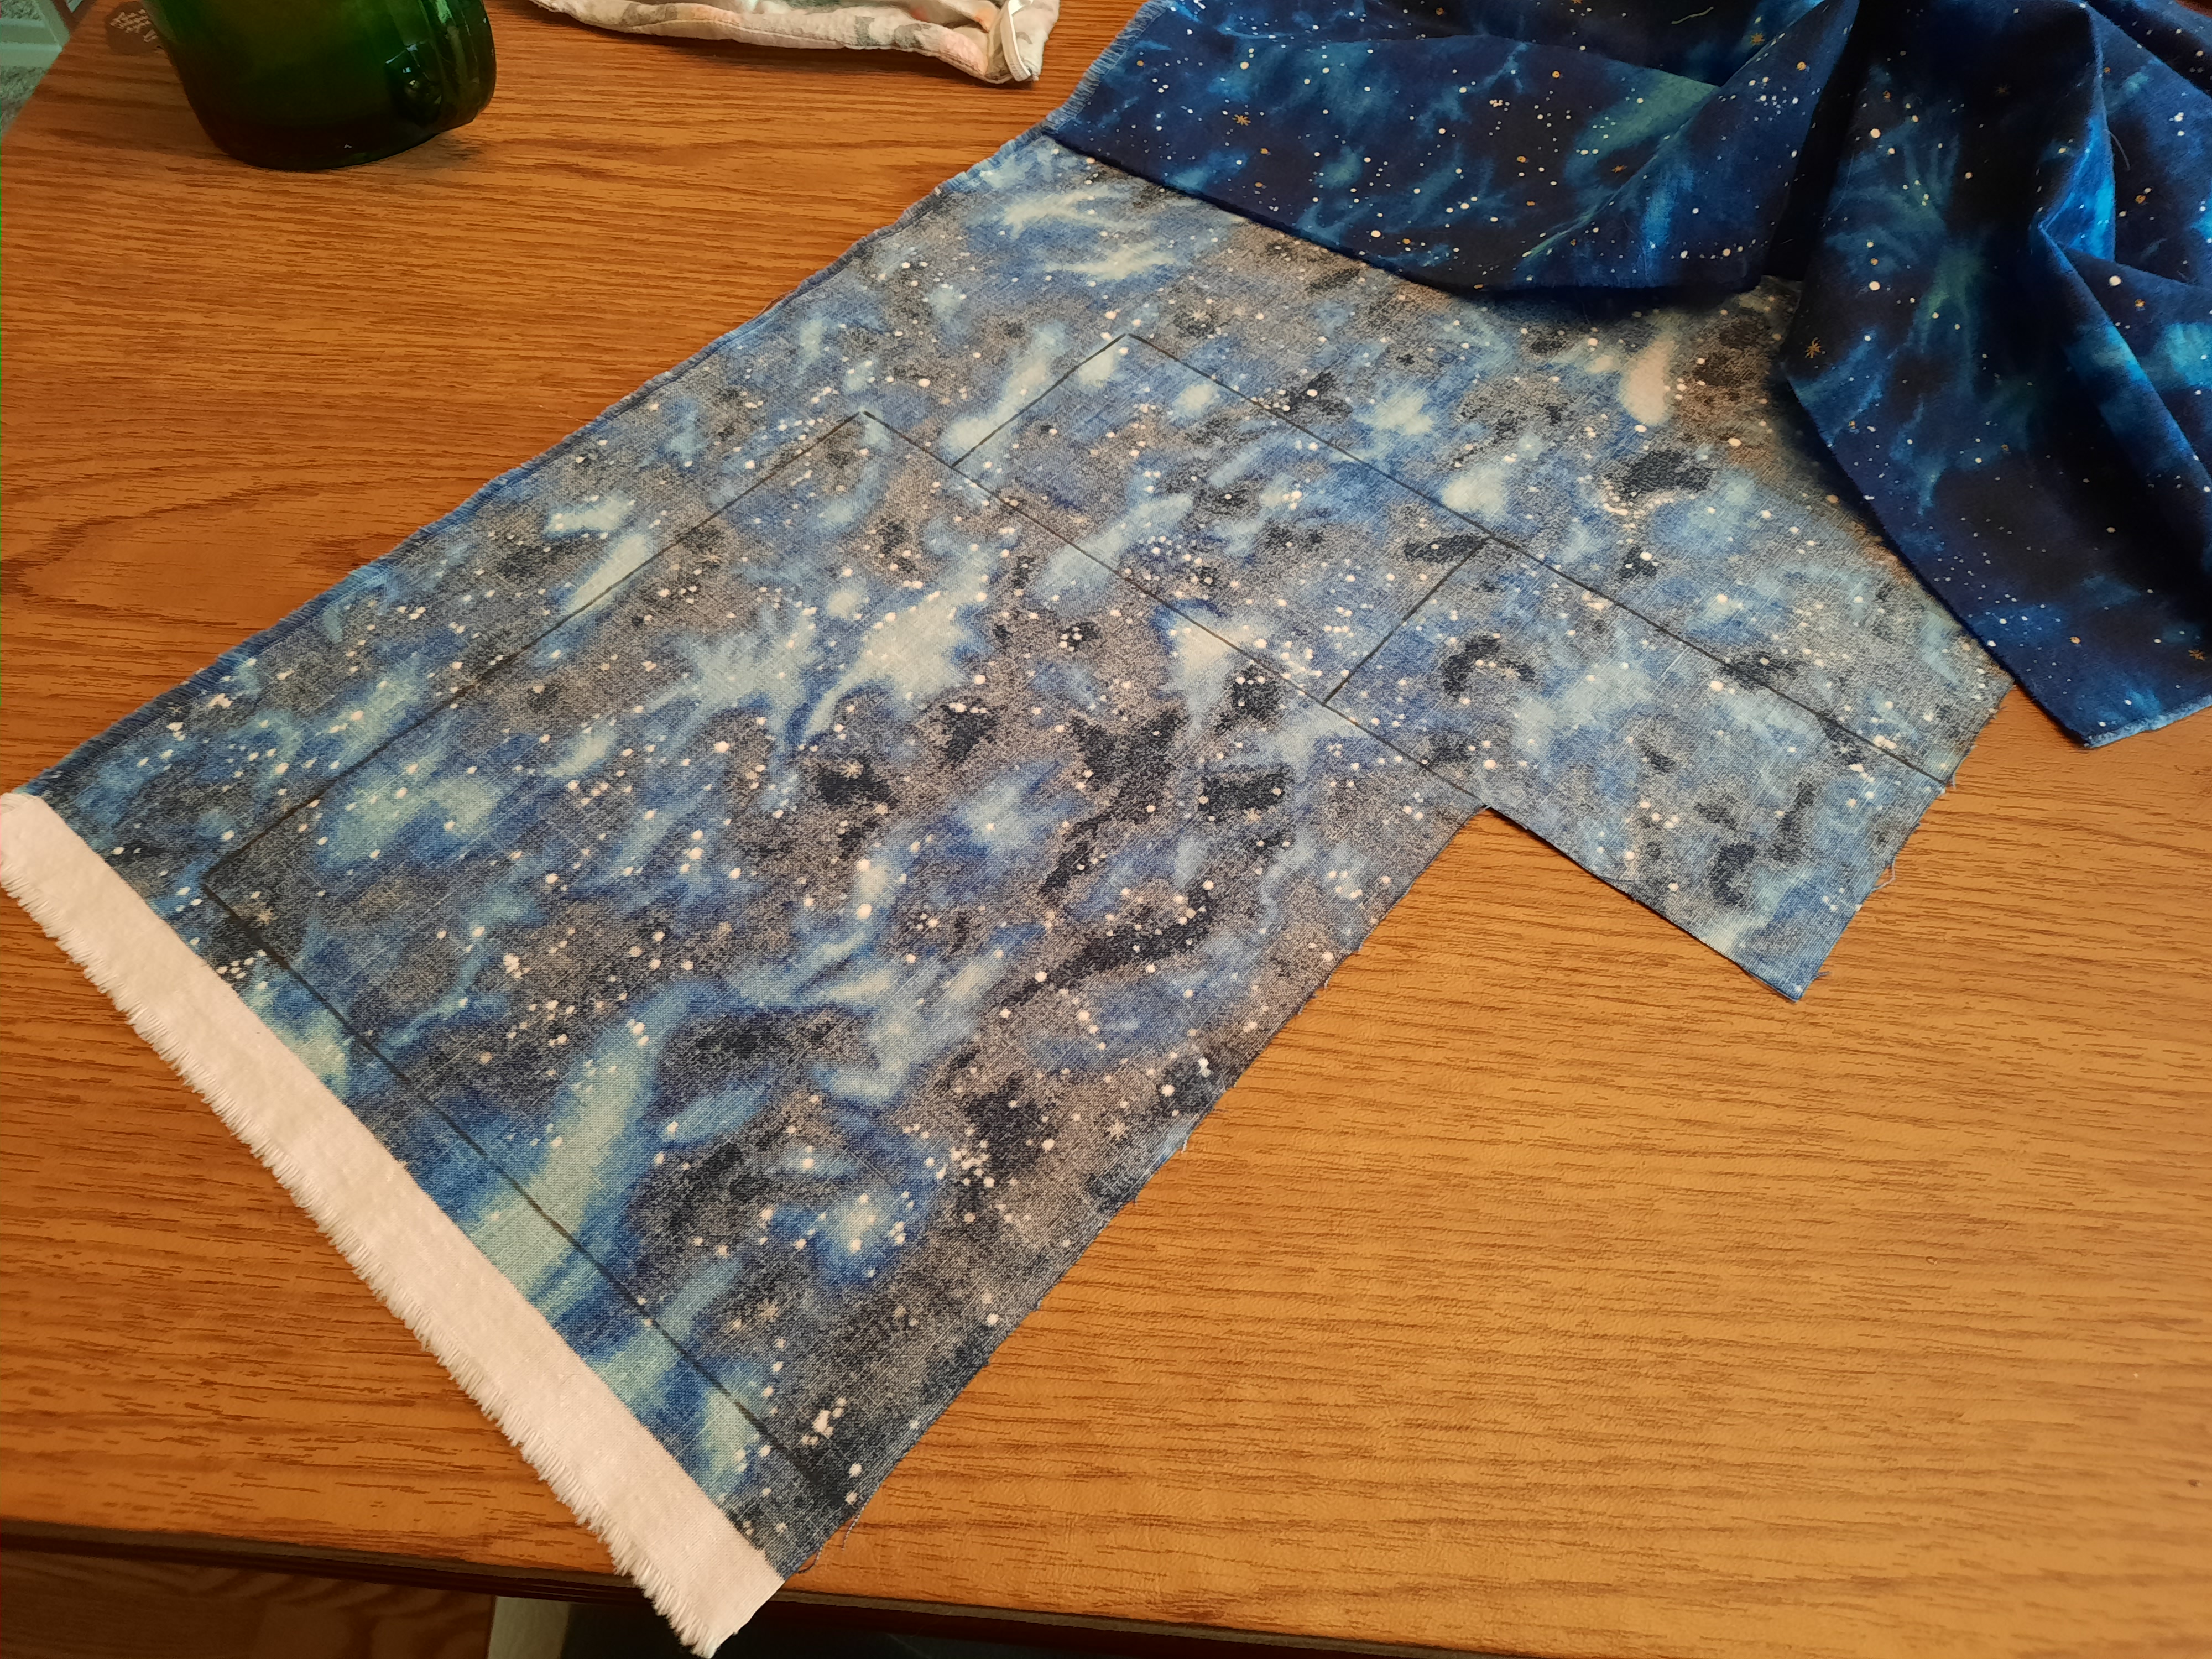
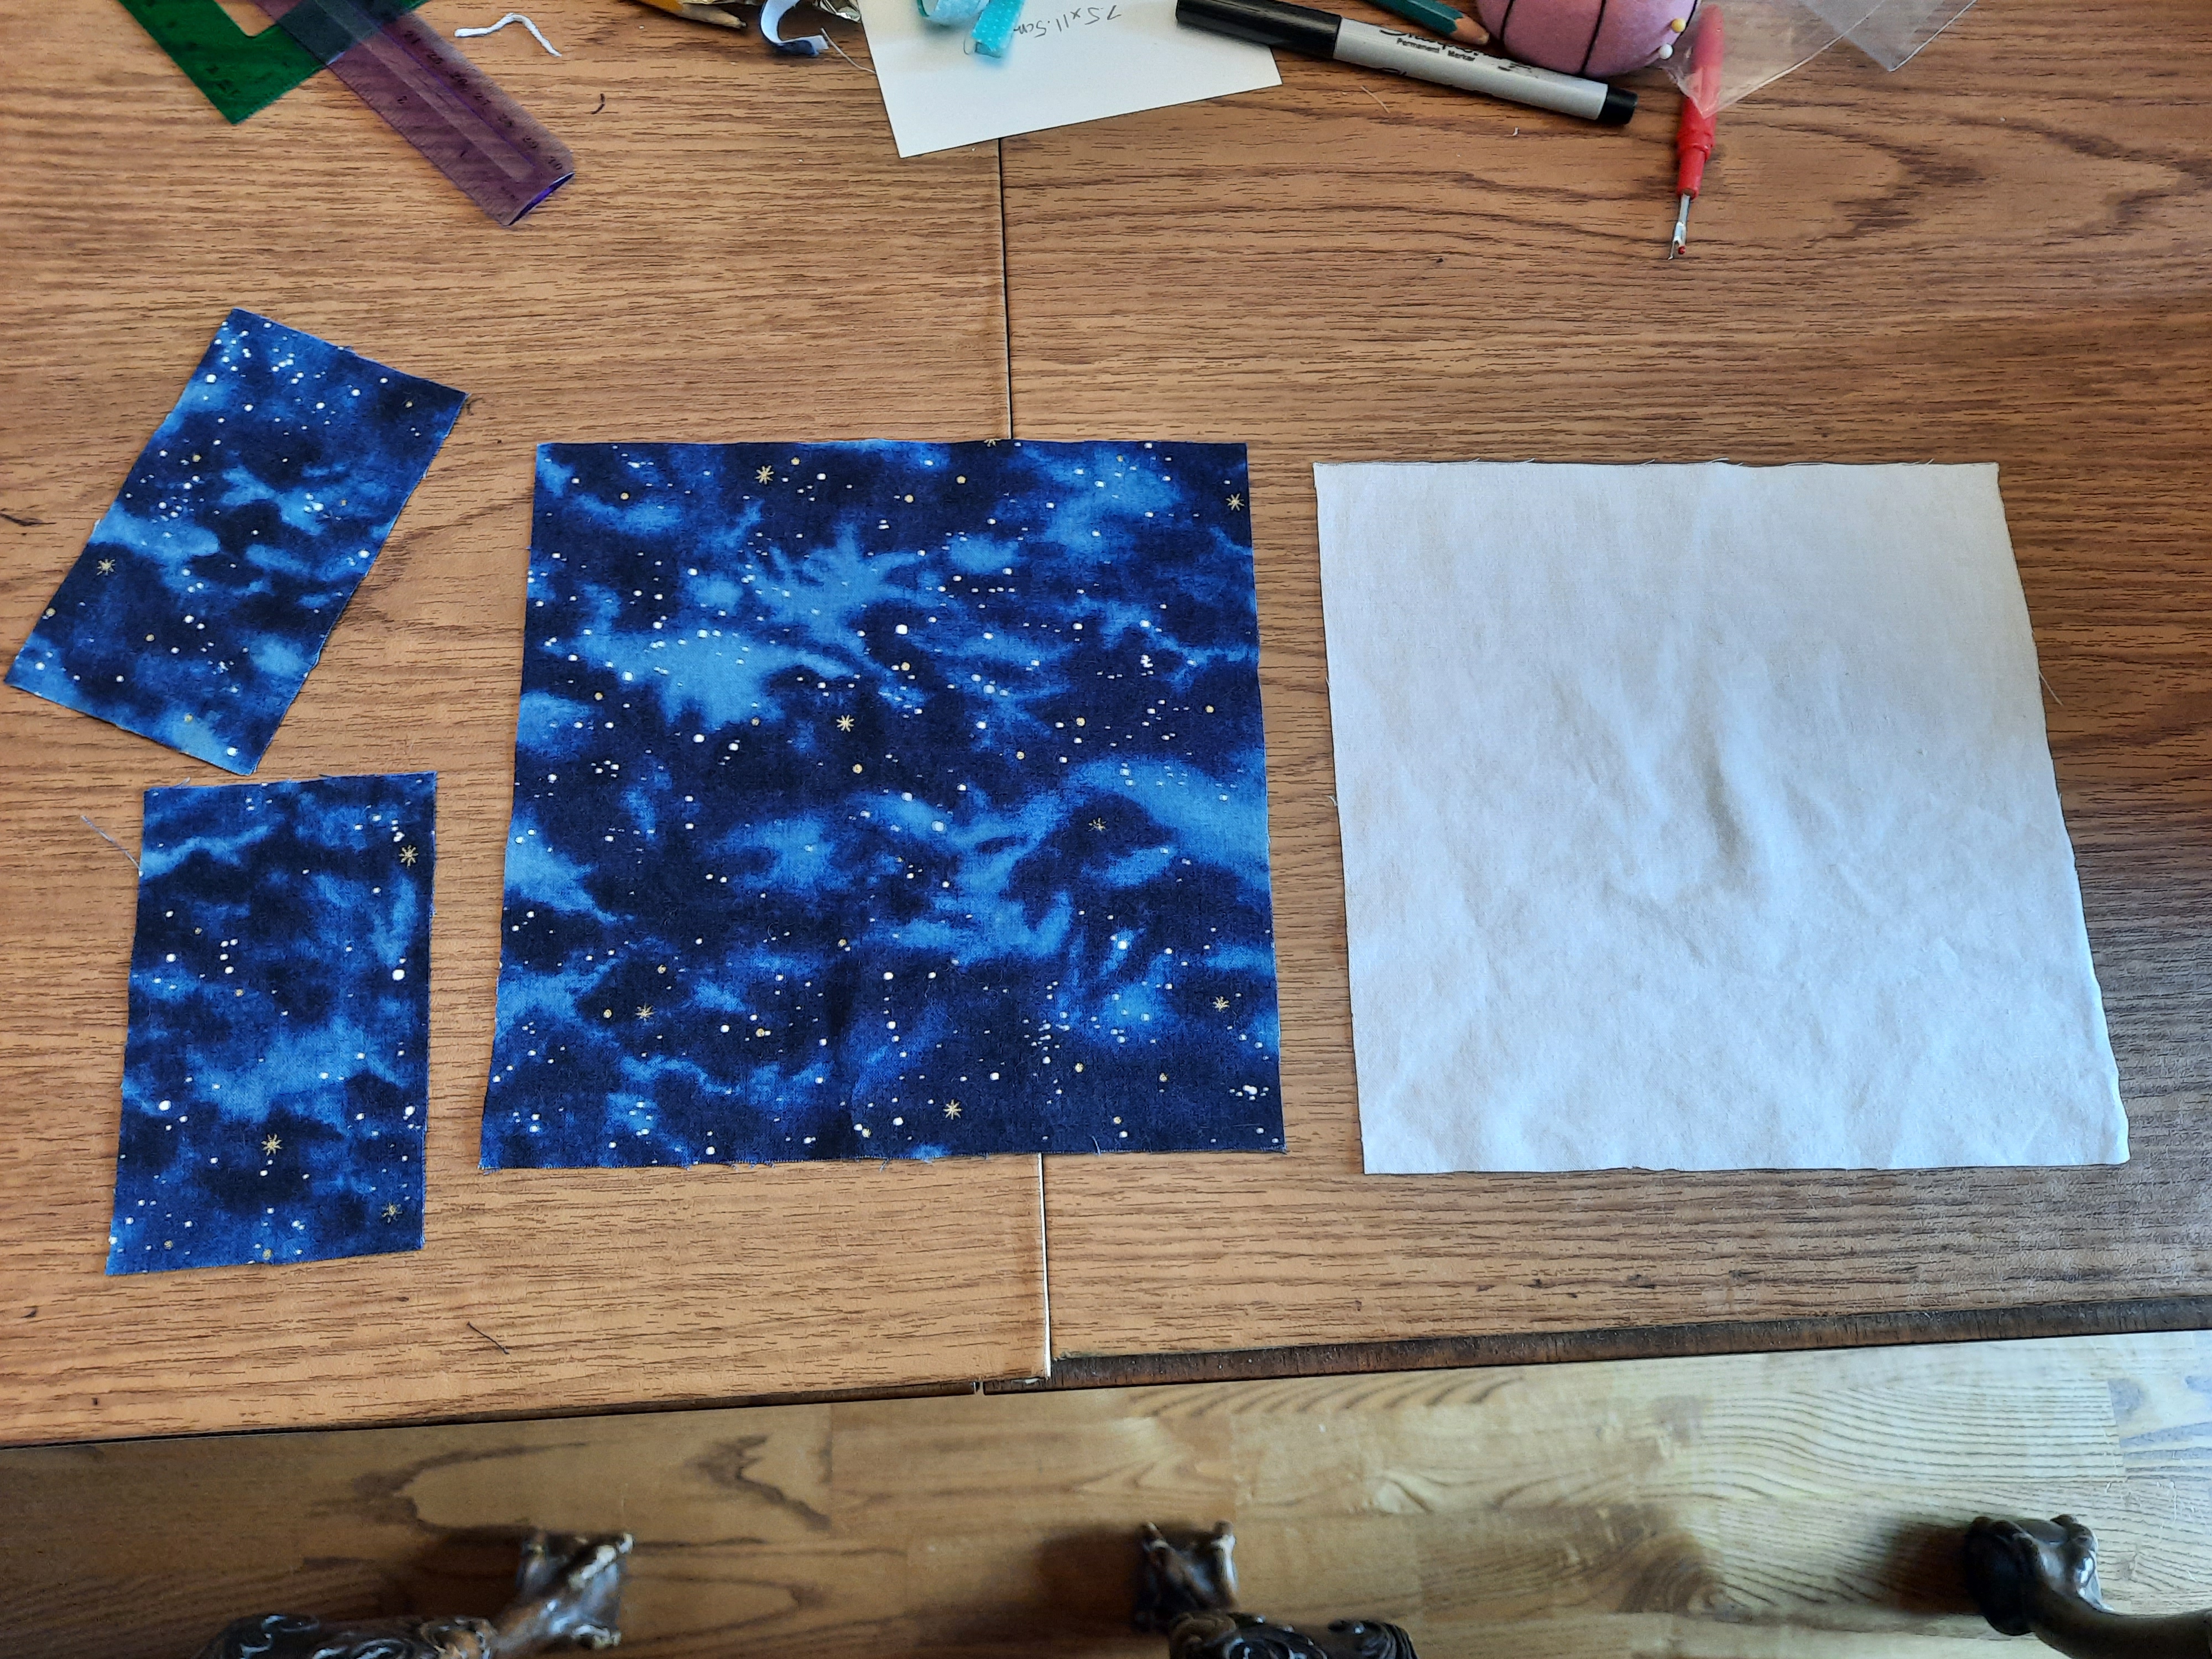
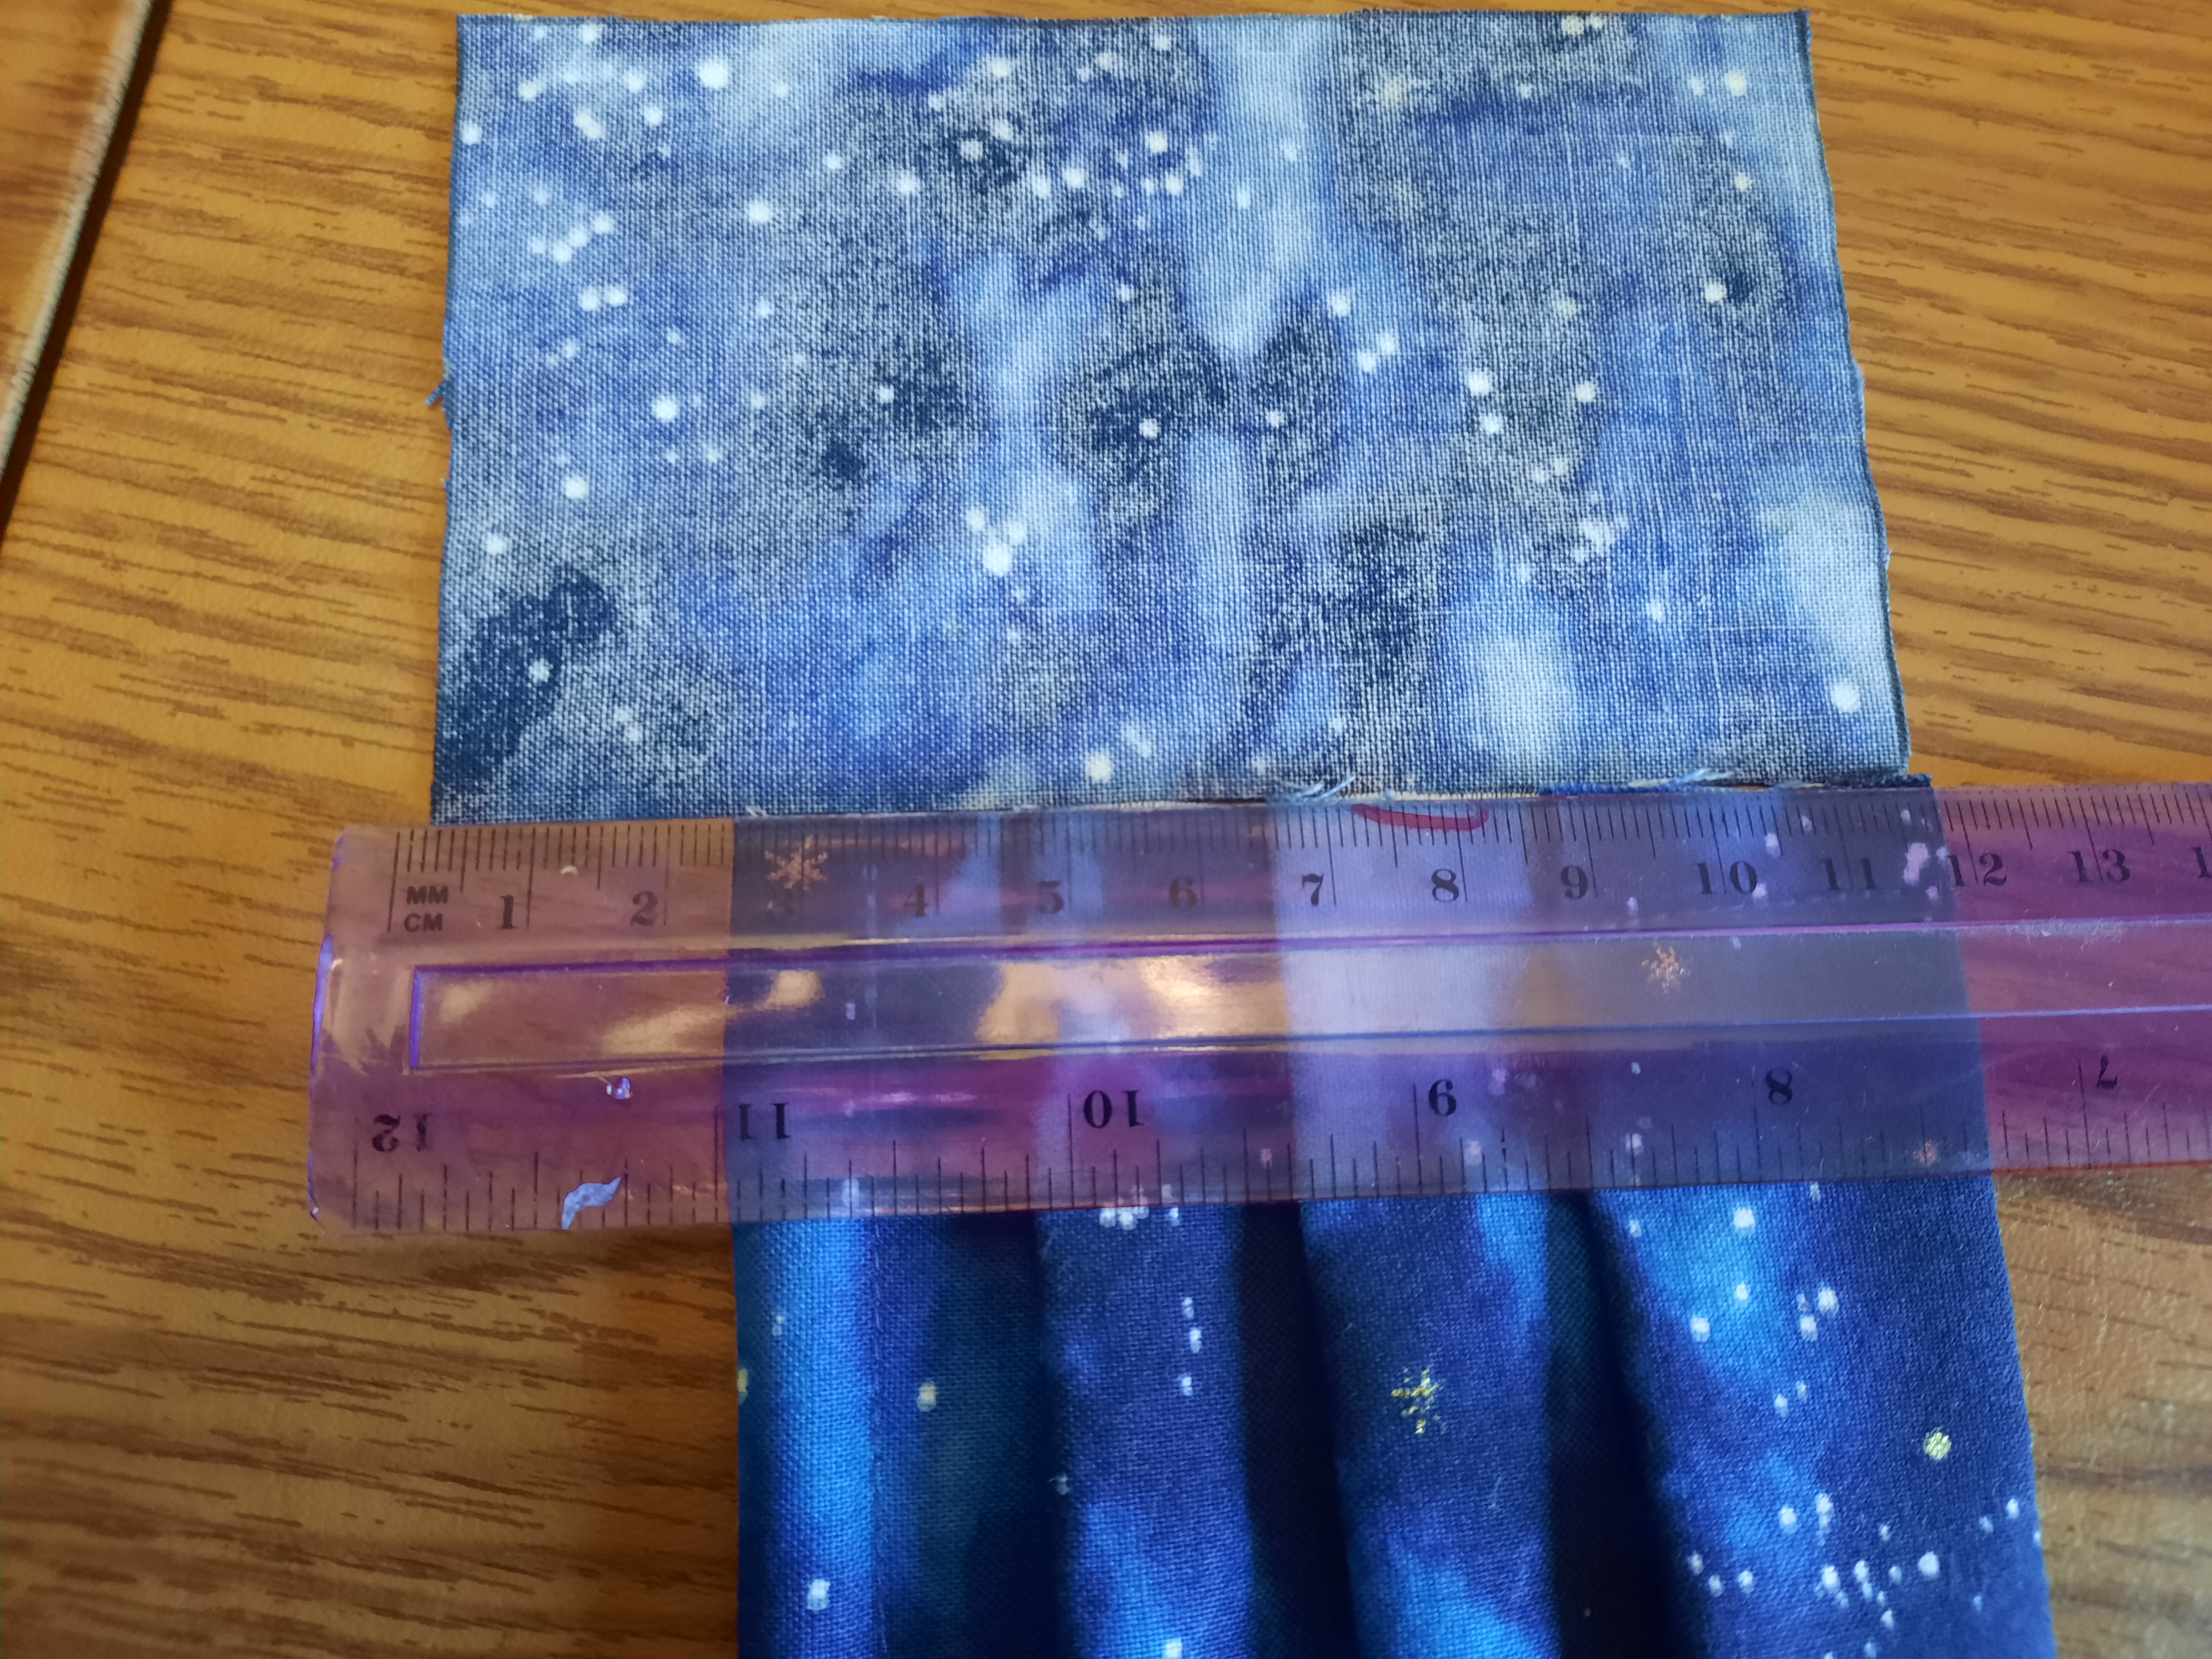
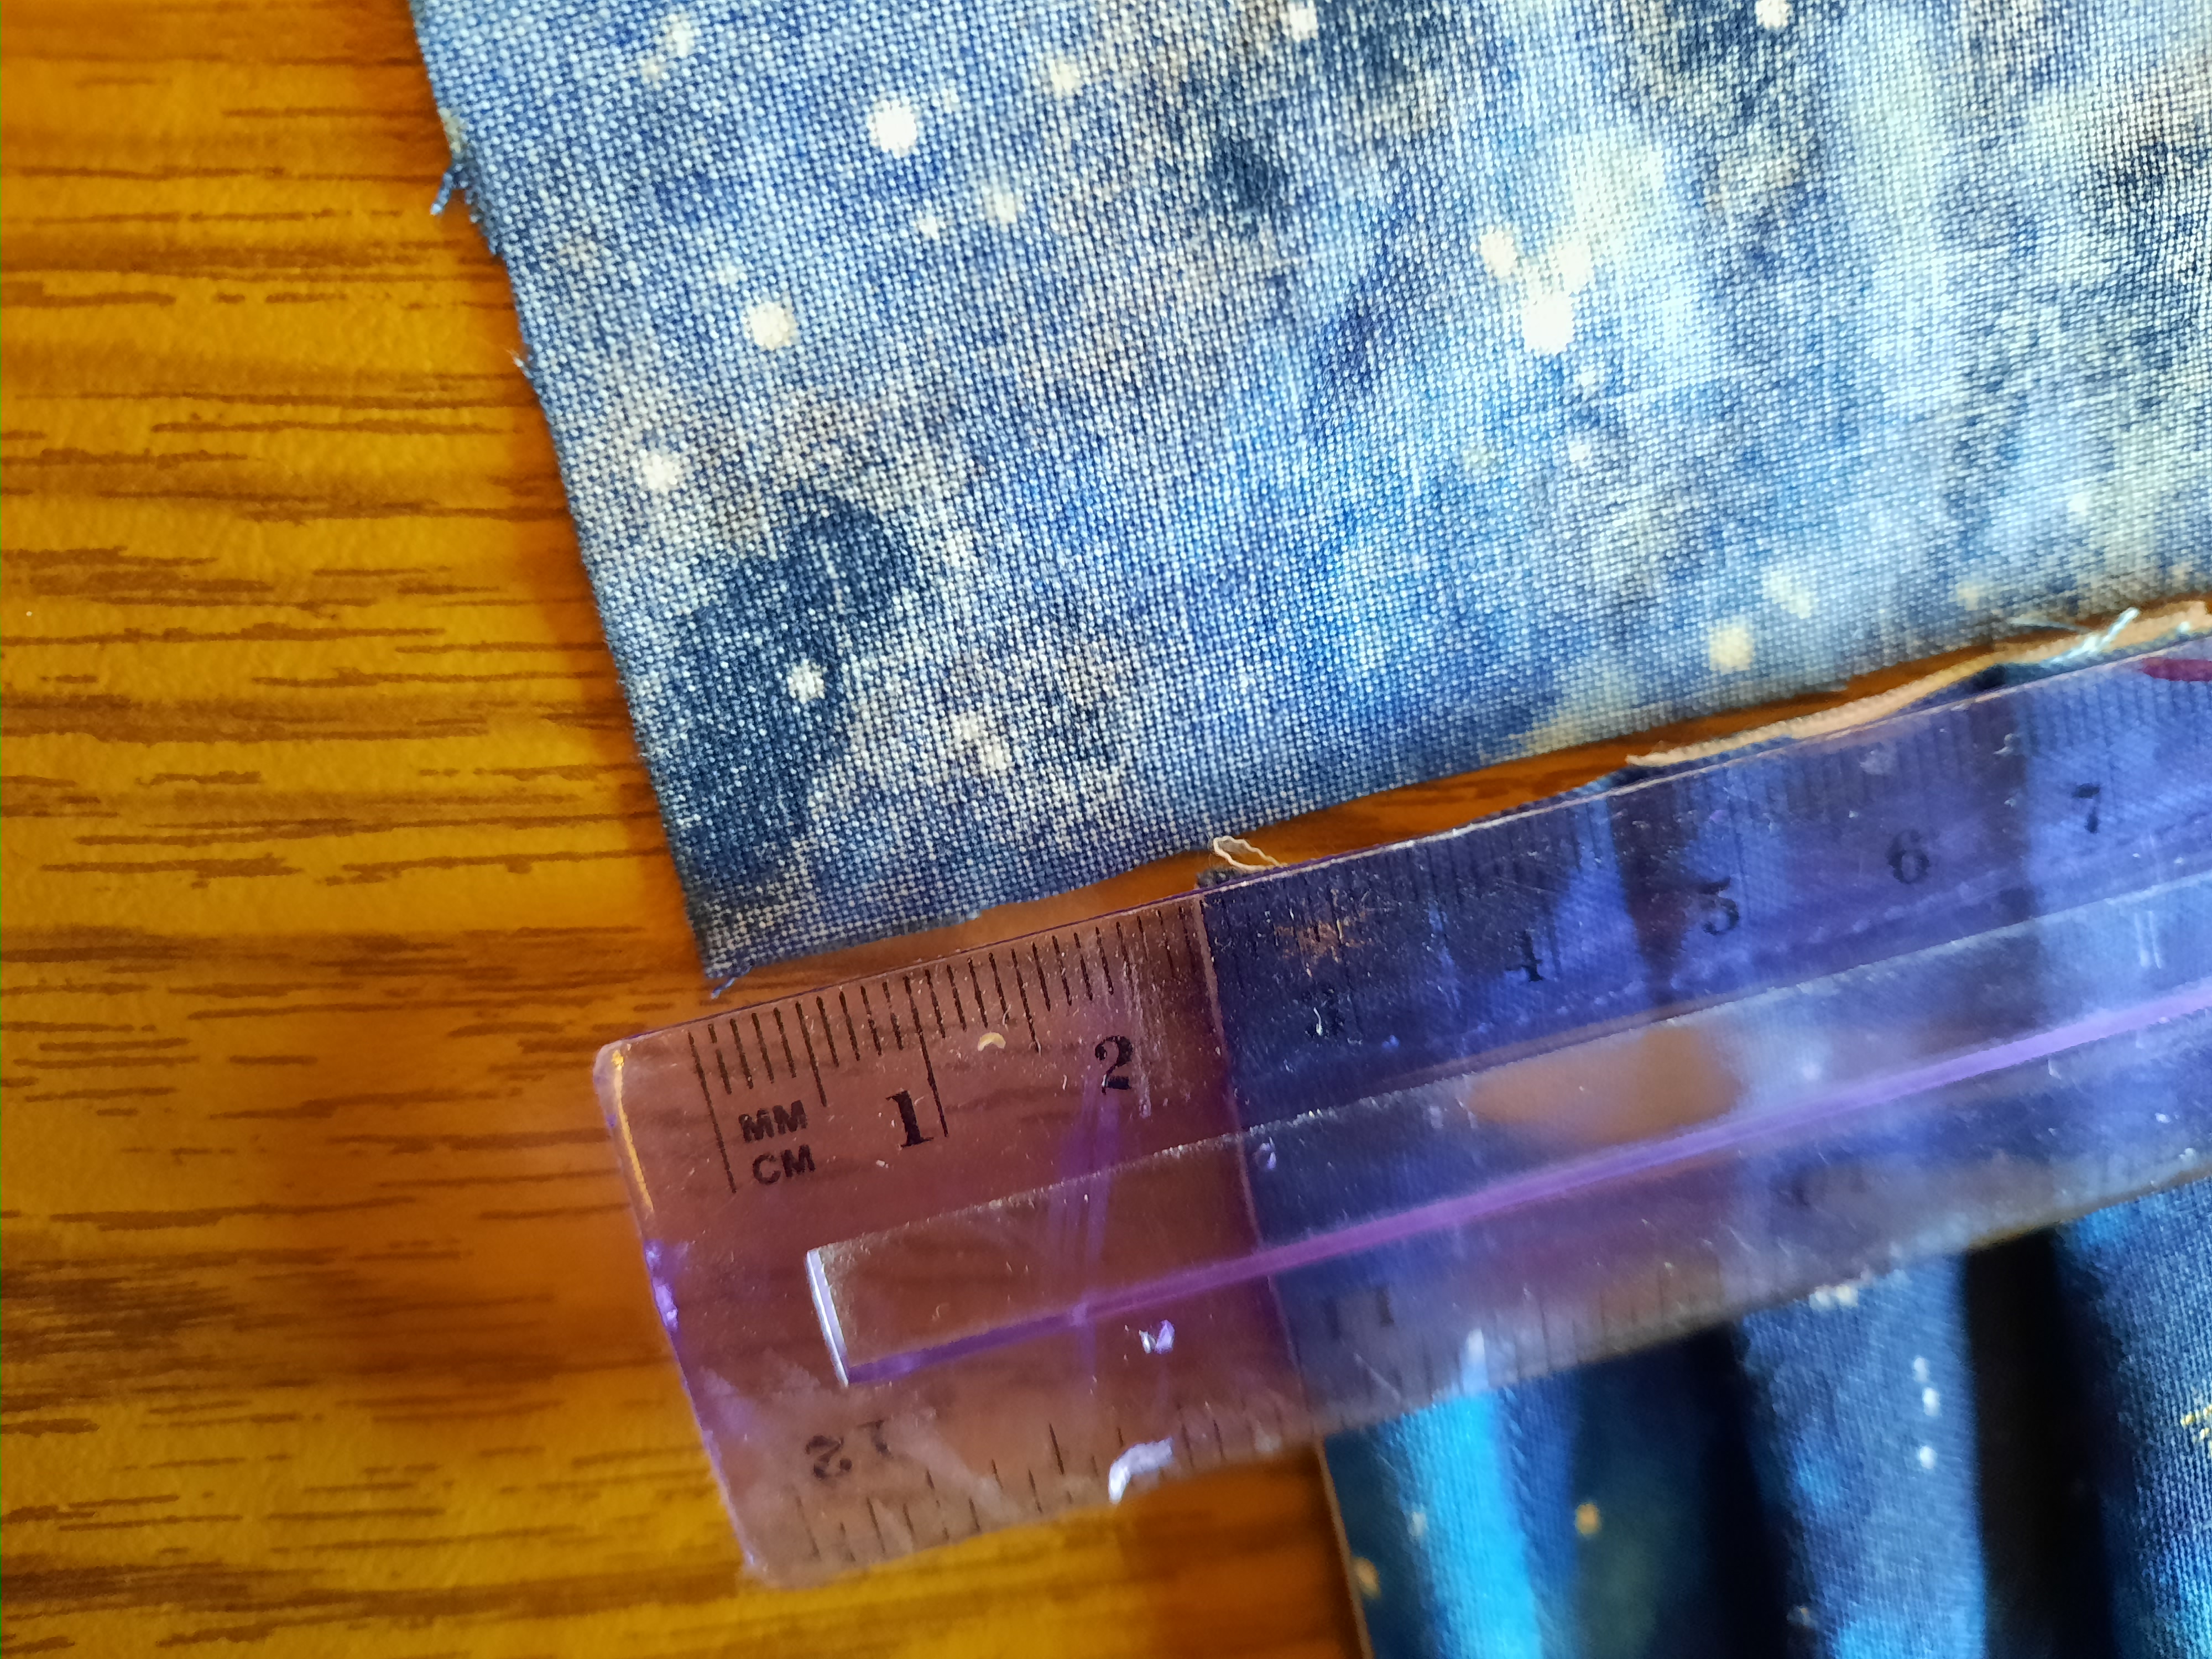
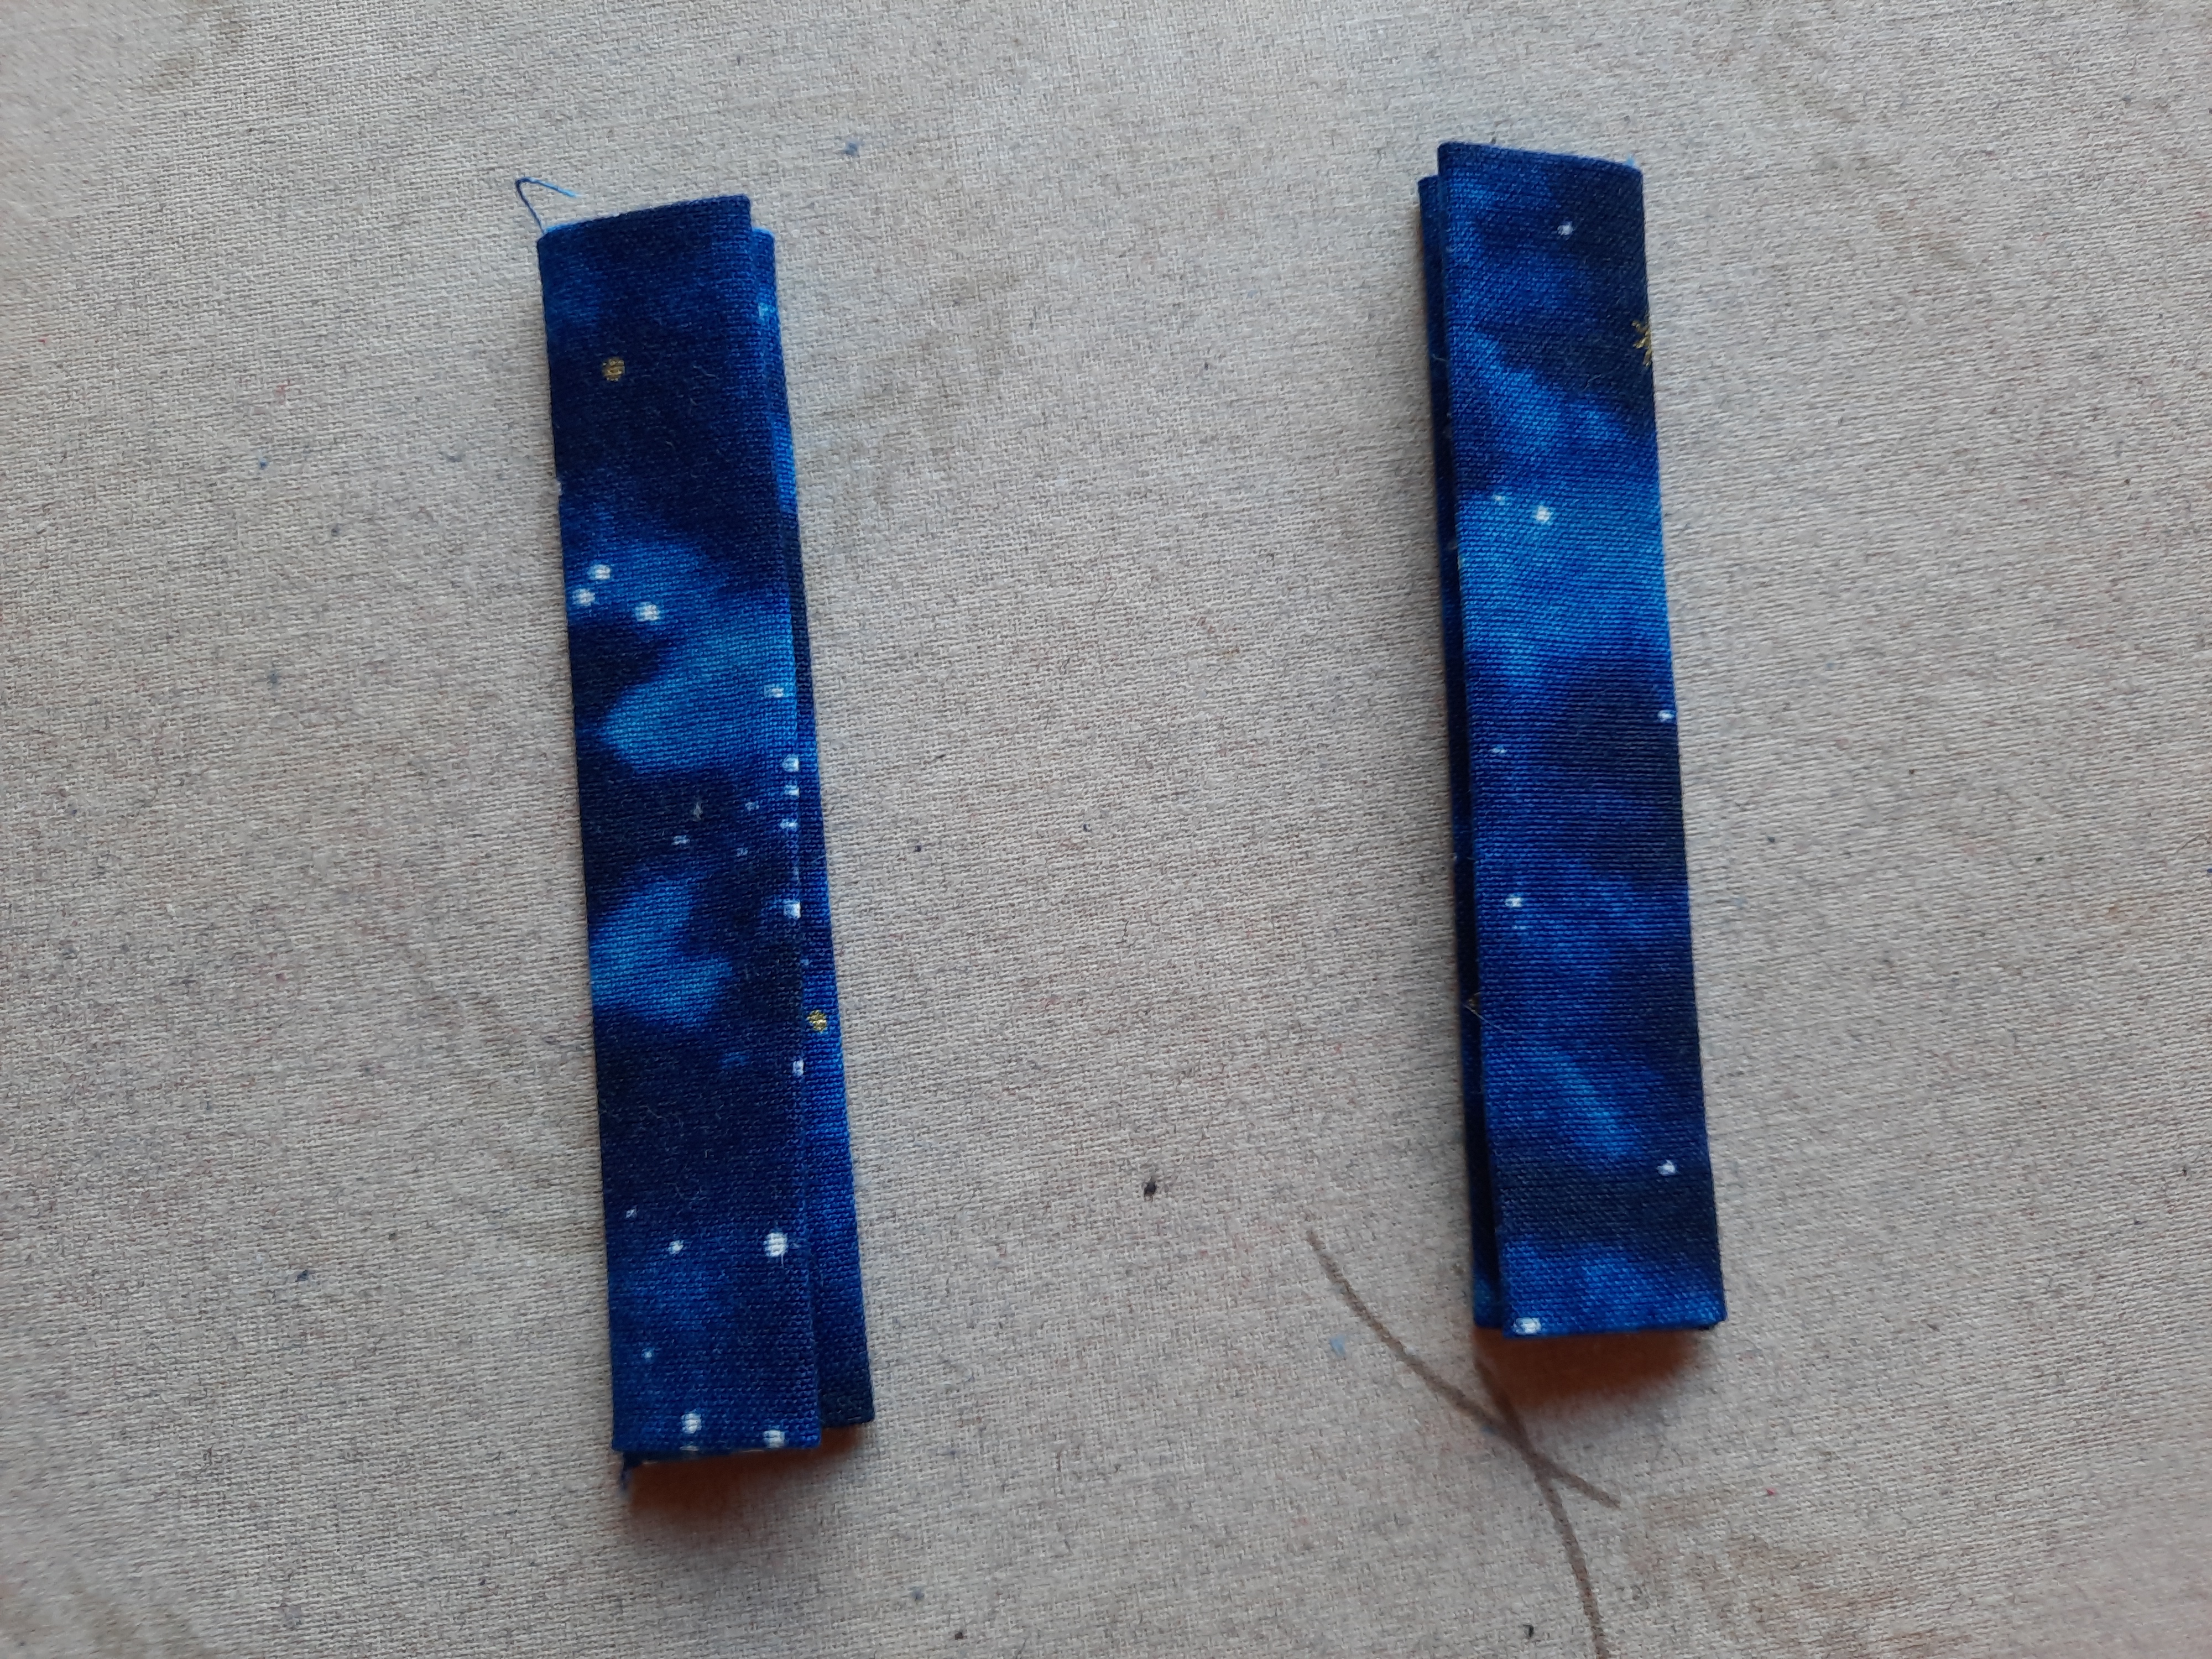
- Two 19x19cm squares of fabric: front, and lining
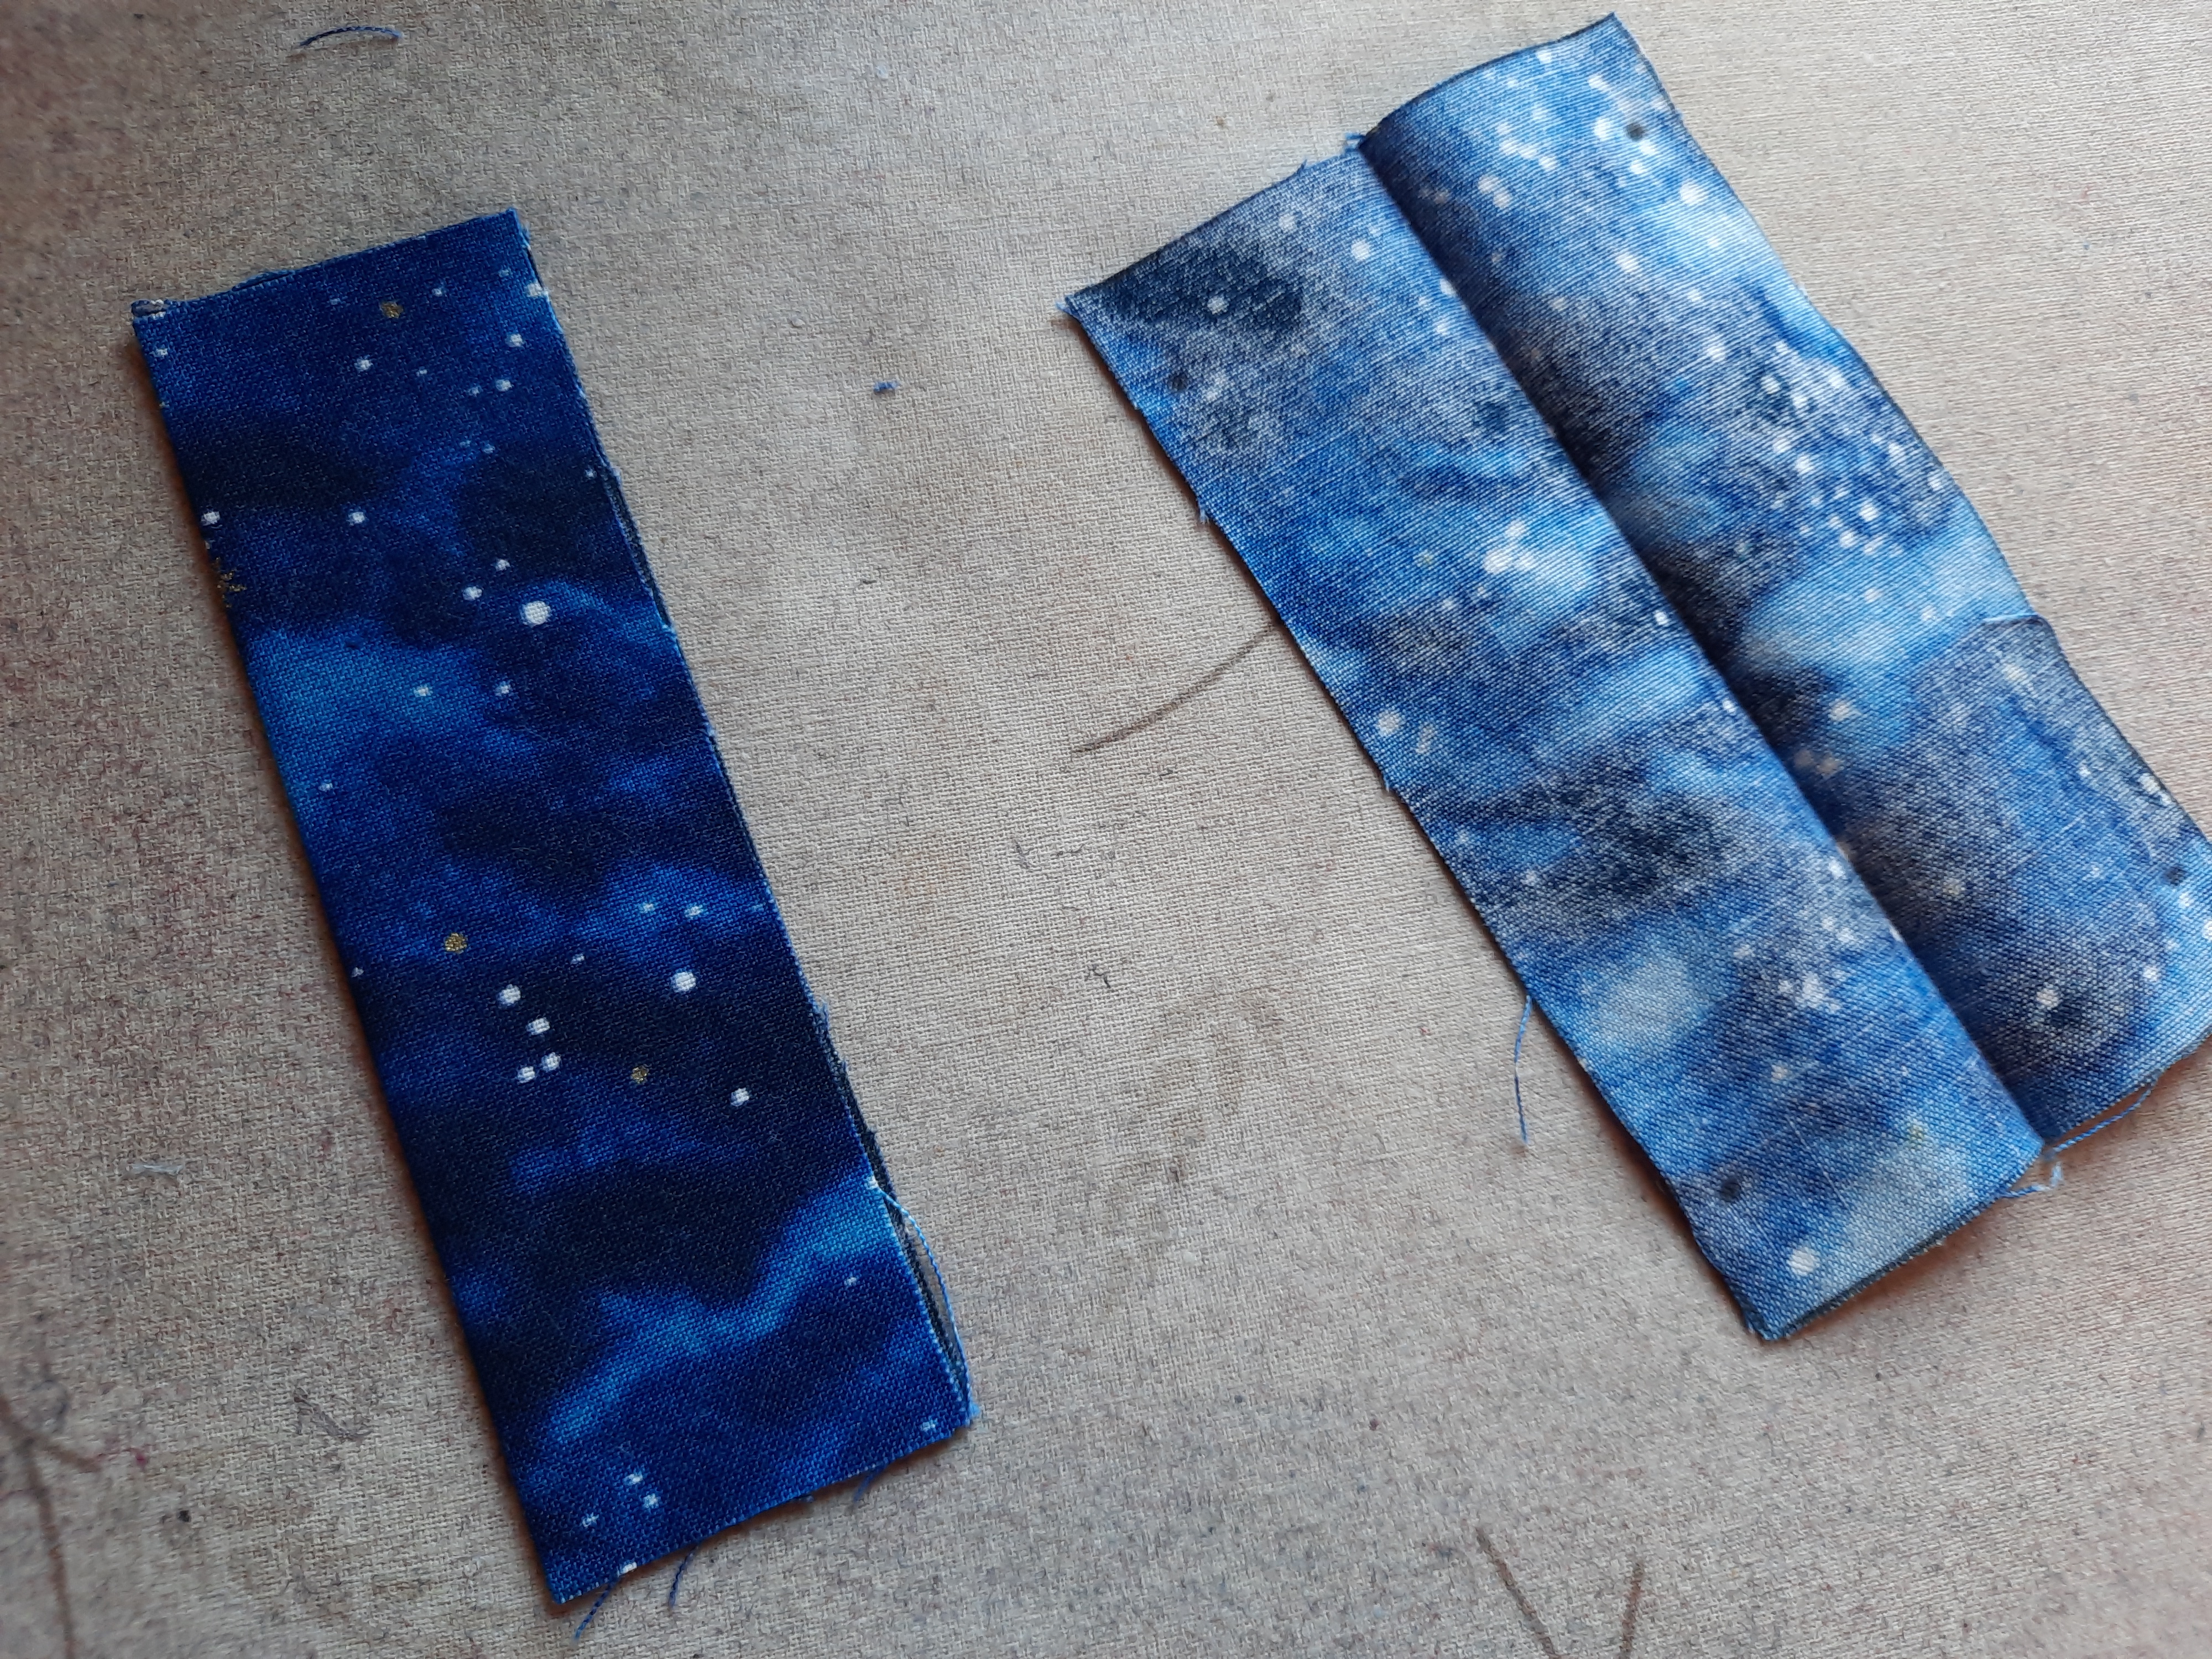
- Two 6.8x11.5cm rectangles of front fabric
- Two 25cm strips of elastic band
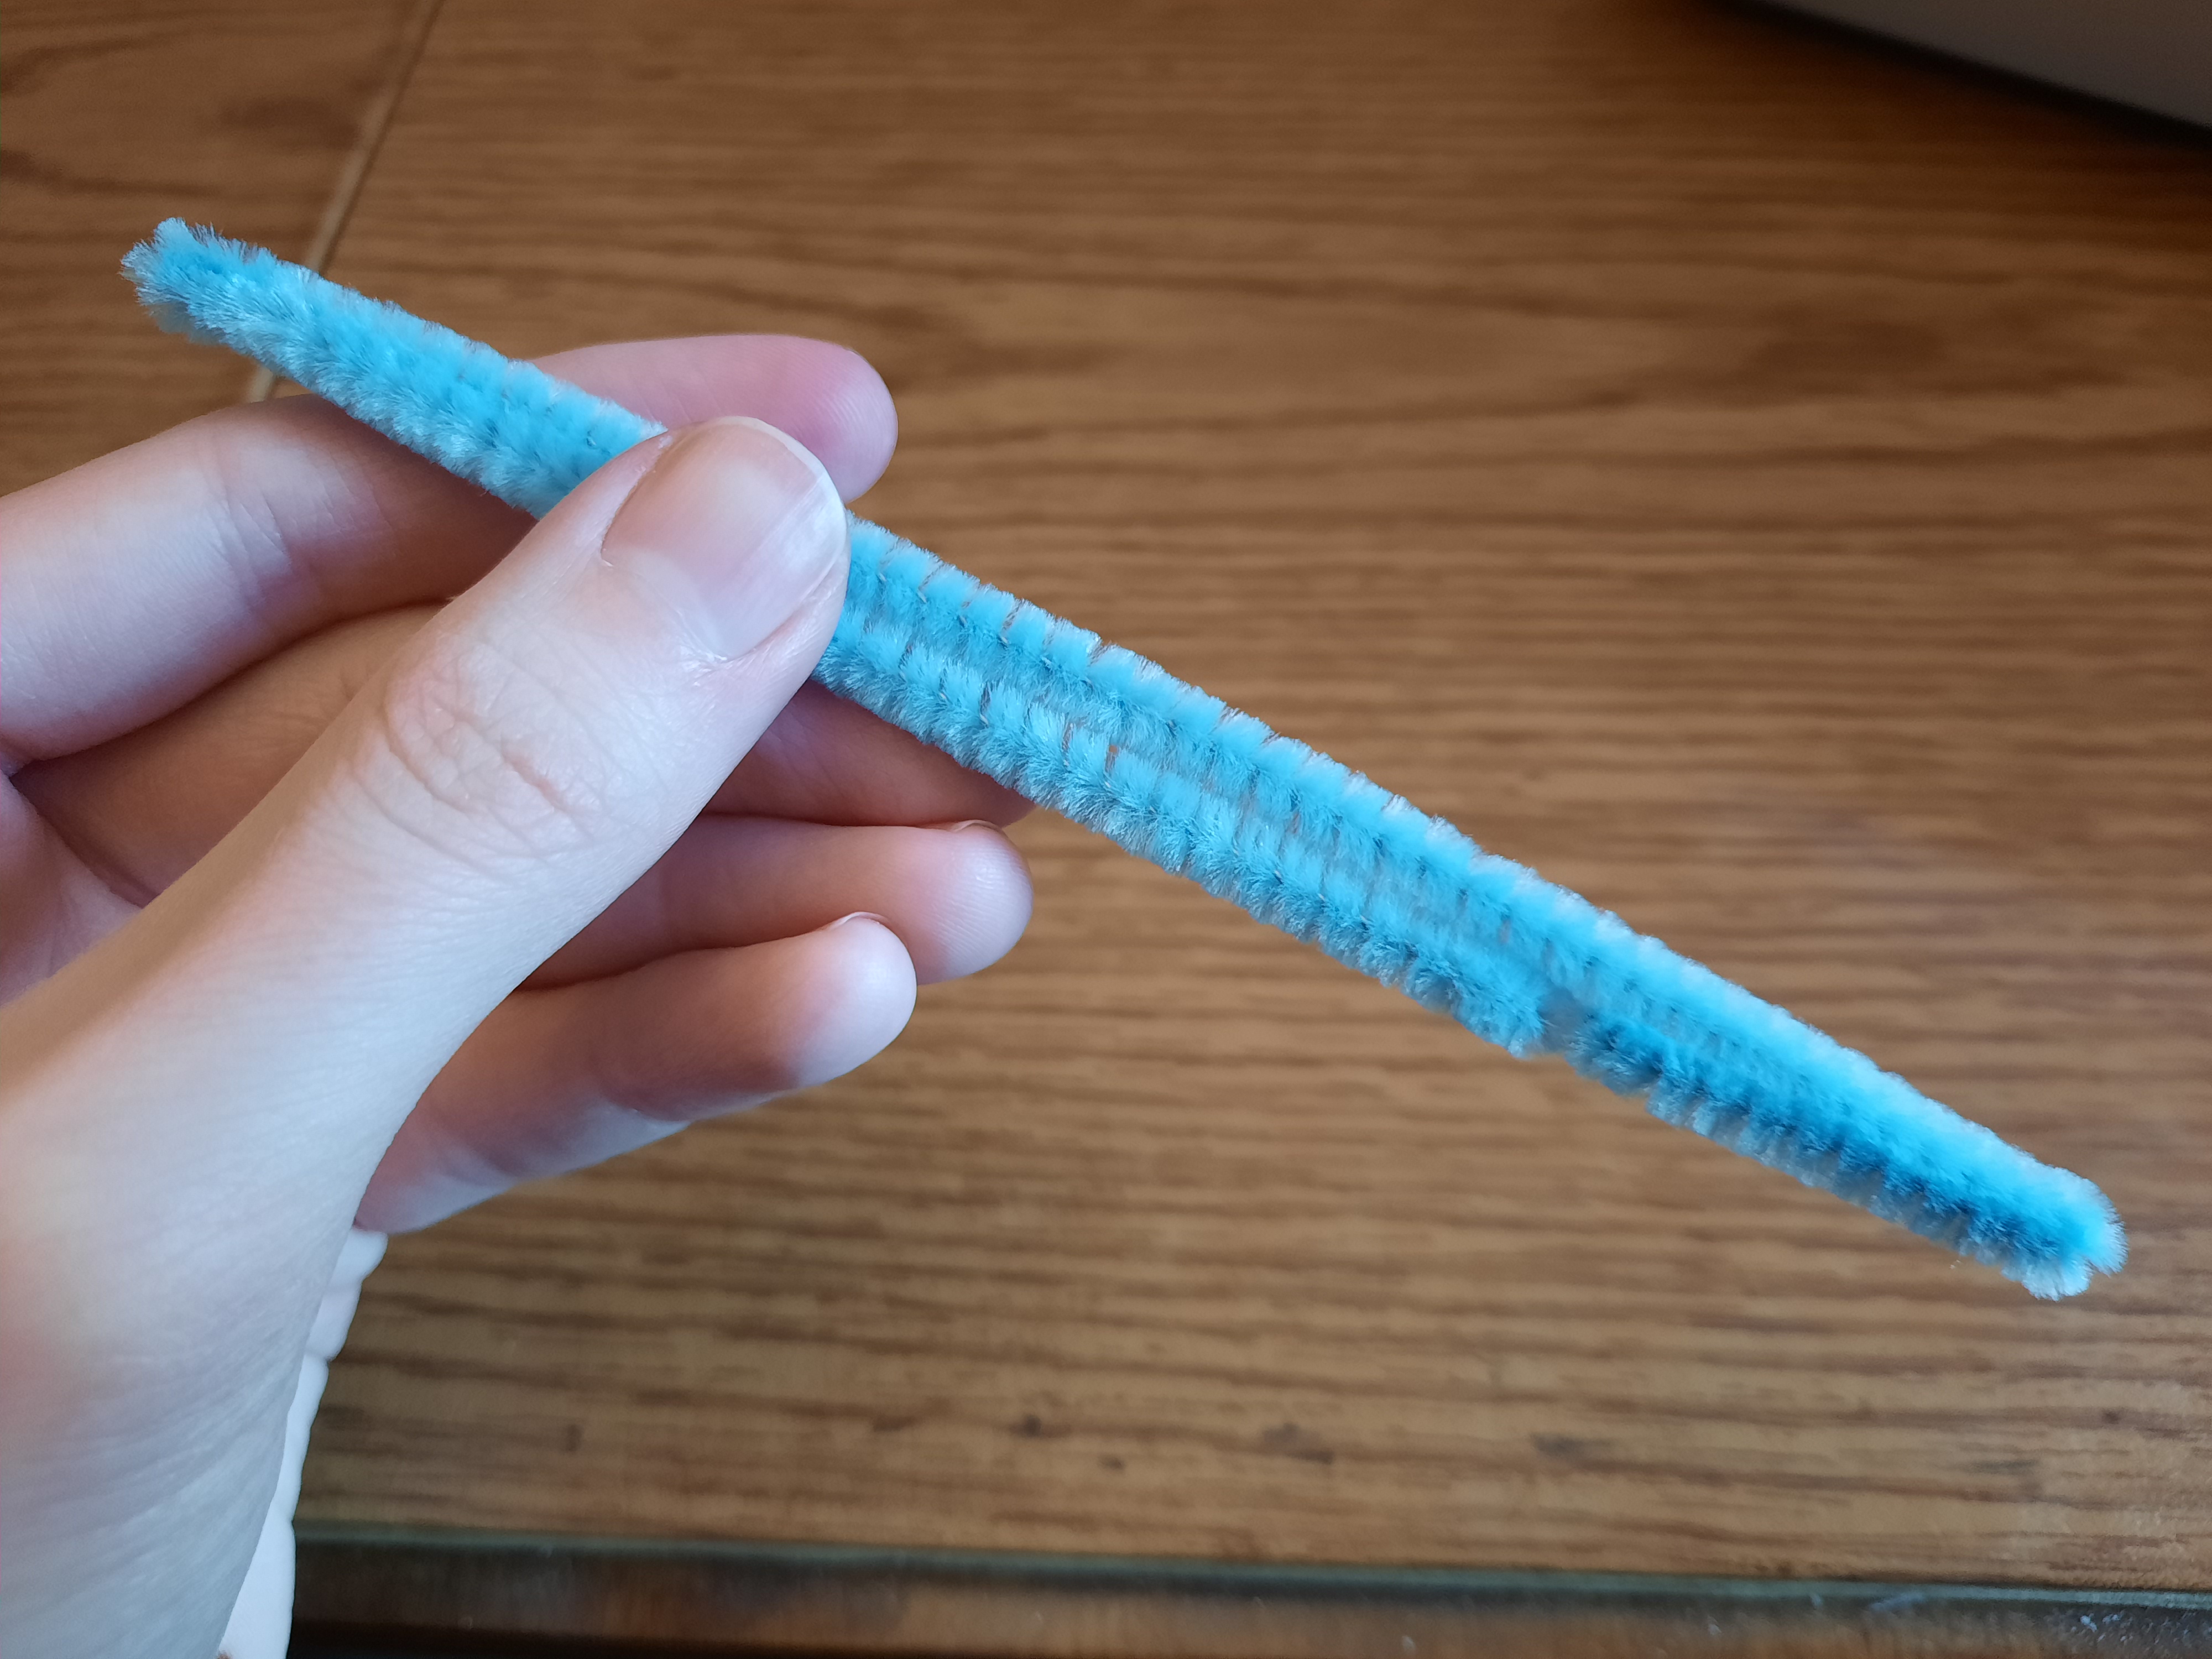
- One 19cm metal wire or pipe cleaner folded in half
You will also need:
- A sewing machine
- Sewing pins
- A ruler (at least 19cm)
- Thread which matches your fabric or you're otherwise fine with using
- (Fabric) scissors
- A chopstick or anything small and cylindrical
- An iron and ironing board
- A safety pin
Note
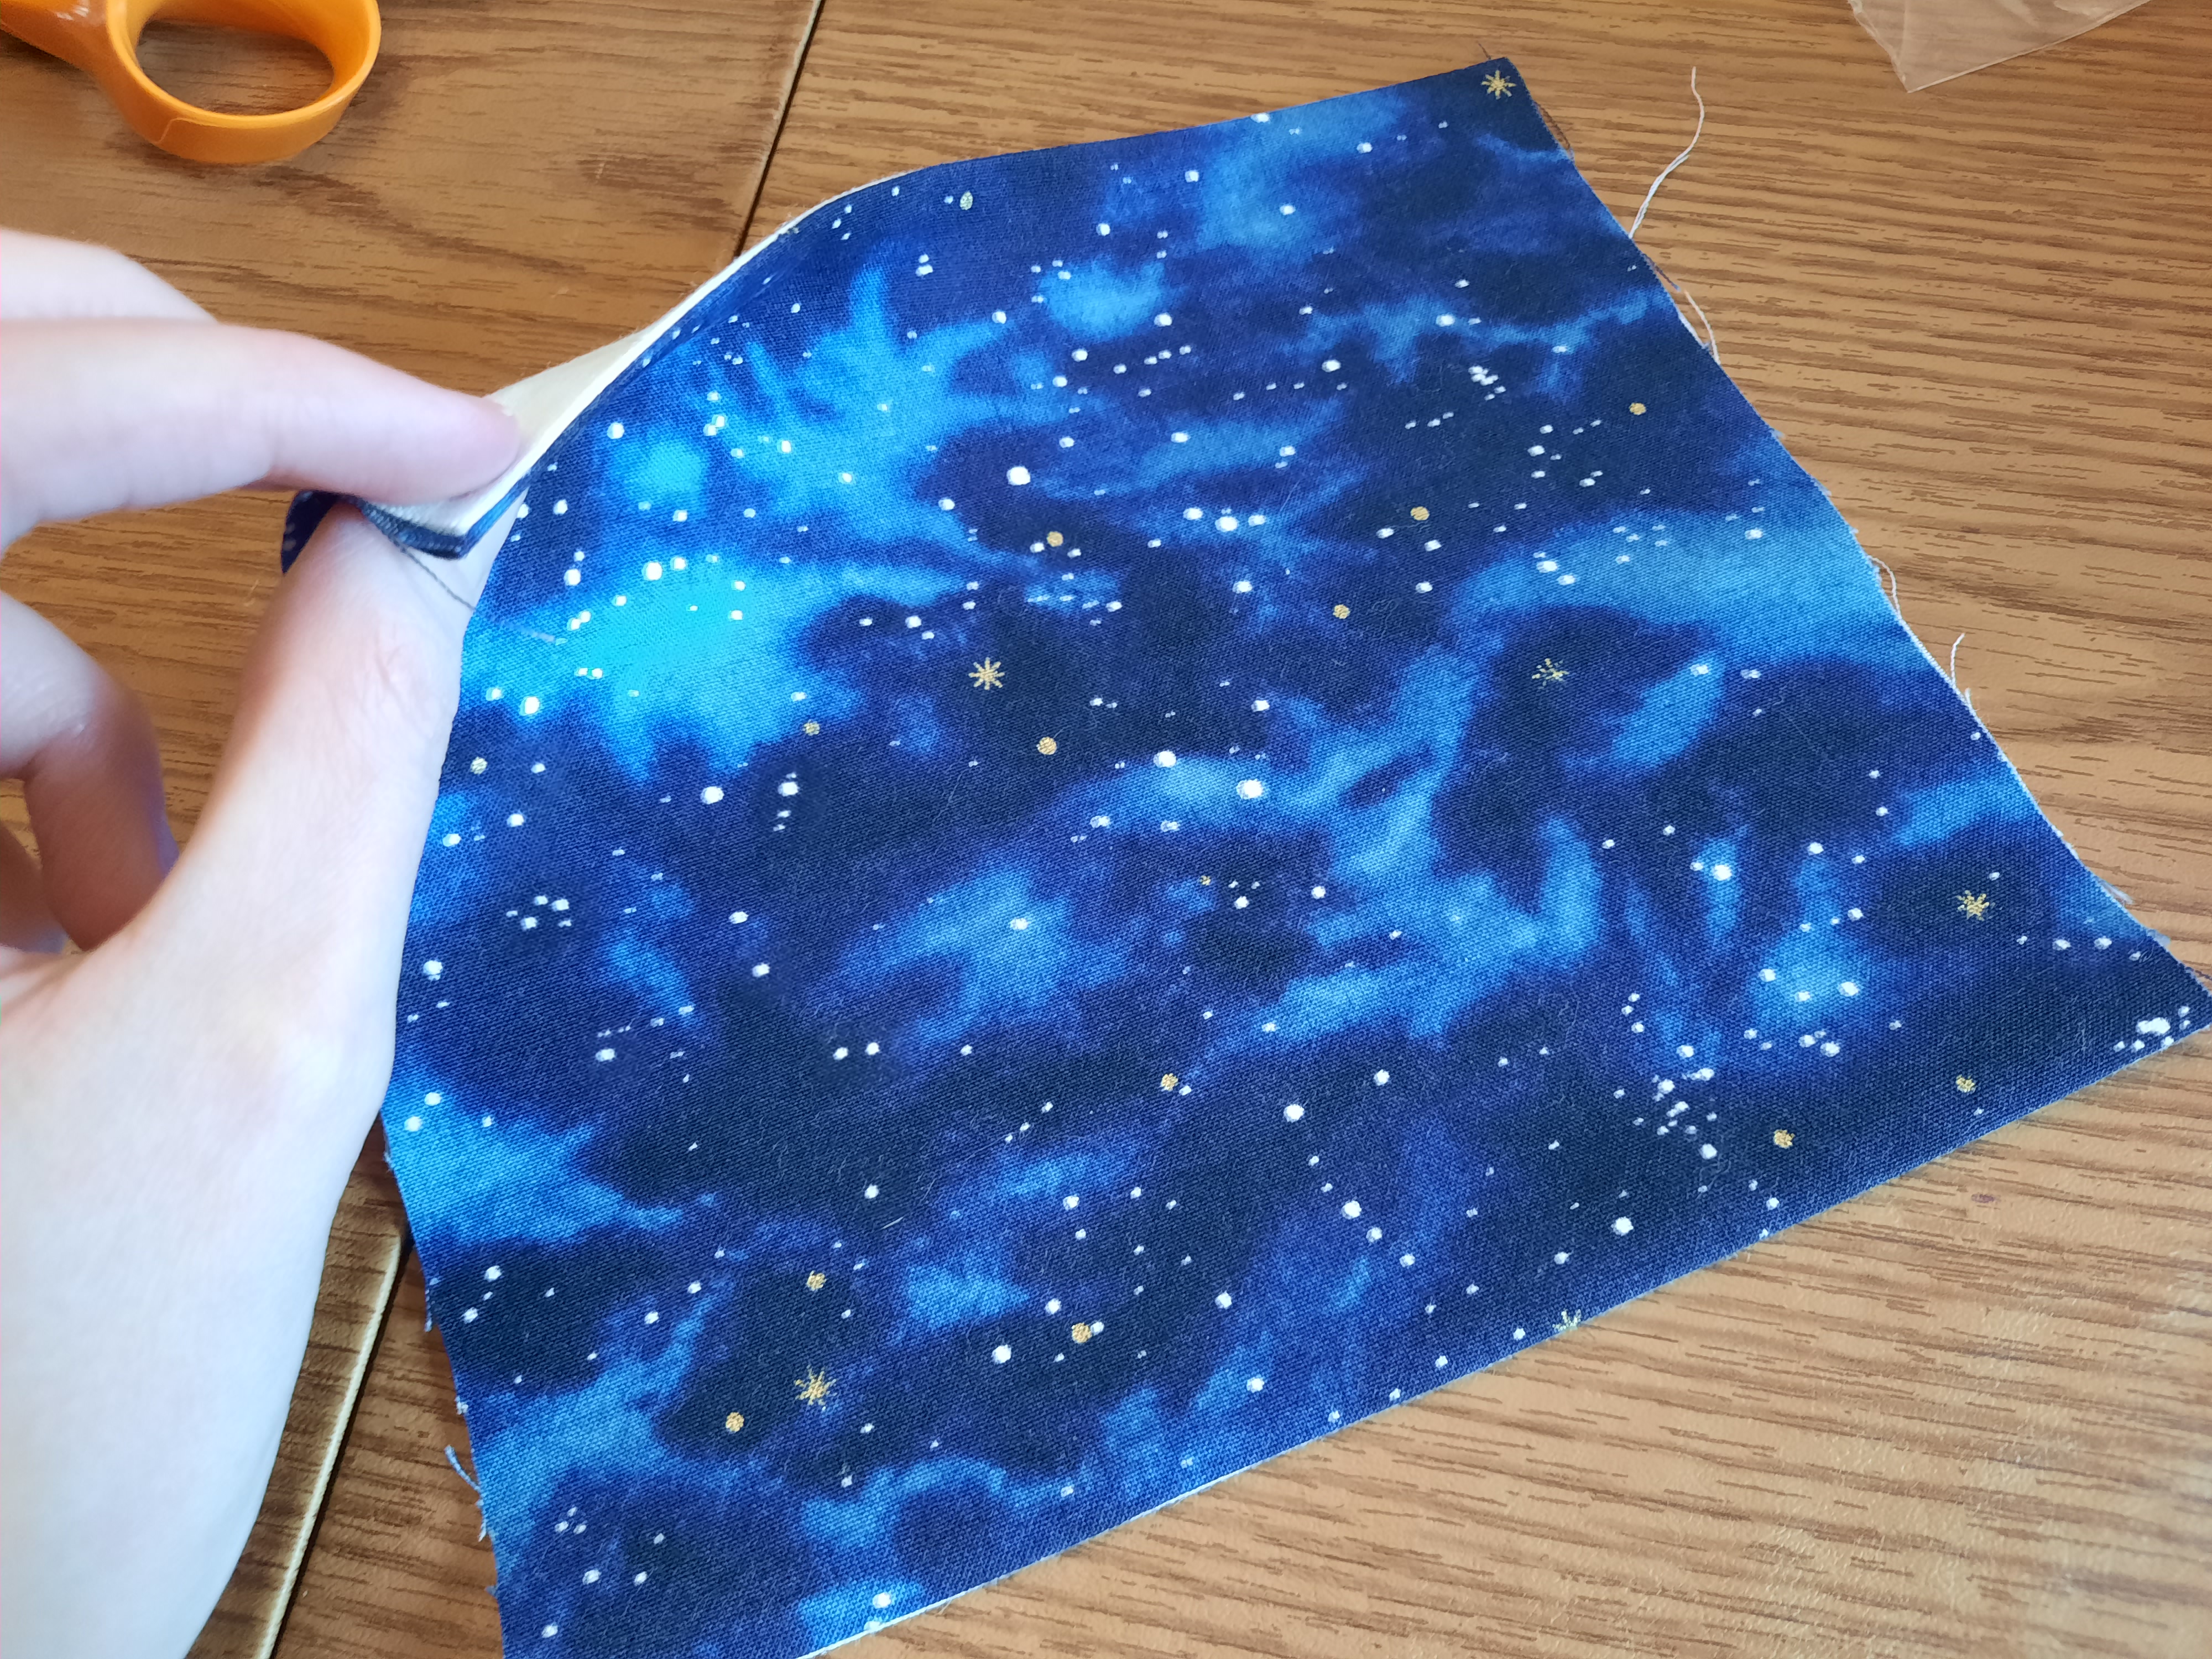
Only use 100% cotton cloth for your masks, both front and lining fabrics. For the lining fabric, I just go with a plain white one. The front fabric gives you a chance to make something fun to put on your face, like kitties playing with yarn.
Also note that the pattern I adapted this recipe from used metal wire; this may be the better choice? I'm not sure. I've only used pipe cleaners, and they seem to work great. Do what you will.
Directions
Step 0
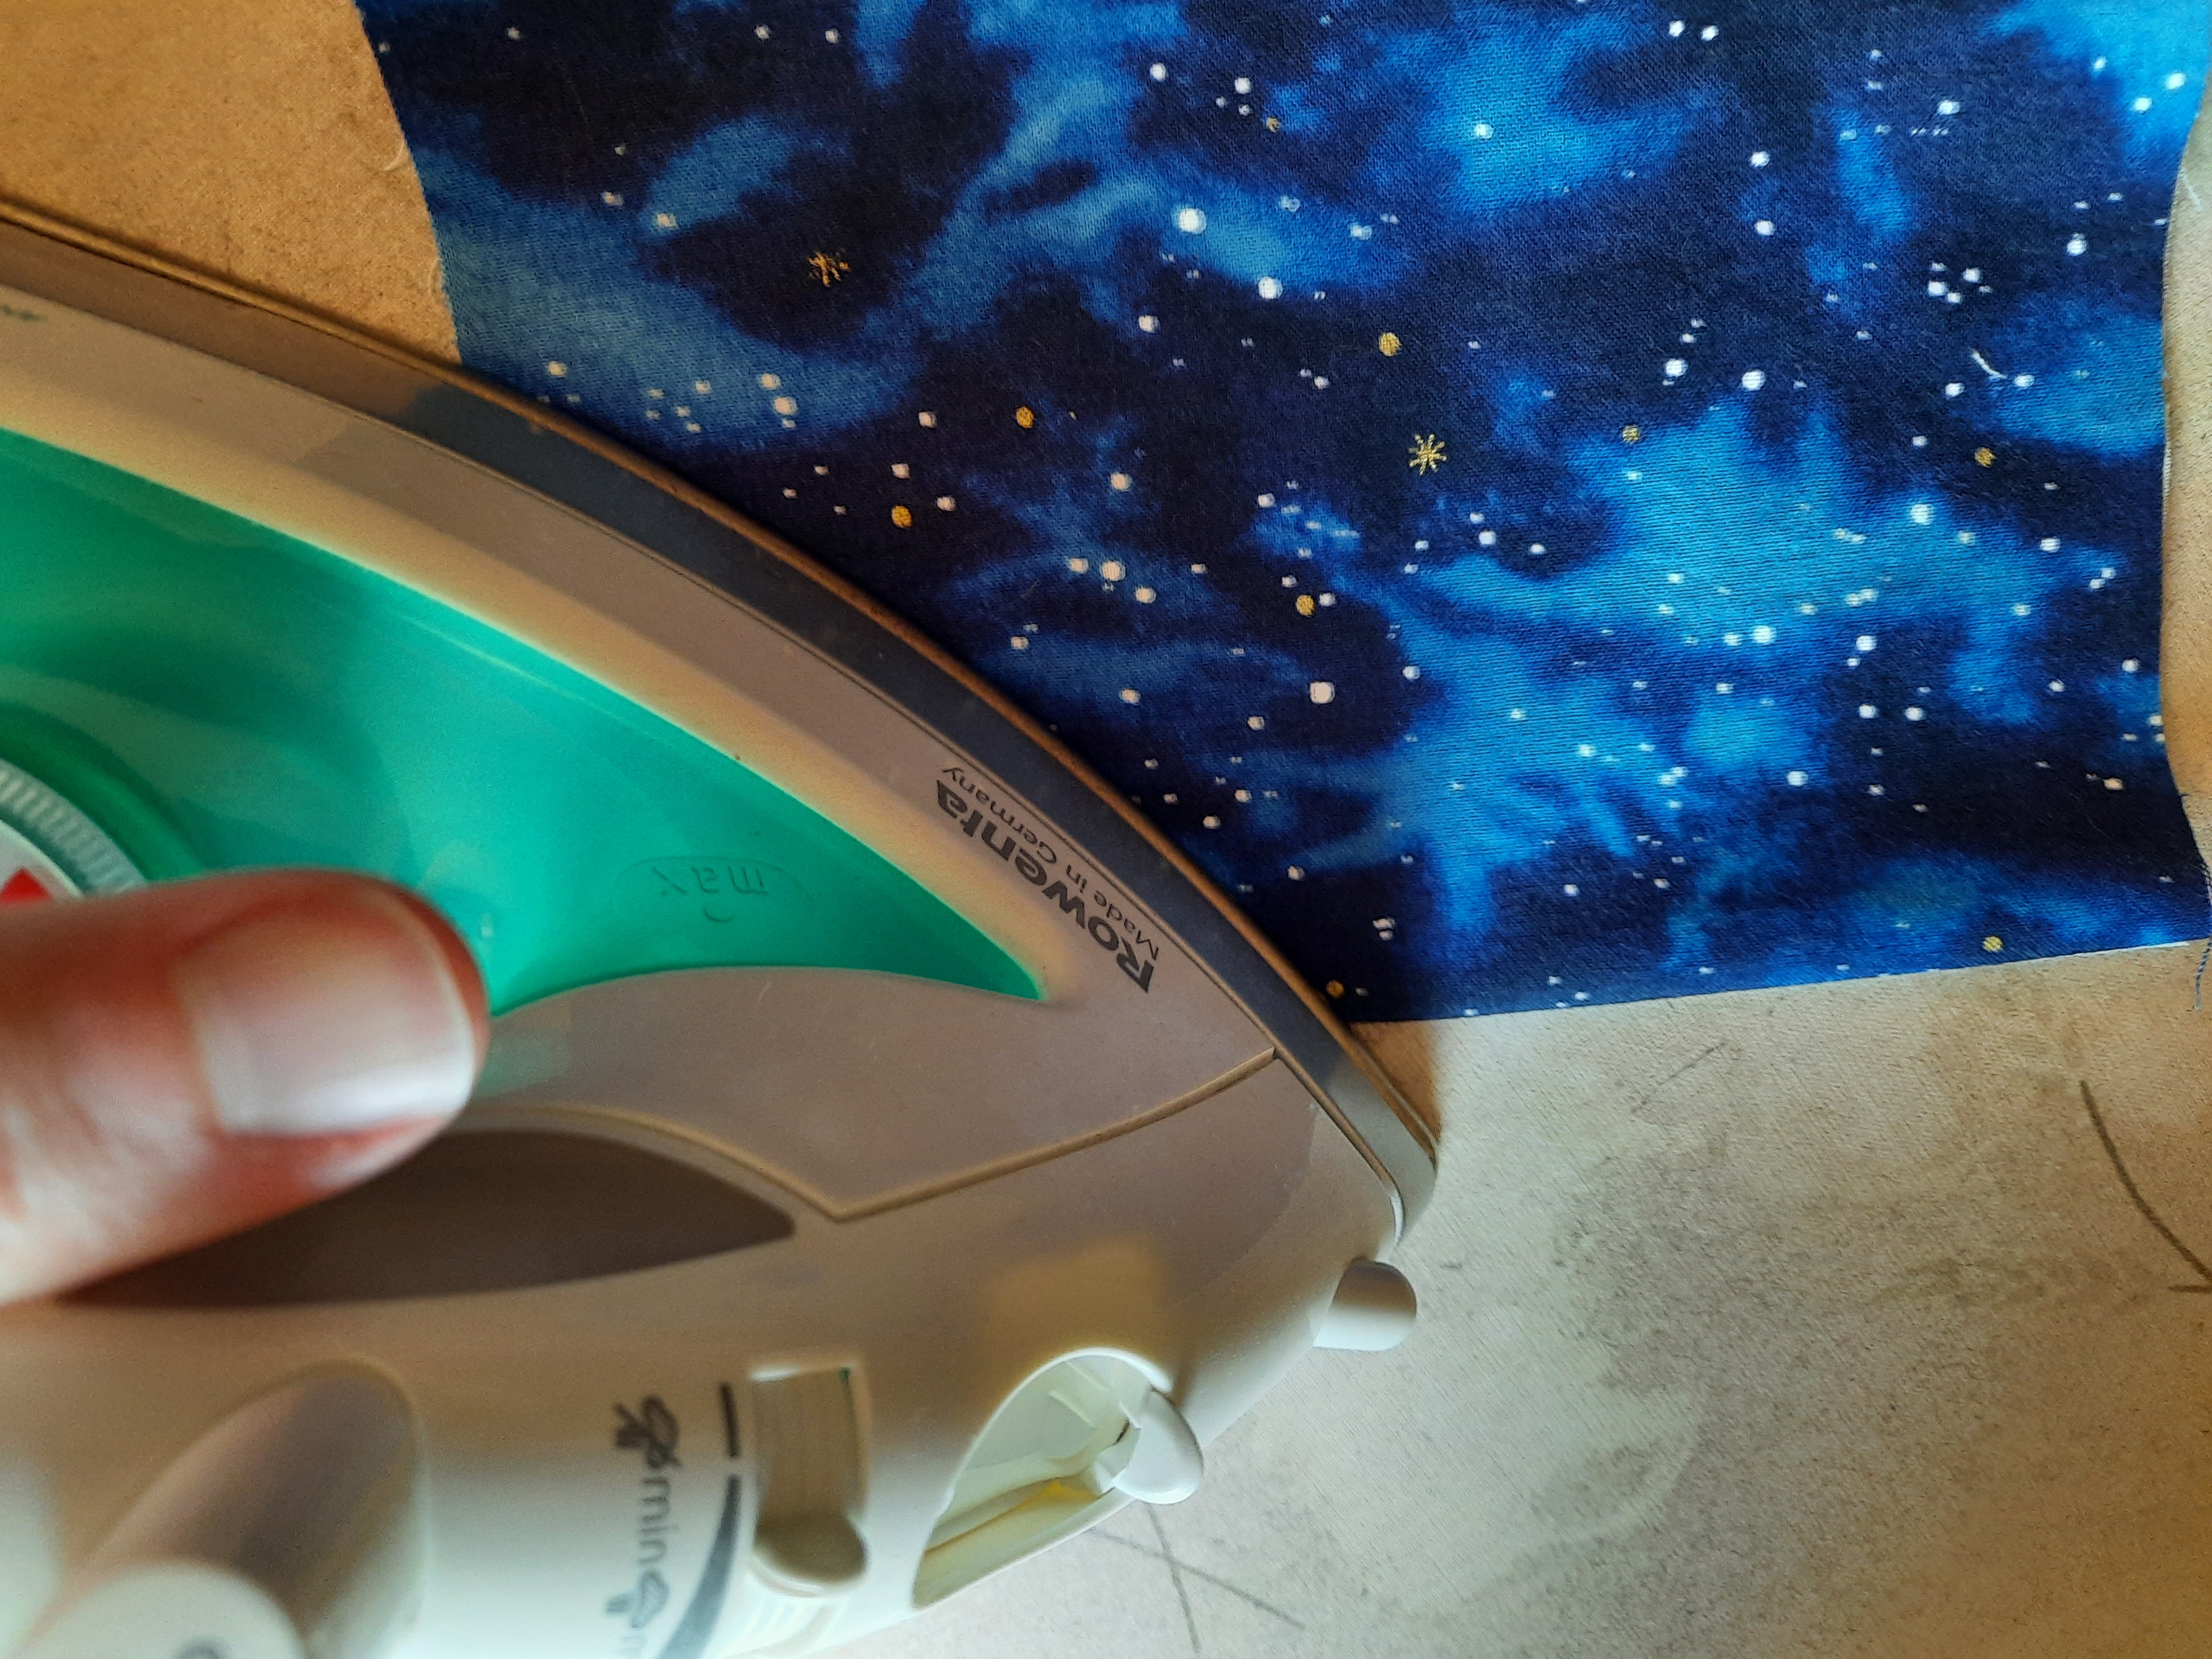
Wash your fabrics in hot water before you work with them; this'll pre-shrink them, so they don't explode when you throw them in the washer for the first time once you're done. Also can't hurt to press the fabrics with an iron just before working. Once you've done all of that, trace the outlines of the shapes and cut them out.
Step 1
Identify which edge of the front fabric you want to be the top of the mask. Pin the right sides of the fabric together and sew across the top and bottom with a 1.25cm/0.5in seam allowance.
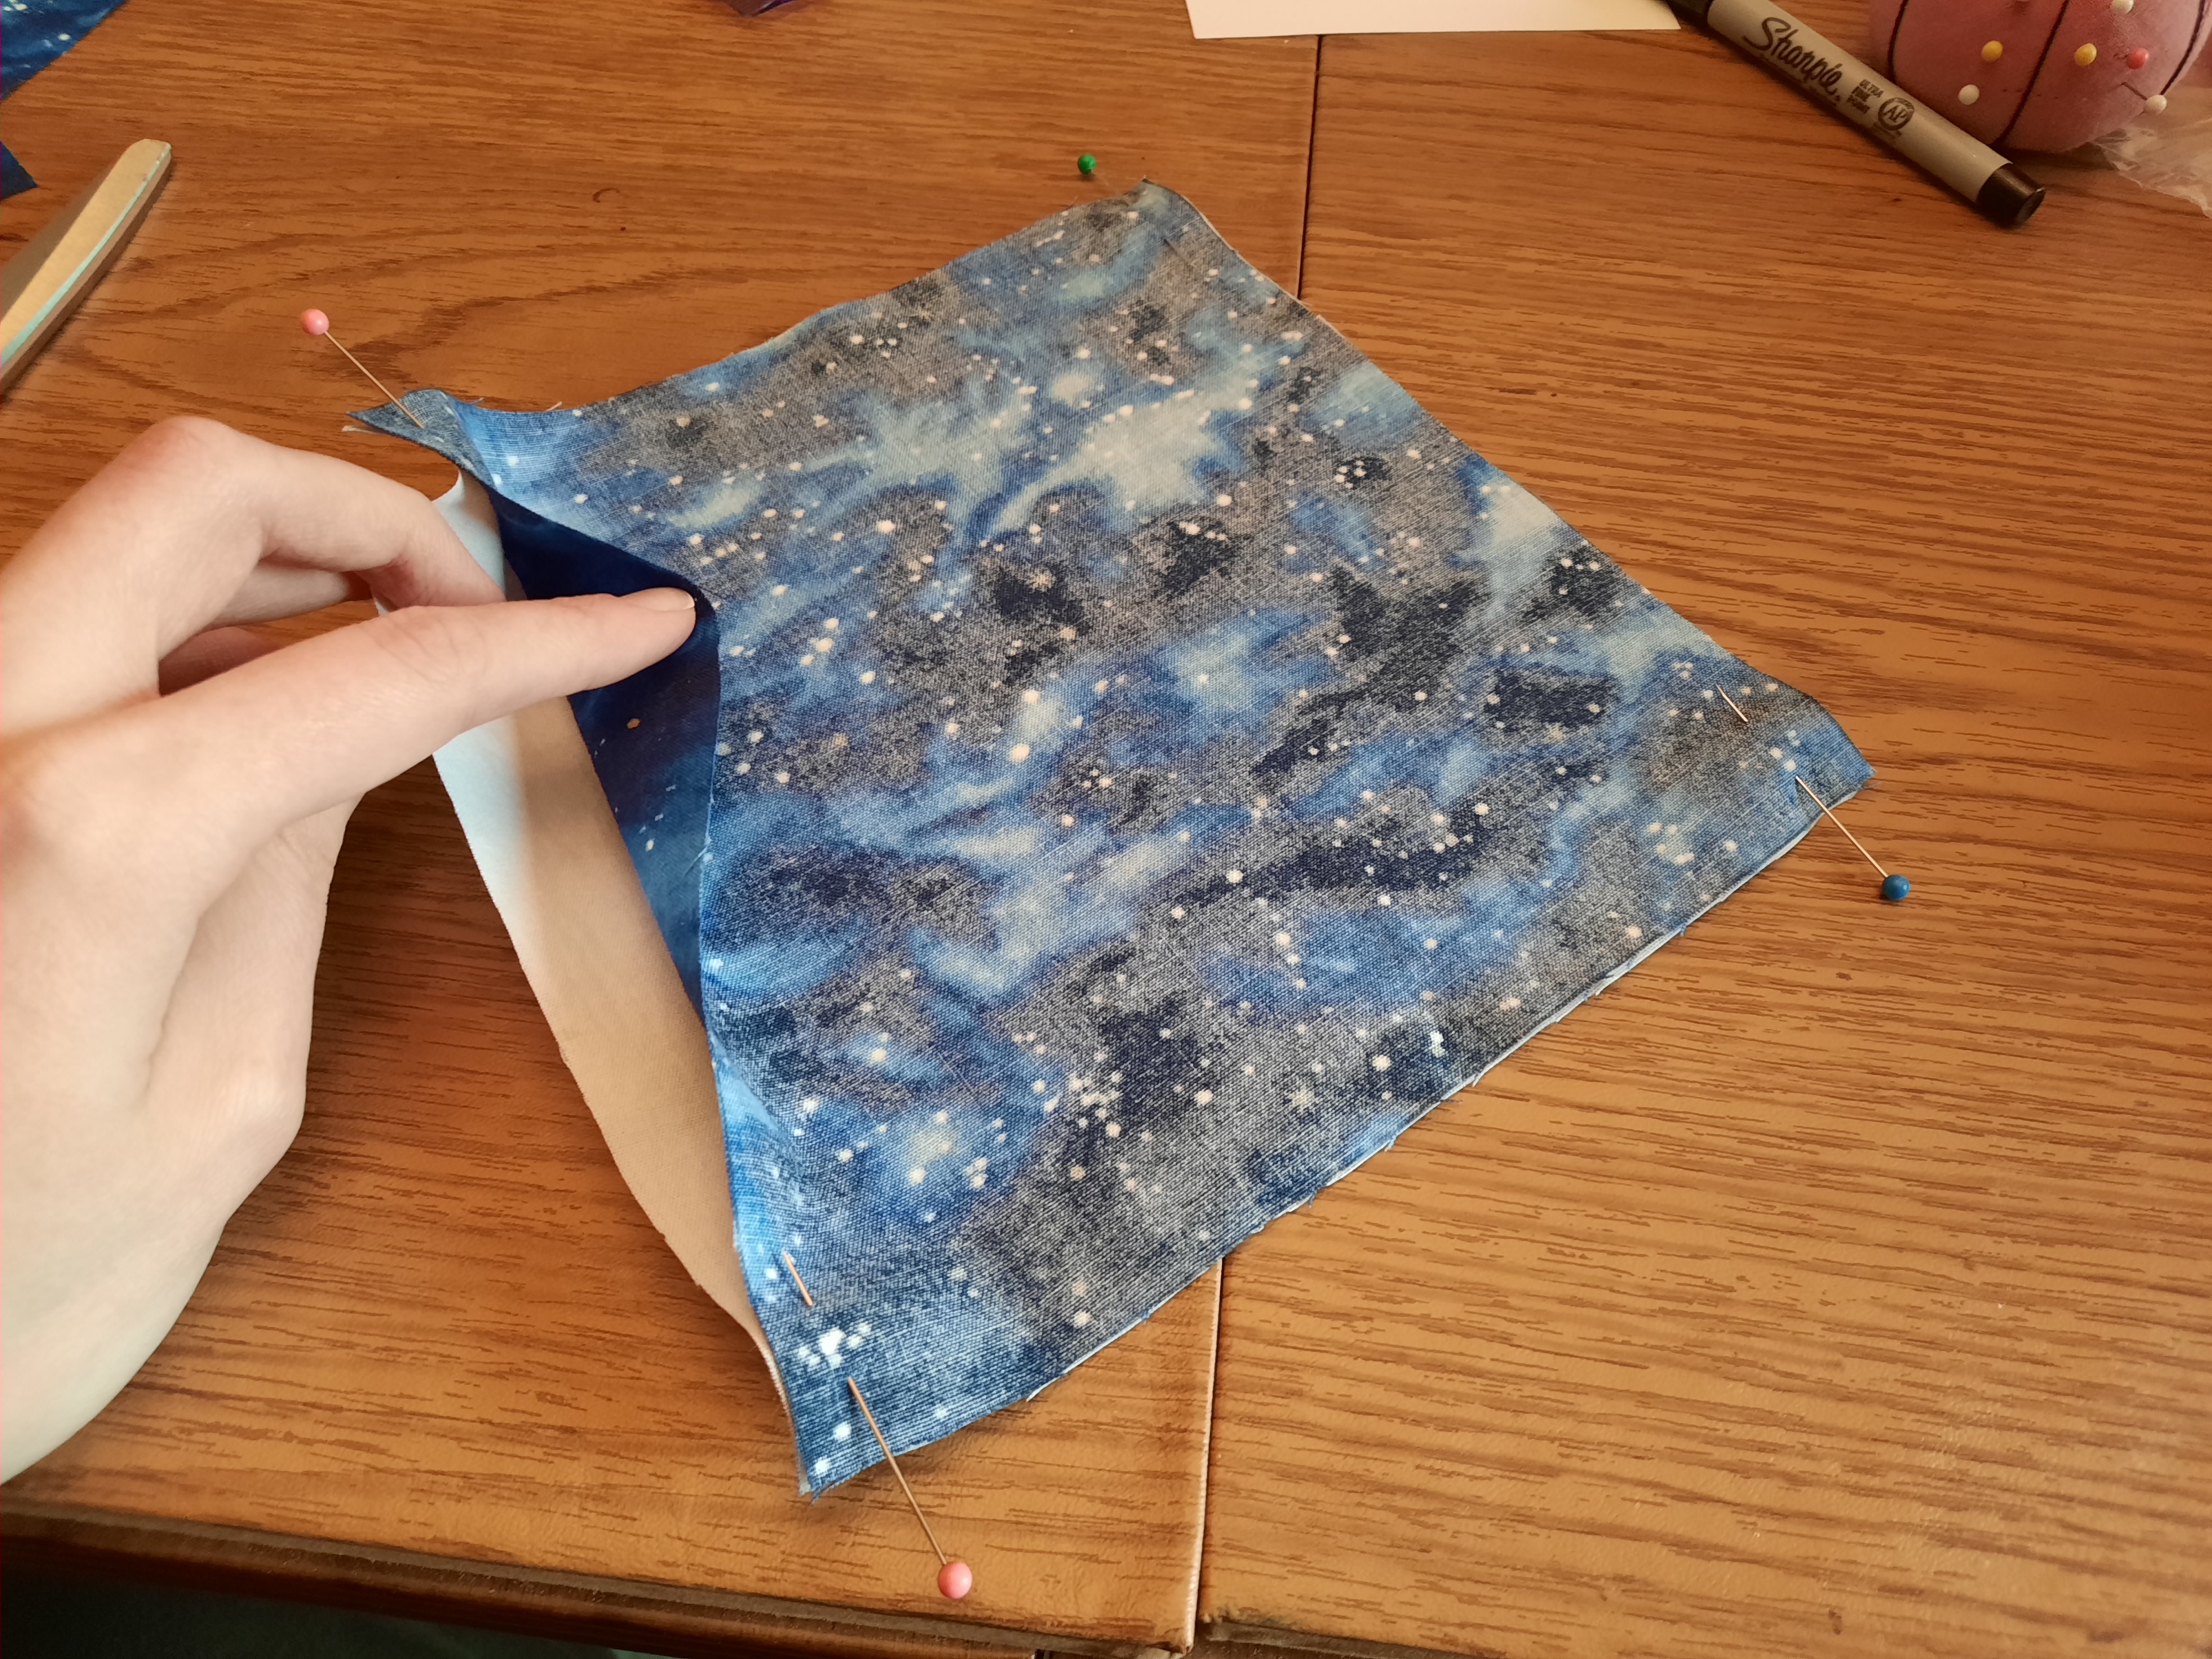
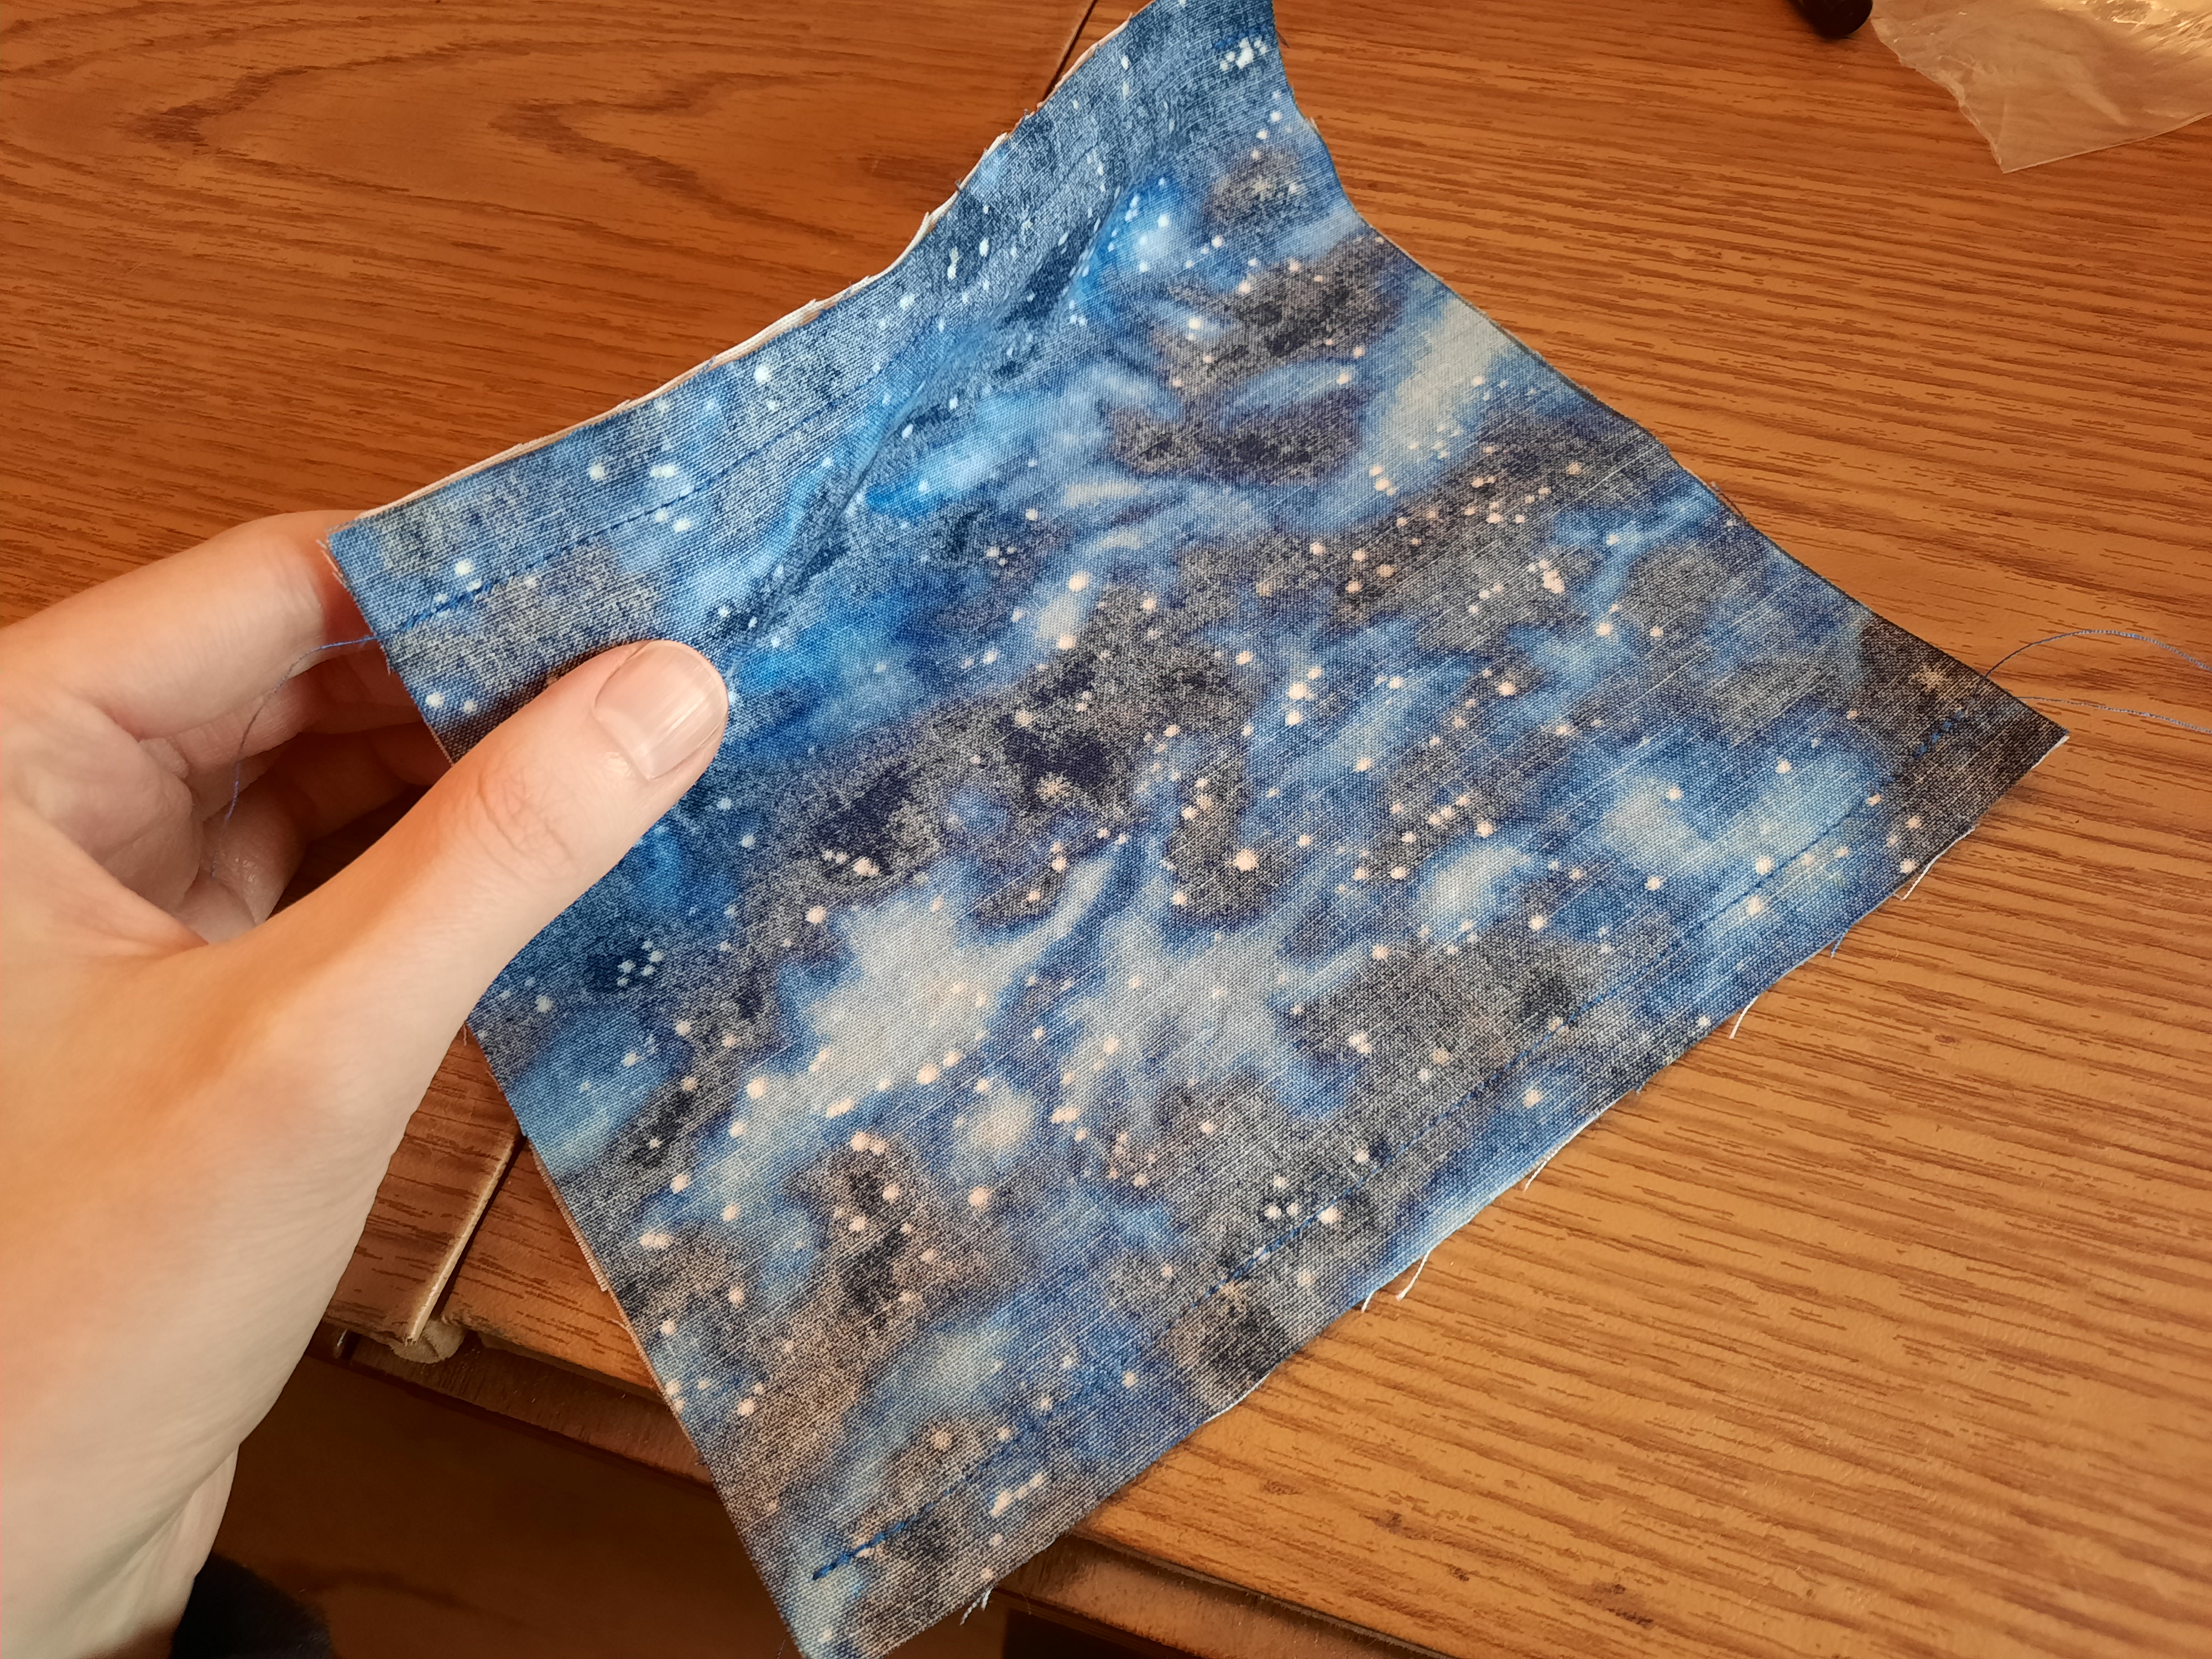
Trim the seam allowance (not too close!), turn, and press. If you're struggling to fully turn the stitched edges of the project, use a chopstick or something similar to push the edge out.
Step 2
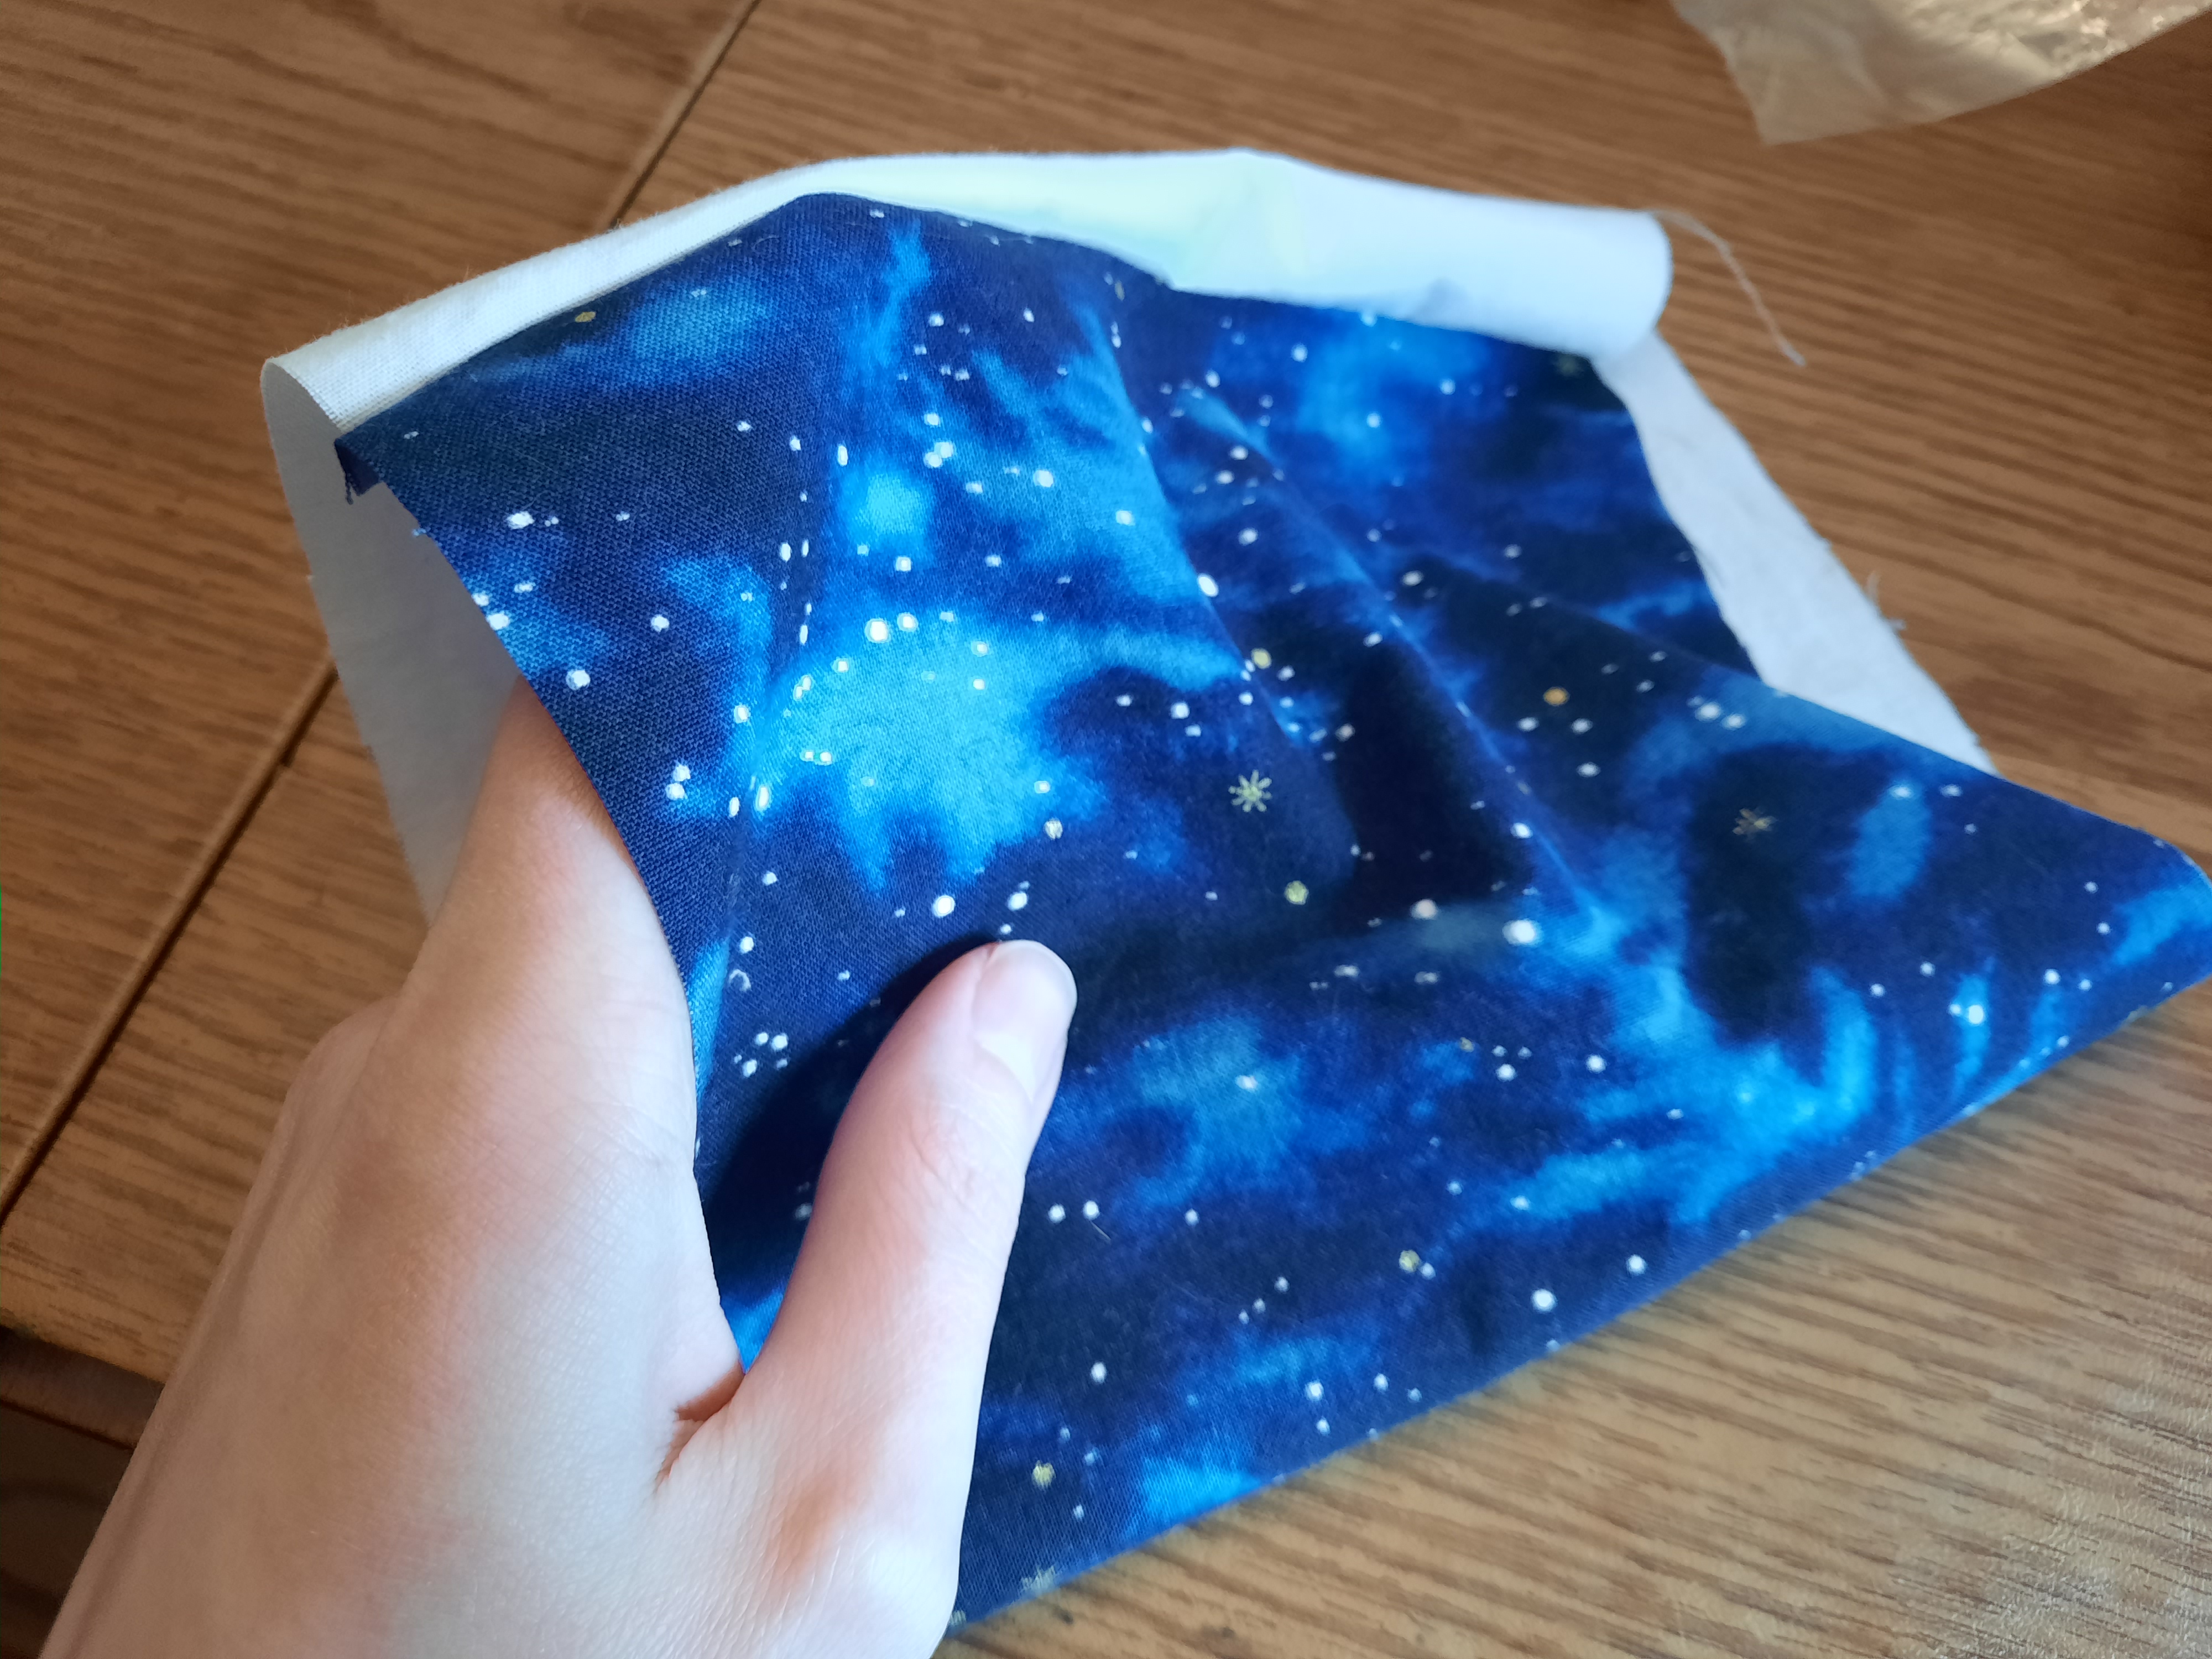
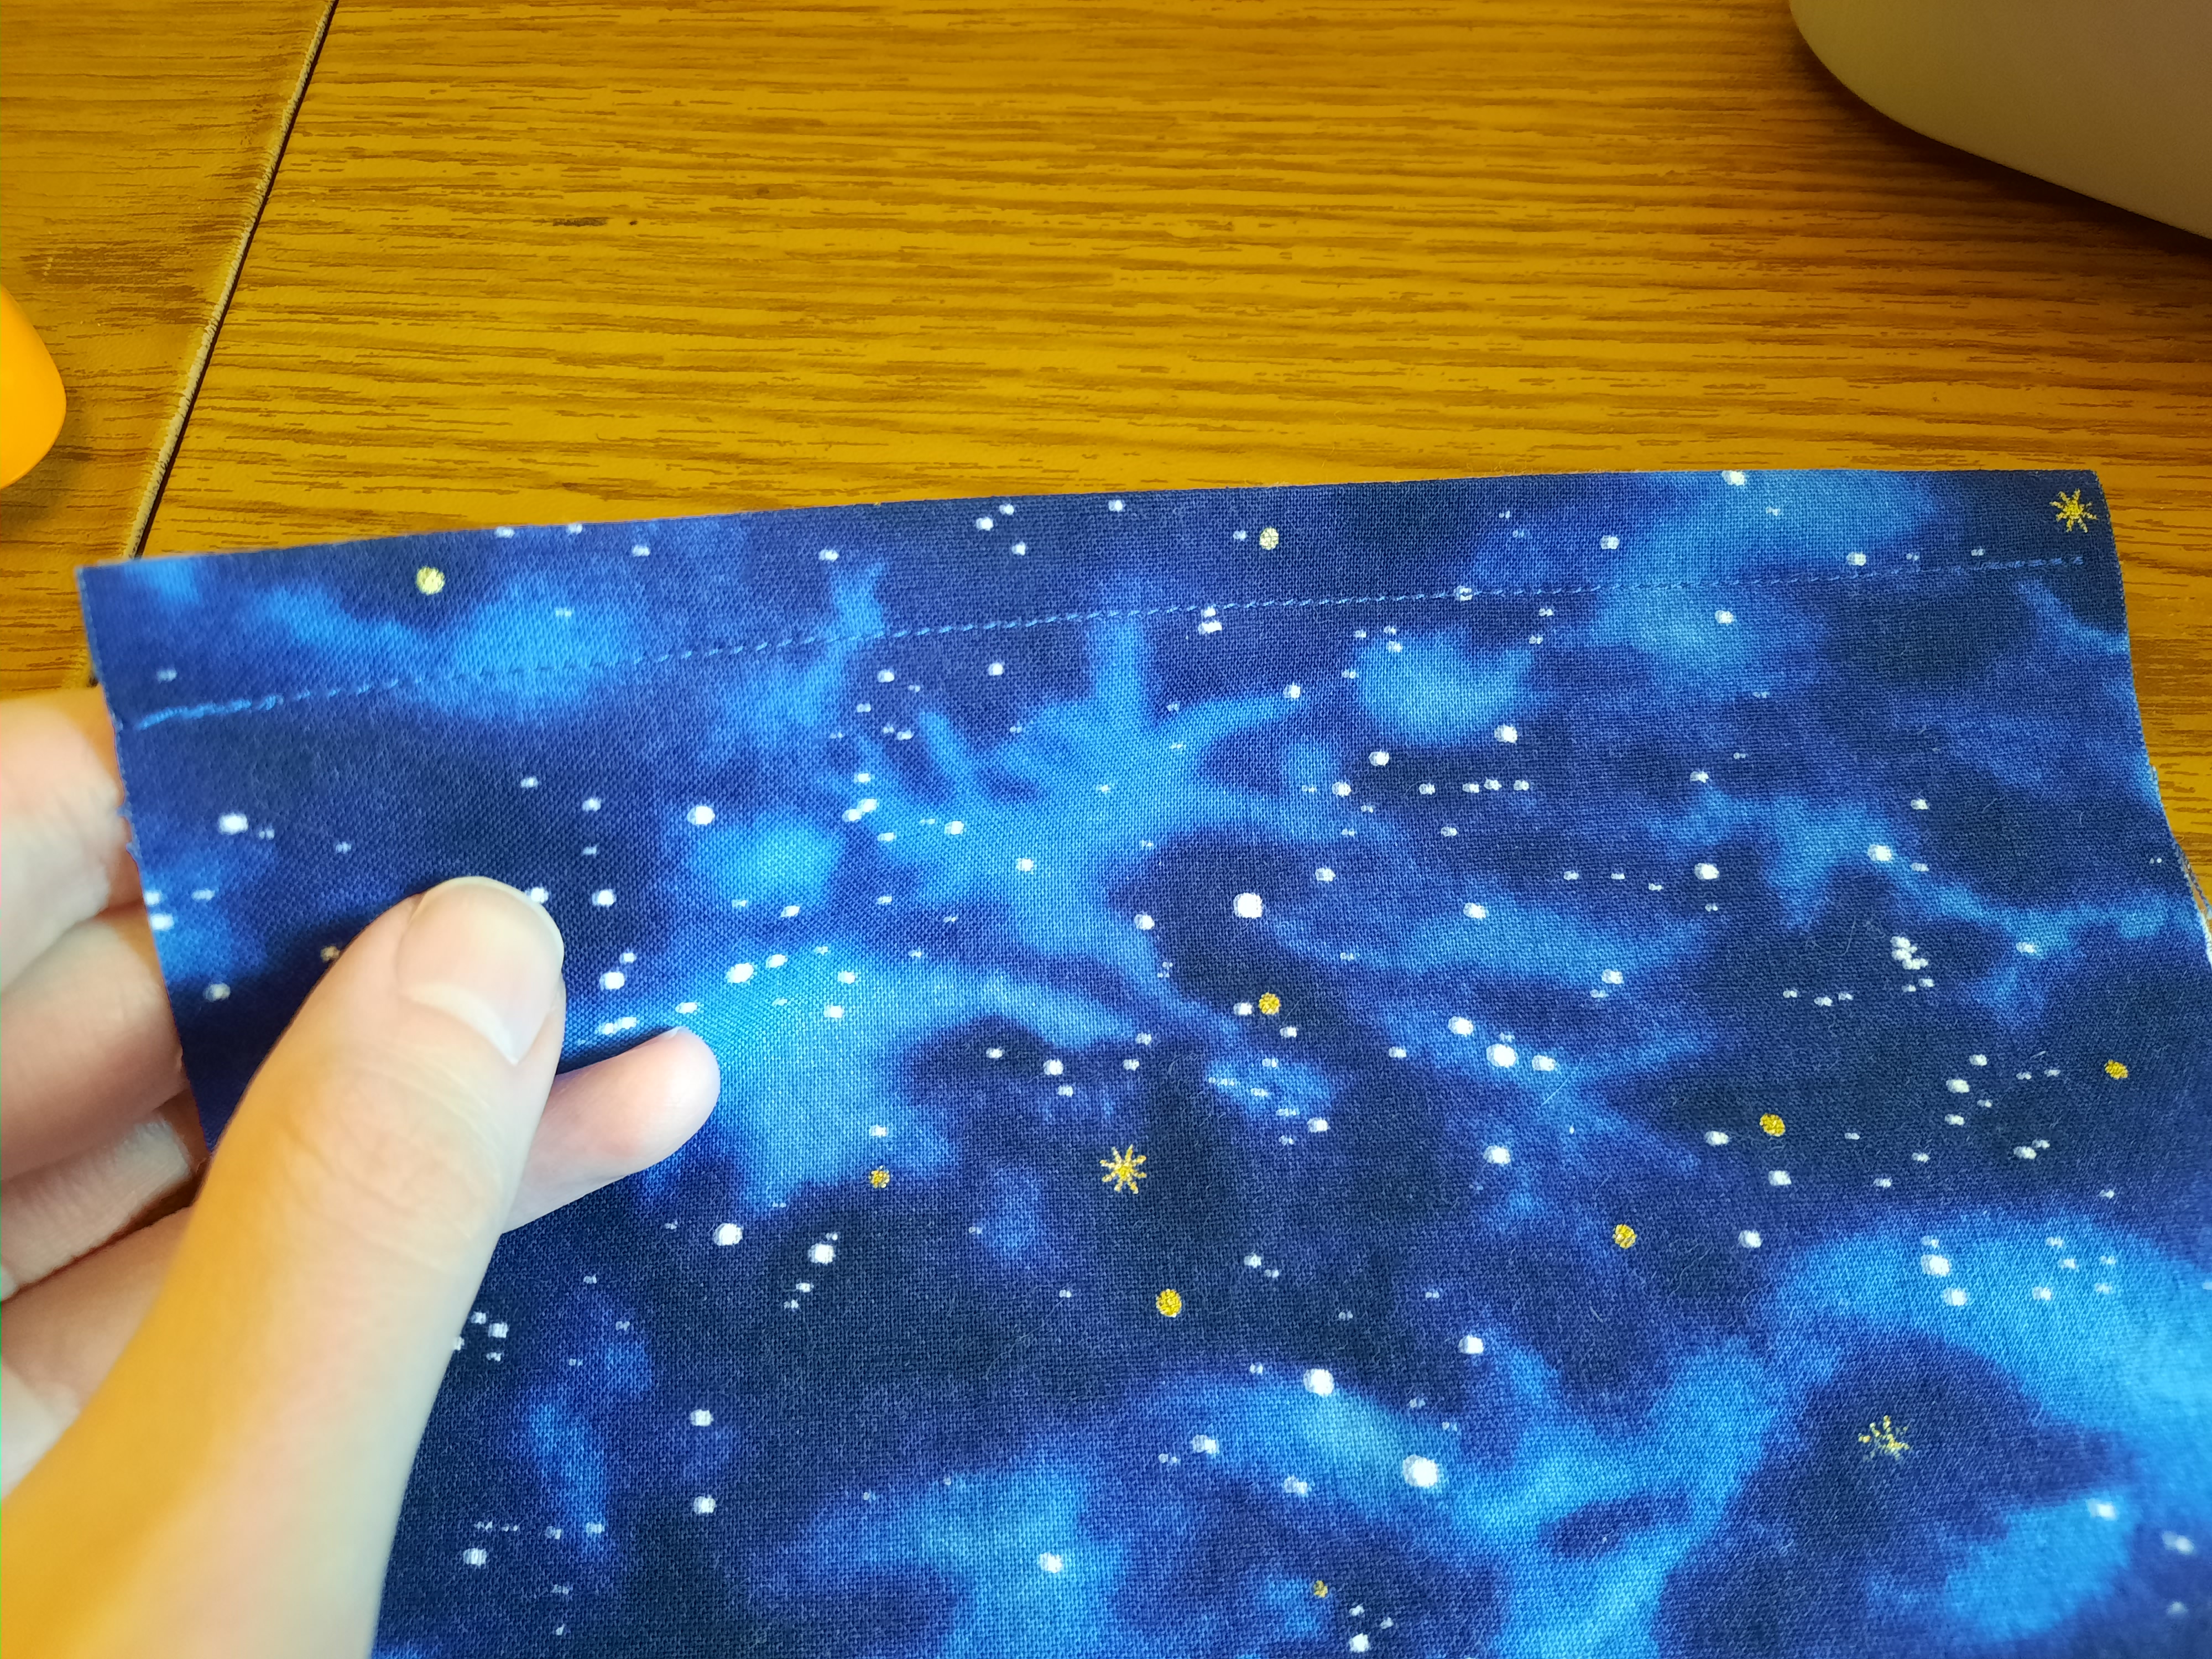
Make a casing on the top of the mask for the pipe cleaner or wire: topstitch through both layers along the top edge, with a seam allowance of about 1-1.5cm/0.5in.
Step 3
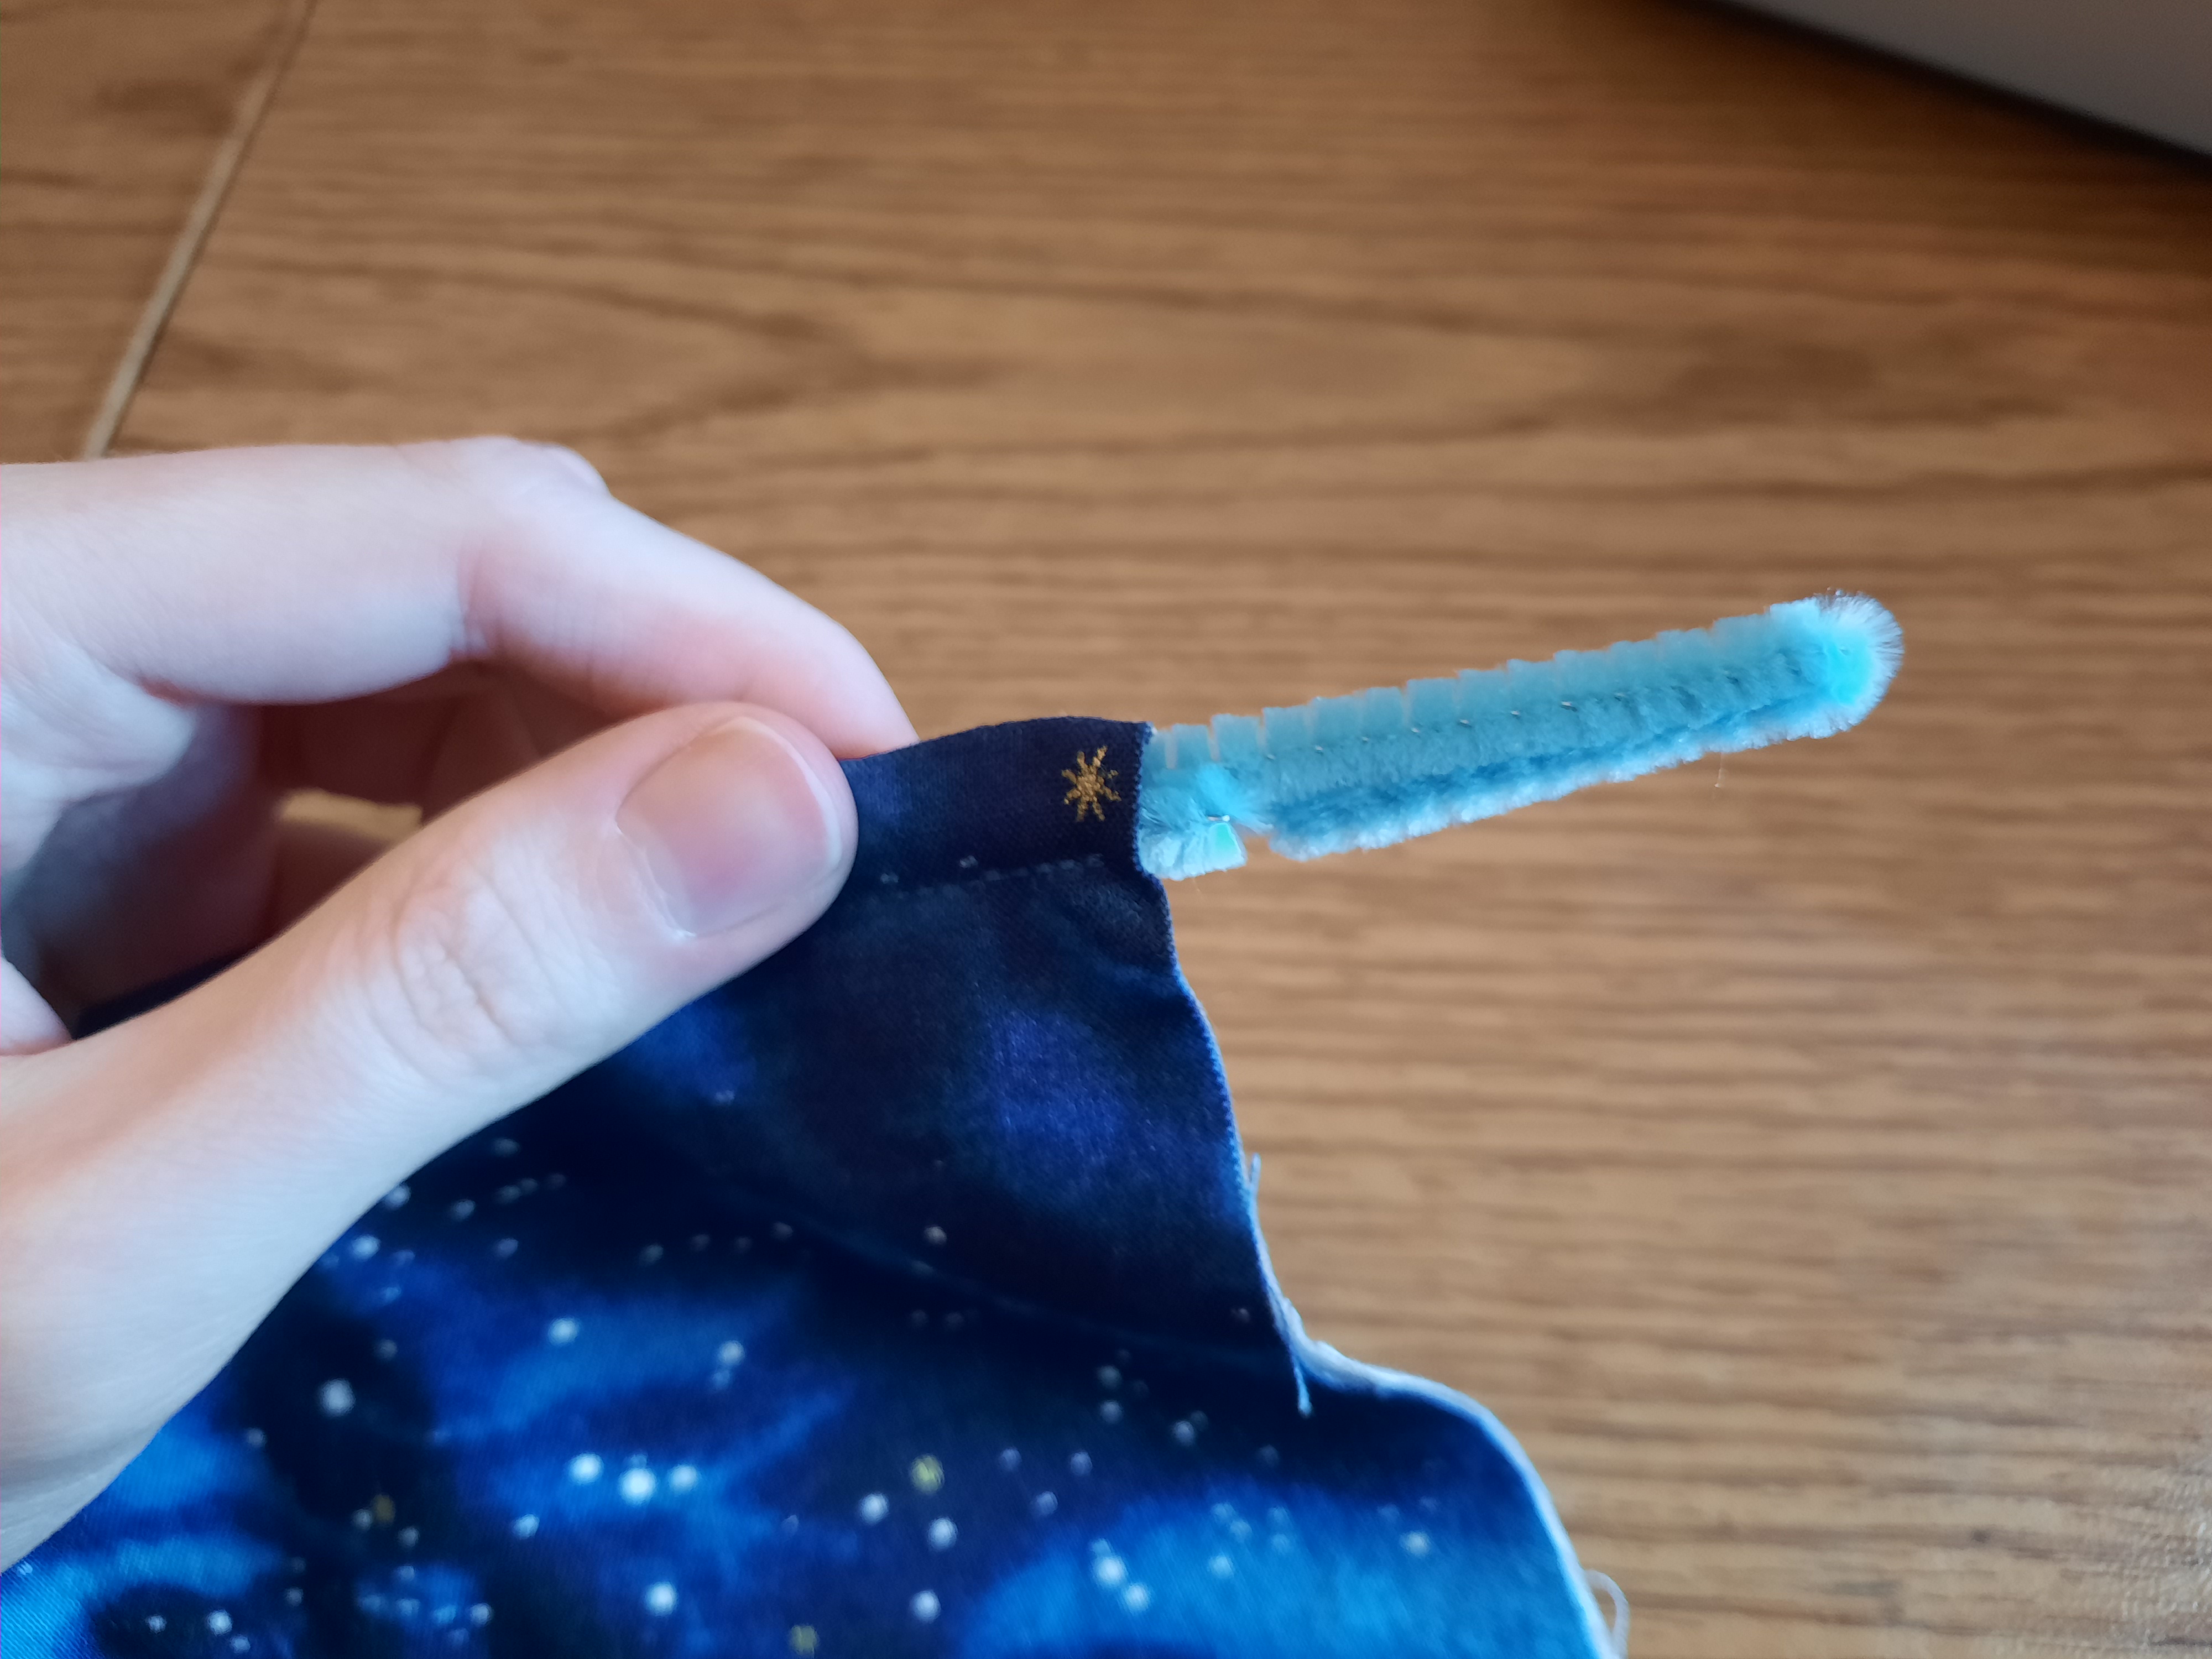
Insert the pipe cleaner: please follow closely, these directions come from much trial and error, where error = masks which have exploded in the wash!
Bend in the very tips of each end of the pipe cleaner, so that it's flat against the pipe cleaner. This hides the pokey ends of the pipe cleaner, making it less likely to stab through the mask.
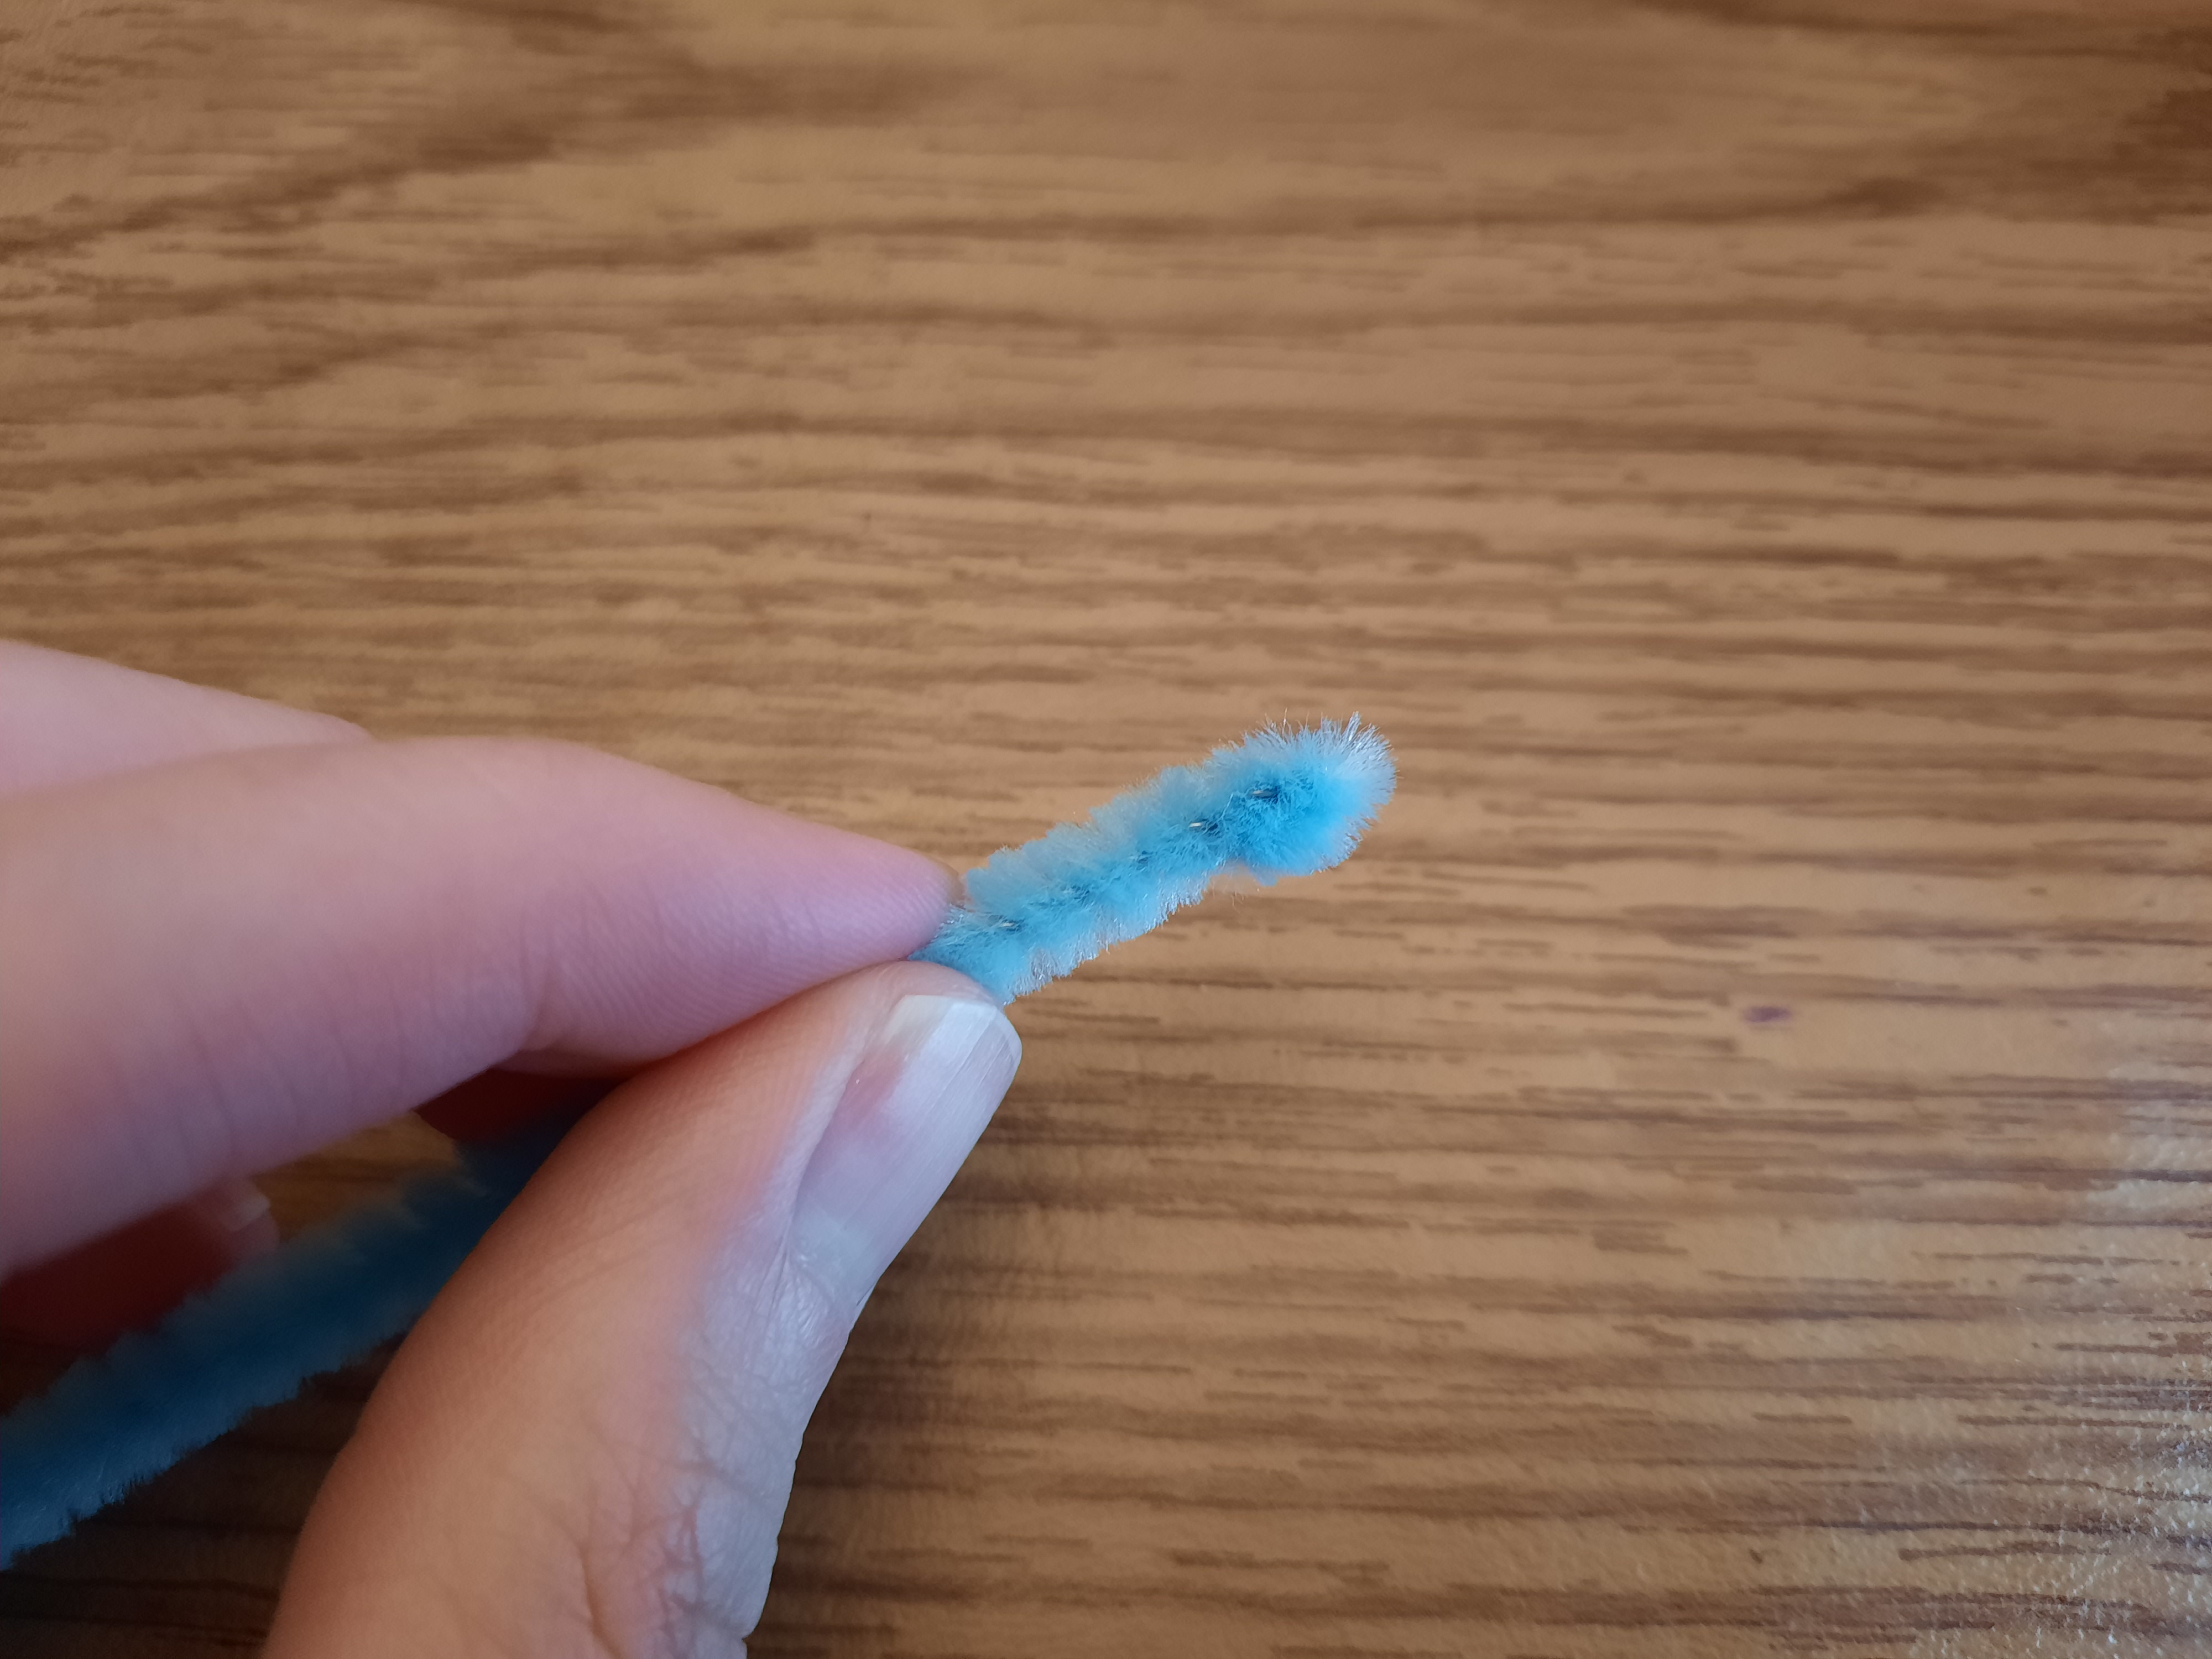
Bend one side of the pipe cleaner in on itself again, but take a larger chunk; 3-5cm will do fine.
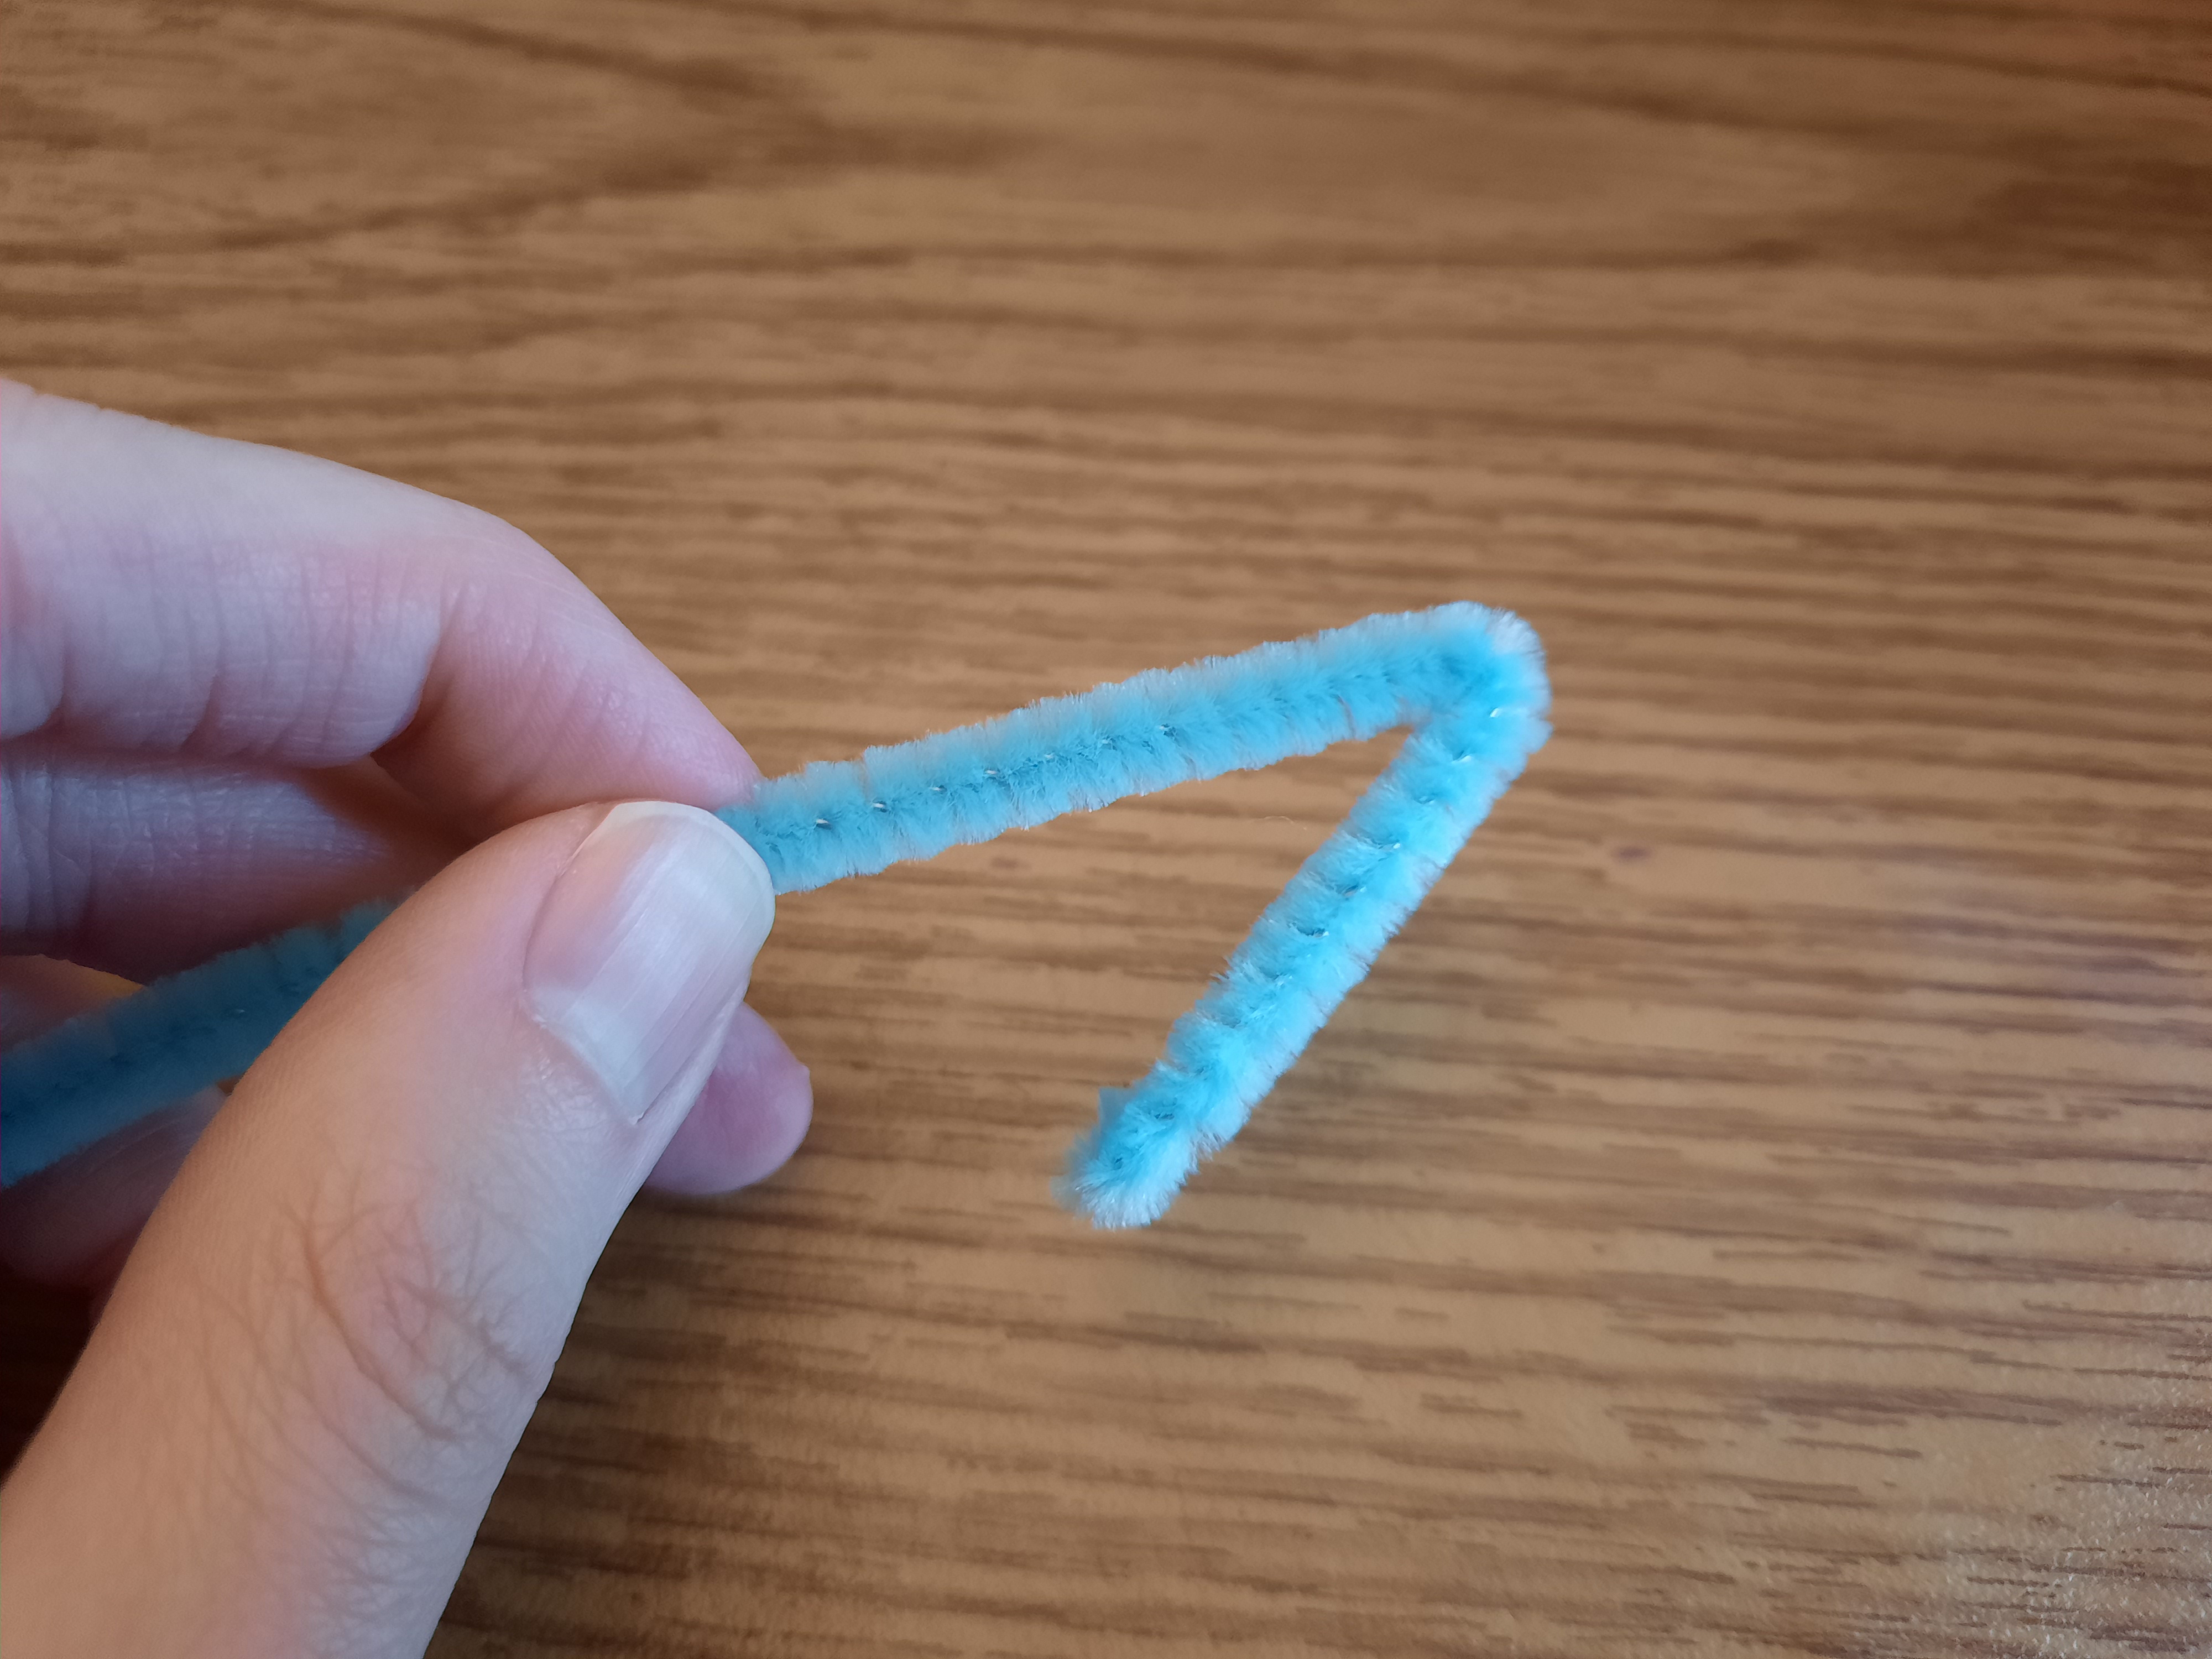
Bend the other side of the pipe cleaner in on itself, such that the ends of the pipe cleaner meet and share a lil kissy.
Pipe cleaner prep done! Slide it into the casing you've made on the top of the mask. We'll sew down the edges in a bit so it can't slide out.

Step 4
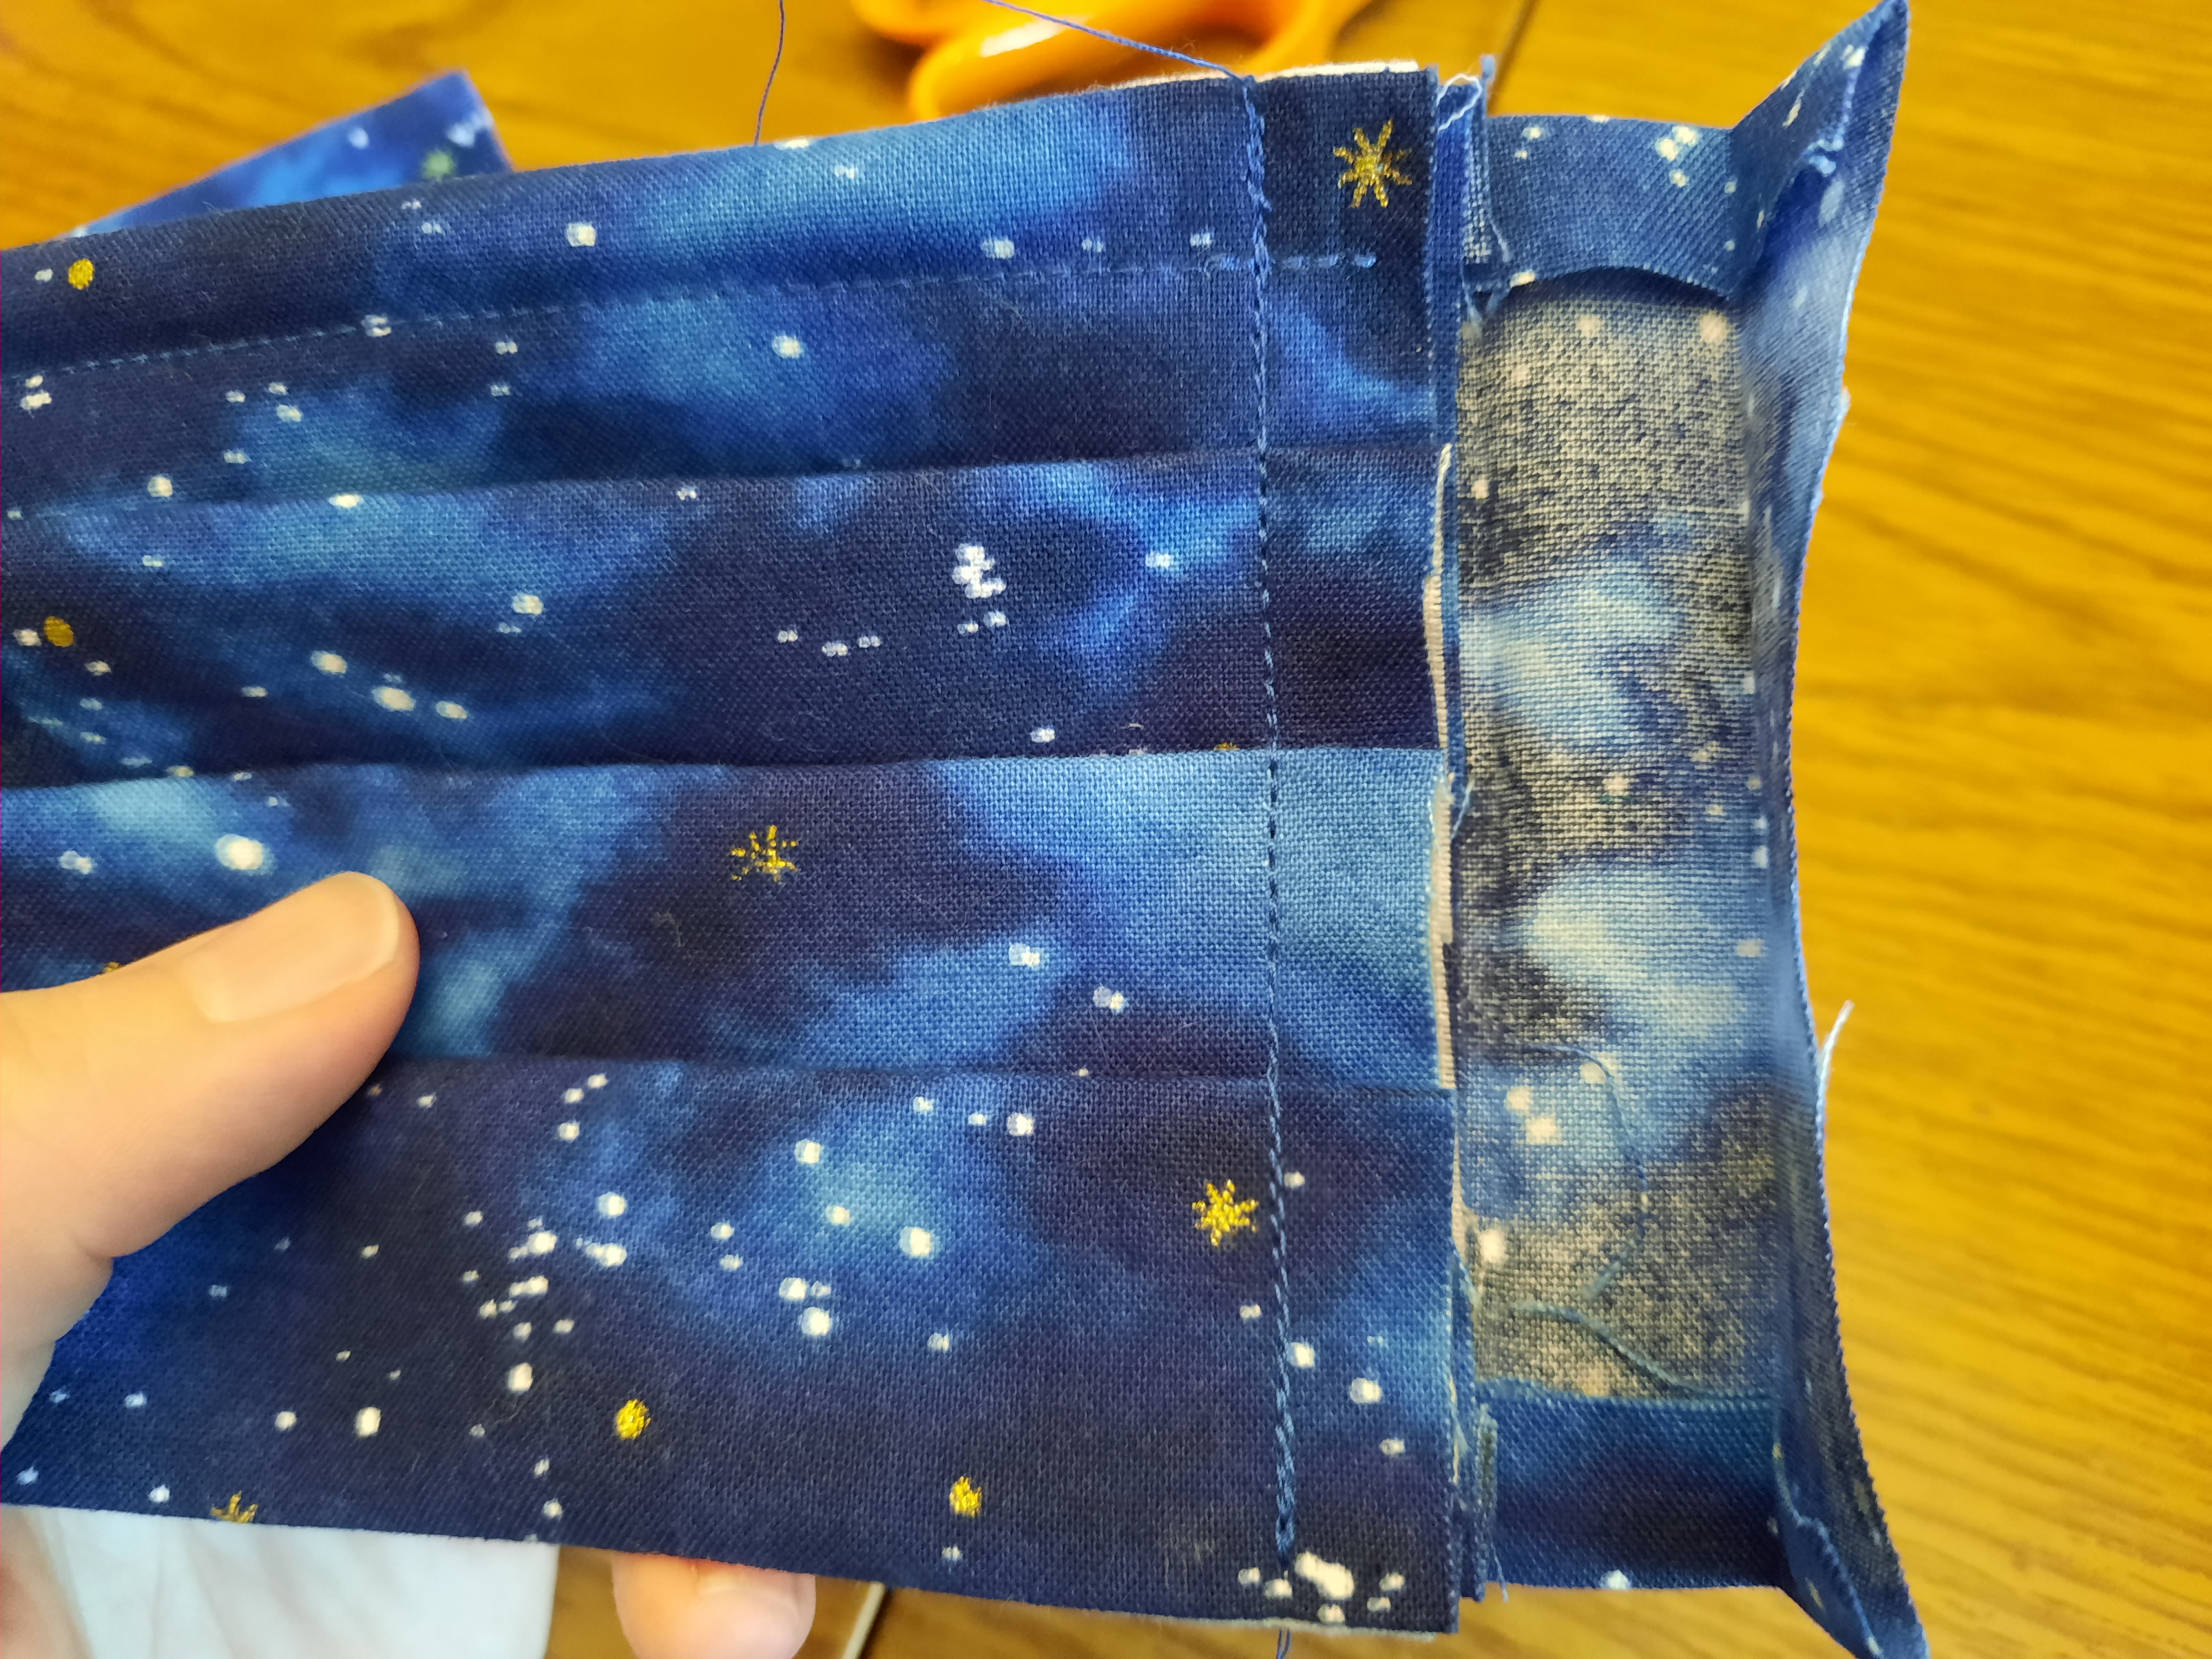
Create the pleats: this part's a bit tricky, be patient with yourself.
Mark the front of the mask (directly on the edges of the right side; the marks won't show up when we're all done) at the following points from the top edge going down: 4.5cm, 9cm, and 13.5cm.

Fold the pleats upward toward the top of the mask, making the pleats 1.25cm deep. I find it helpful to also mark these 1.25cm points so I have a visual cue while folding. Once you have a good pleat, pin it horizontally through all layers. Sew through these pleats with a 1cm seam allowance, removing the pins as you go. Repeat this entire step for the opposite side.
Step 5
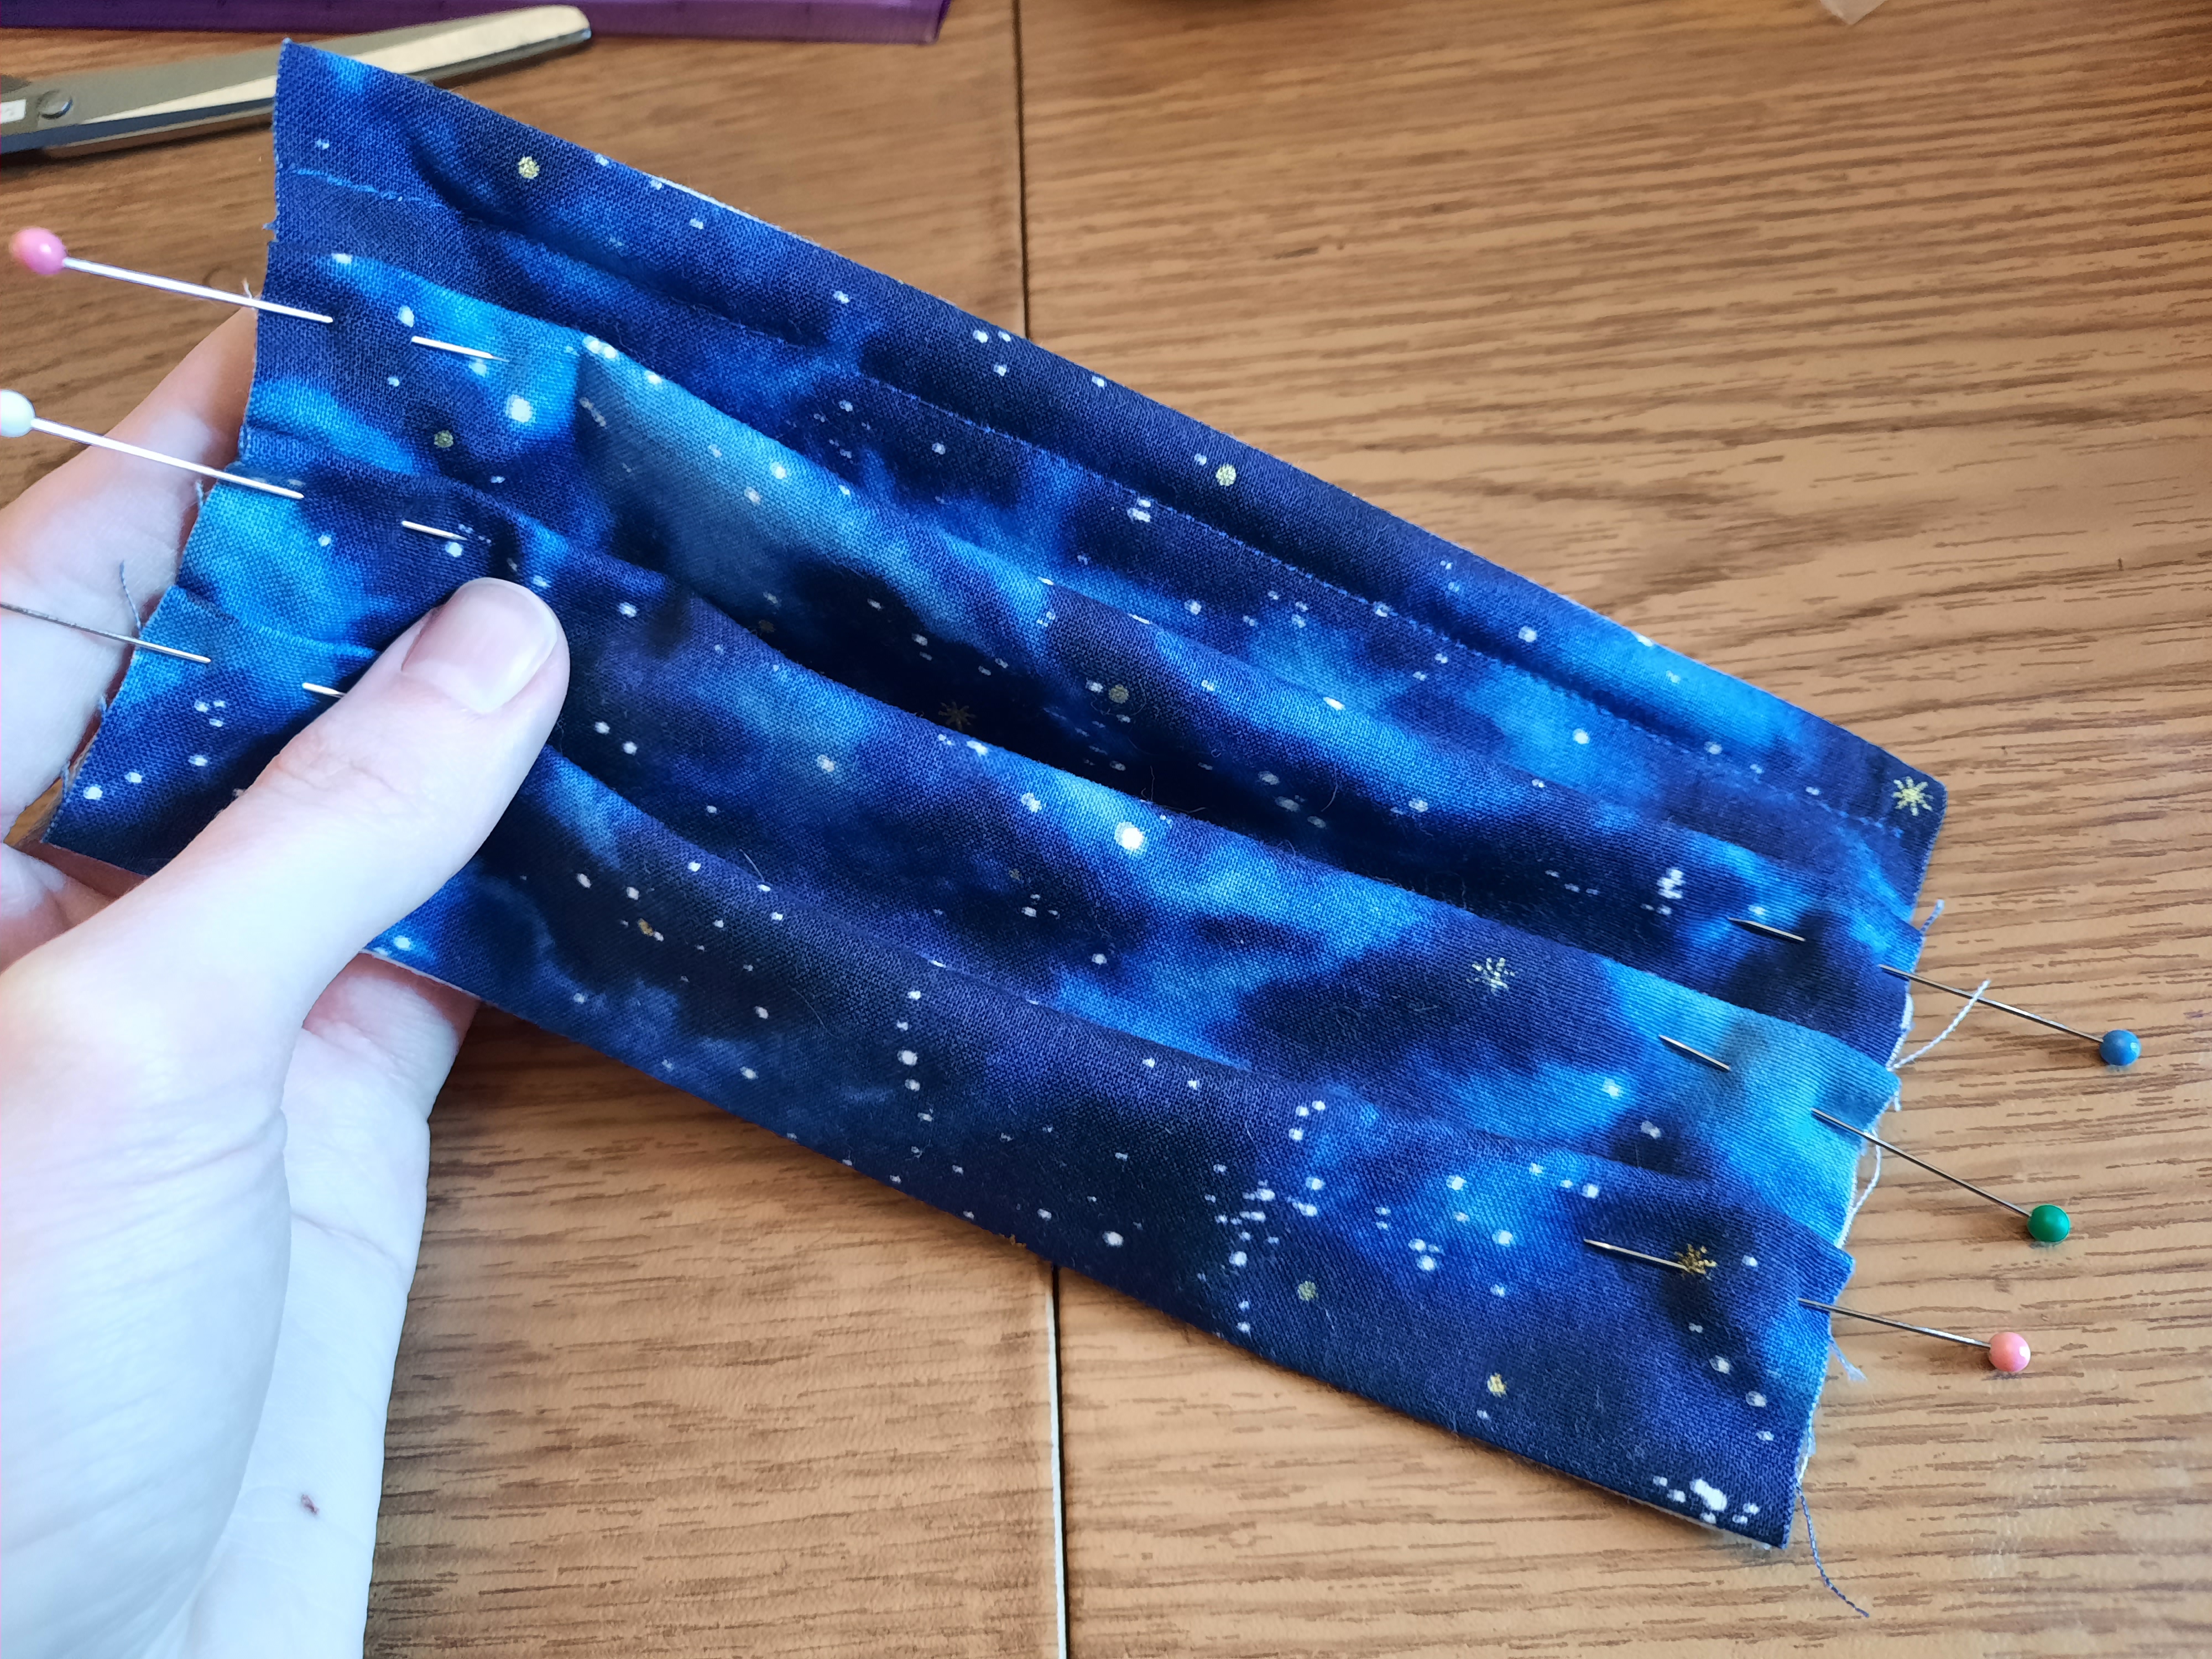
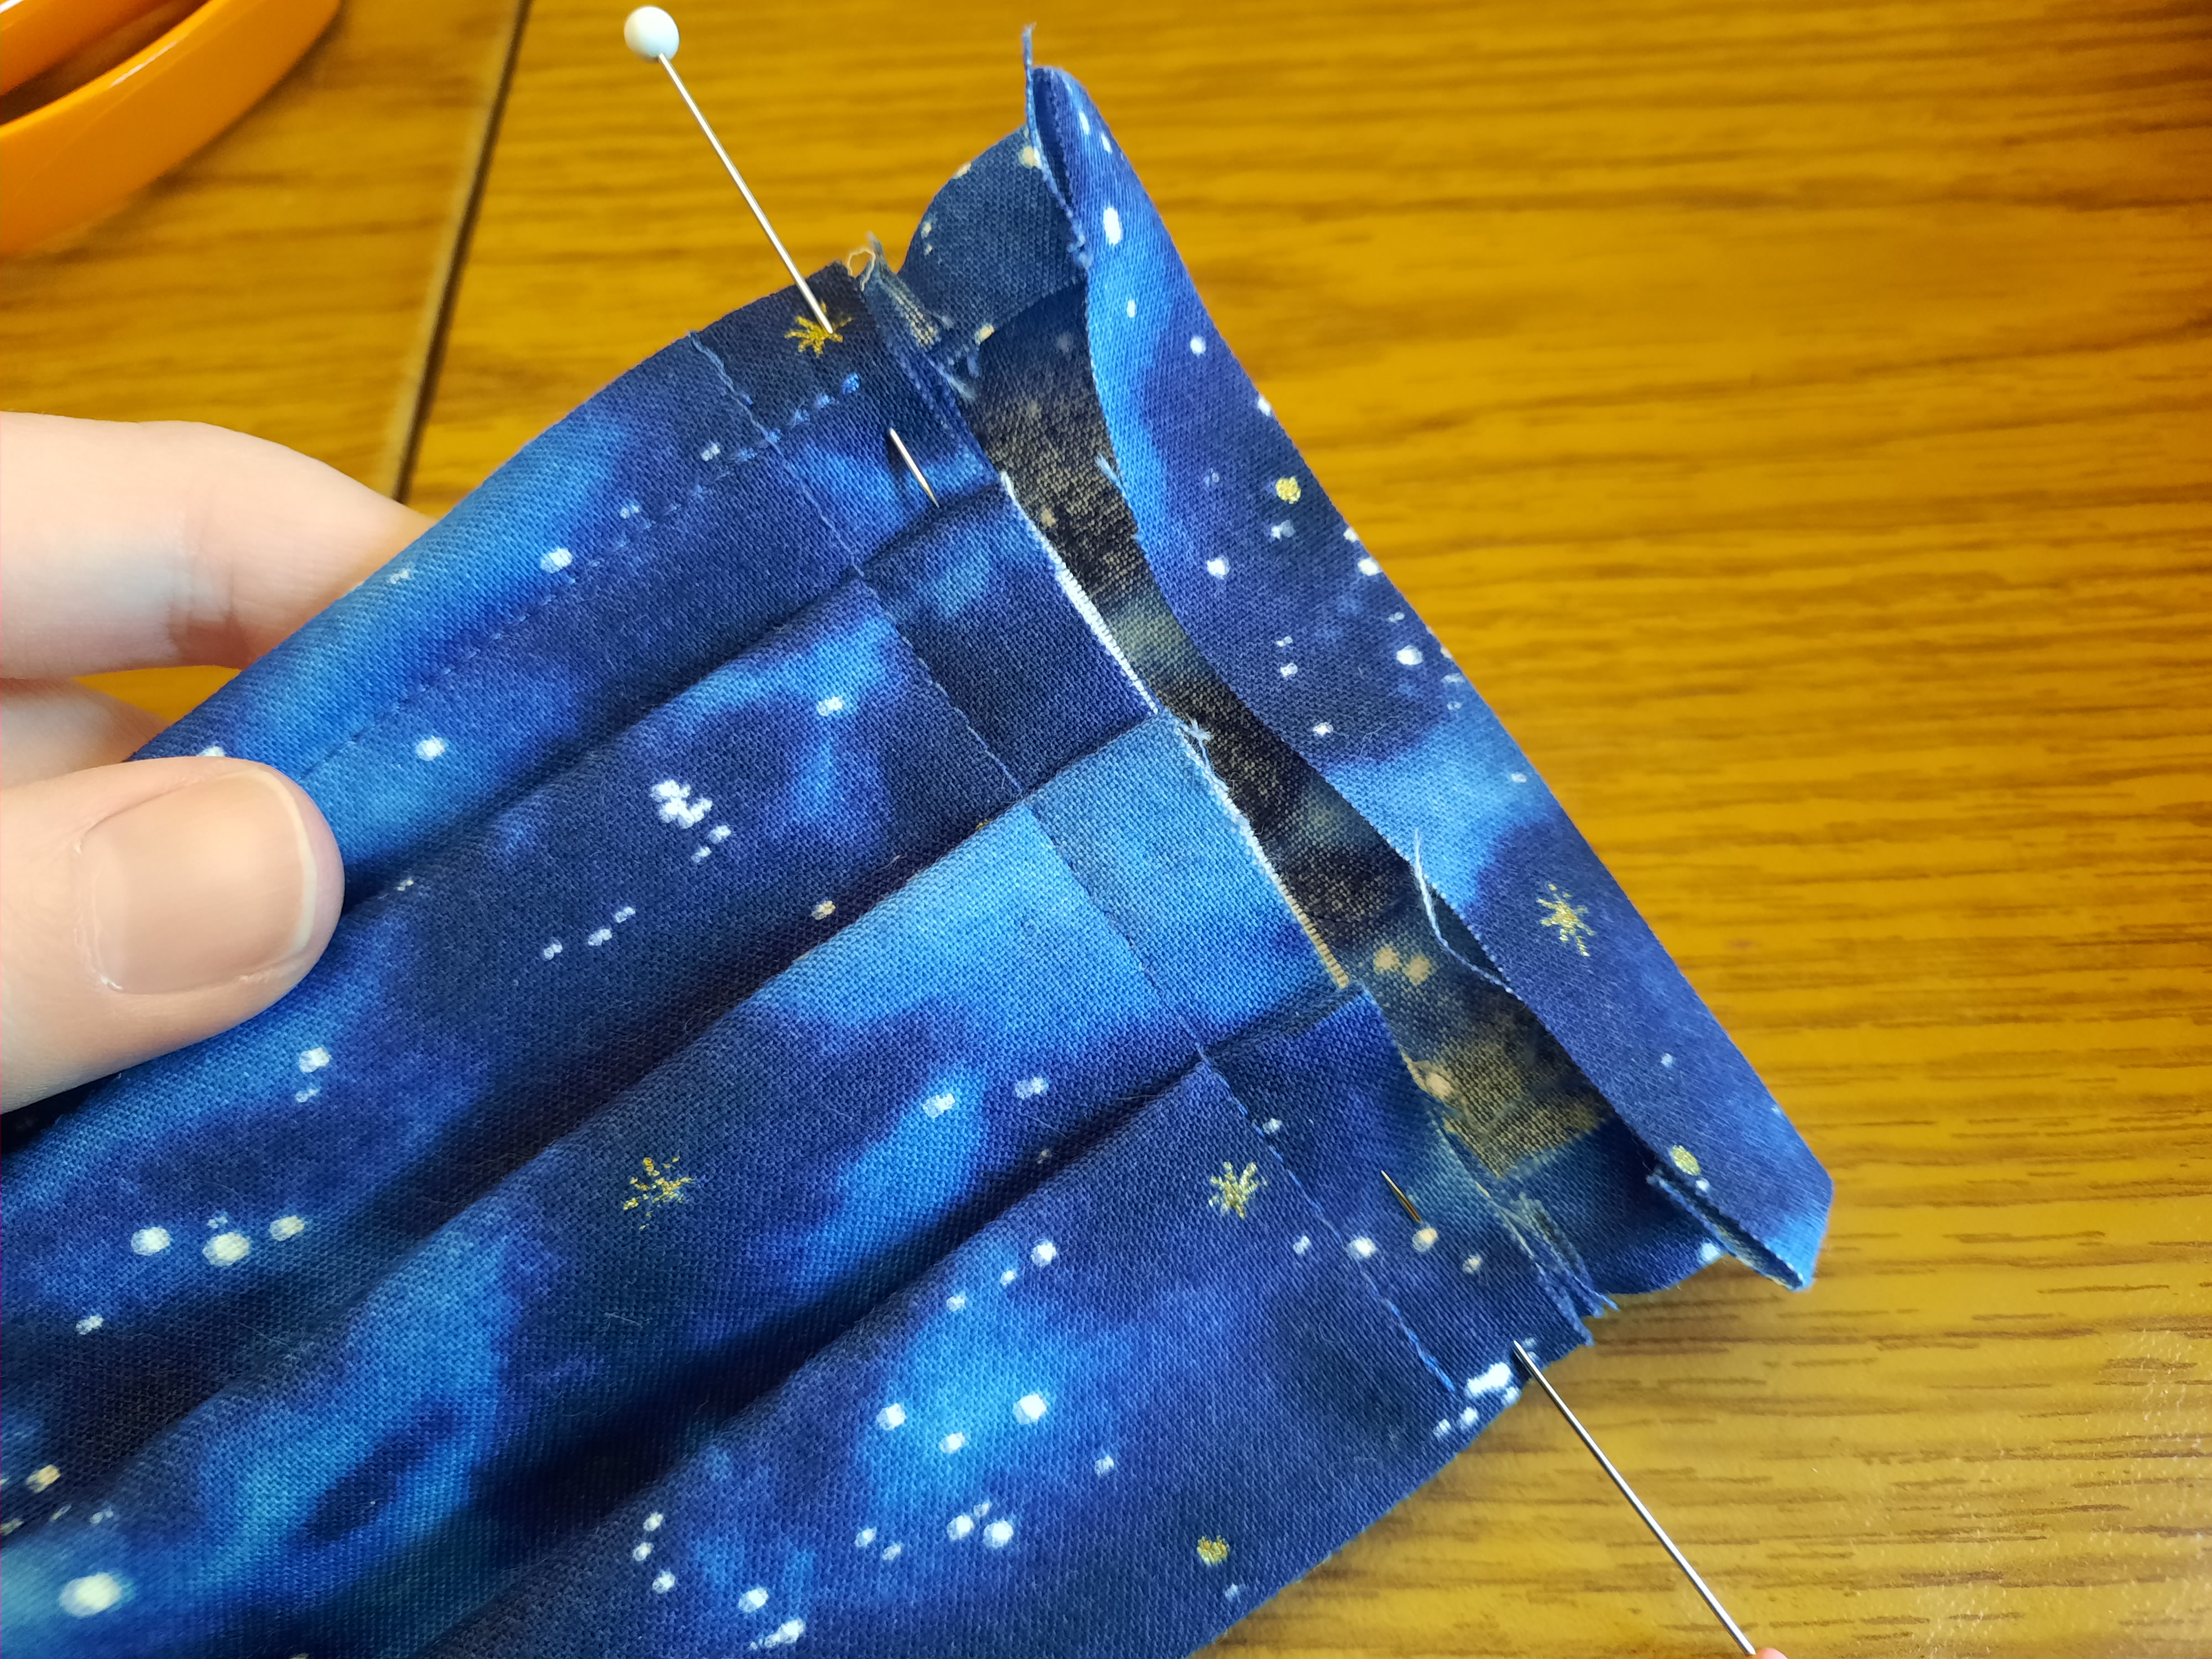
Make and sew on the bias tape: this is the worst step. Go slow and use the iron to press your folds as you go.
Align the bias tape stripe vertically along with the sewn sides of the mask. Align the top edge of the bias tape with the top edge of your mask, place a ruler down to measure how far the bias tape goes past the bottom edge of the mask, and mark the 2.5cm point on the bias tape. If your bias tape already is 2.5cm longer than the mask, or less than 2.5cm longer than the mask, that's okay. Trim the bias tape horizontally along the 2.5cm point you marked.
Fold the bias tape in half vertically and press. Fold the top and bottom of the bias tape 1.25cm inward, and press again. Fold one vertical half of the bias tape in half vertically... again. And press. Fold the other vertical half of the bias tape in half vertically and press. You should now have a tiny rectangle with very clean edges that can fold shut like a book.
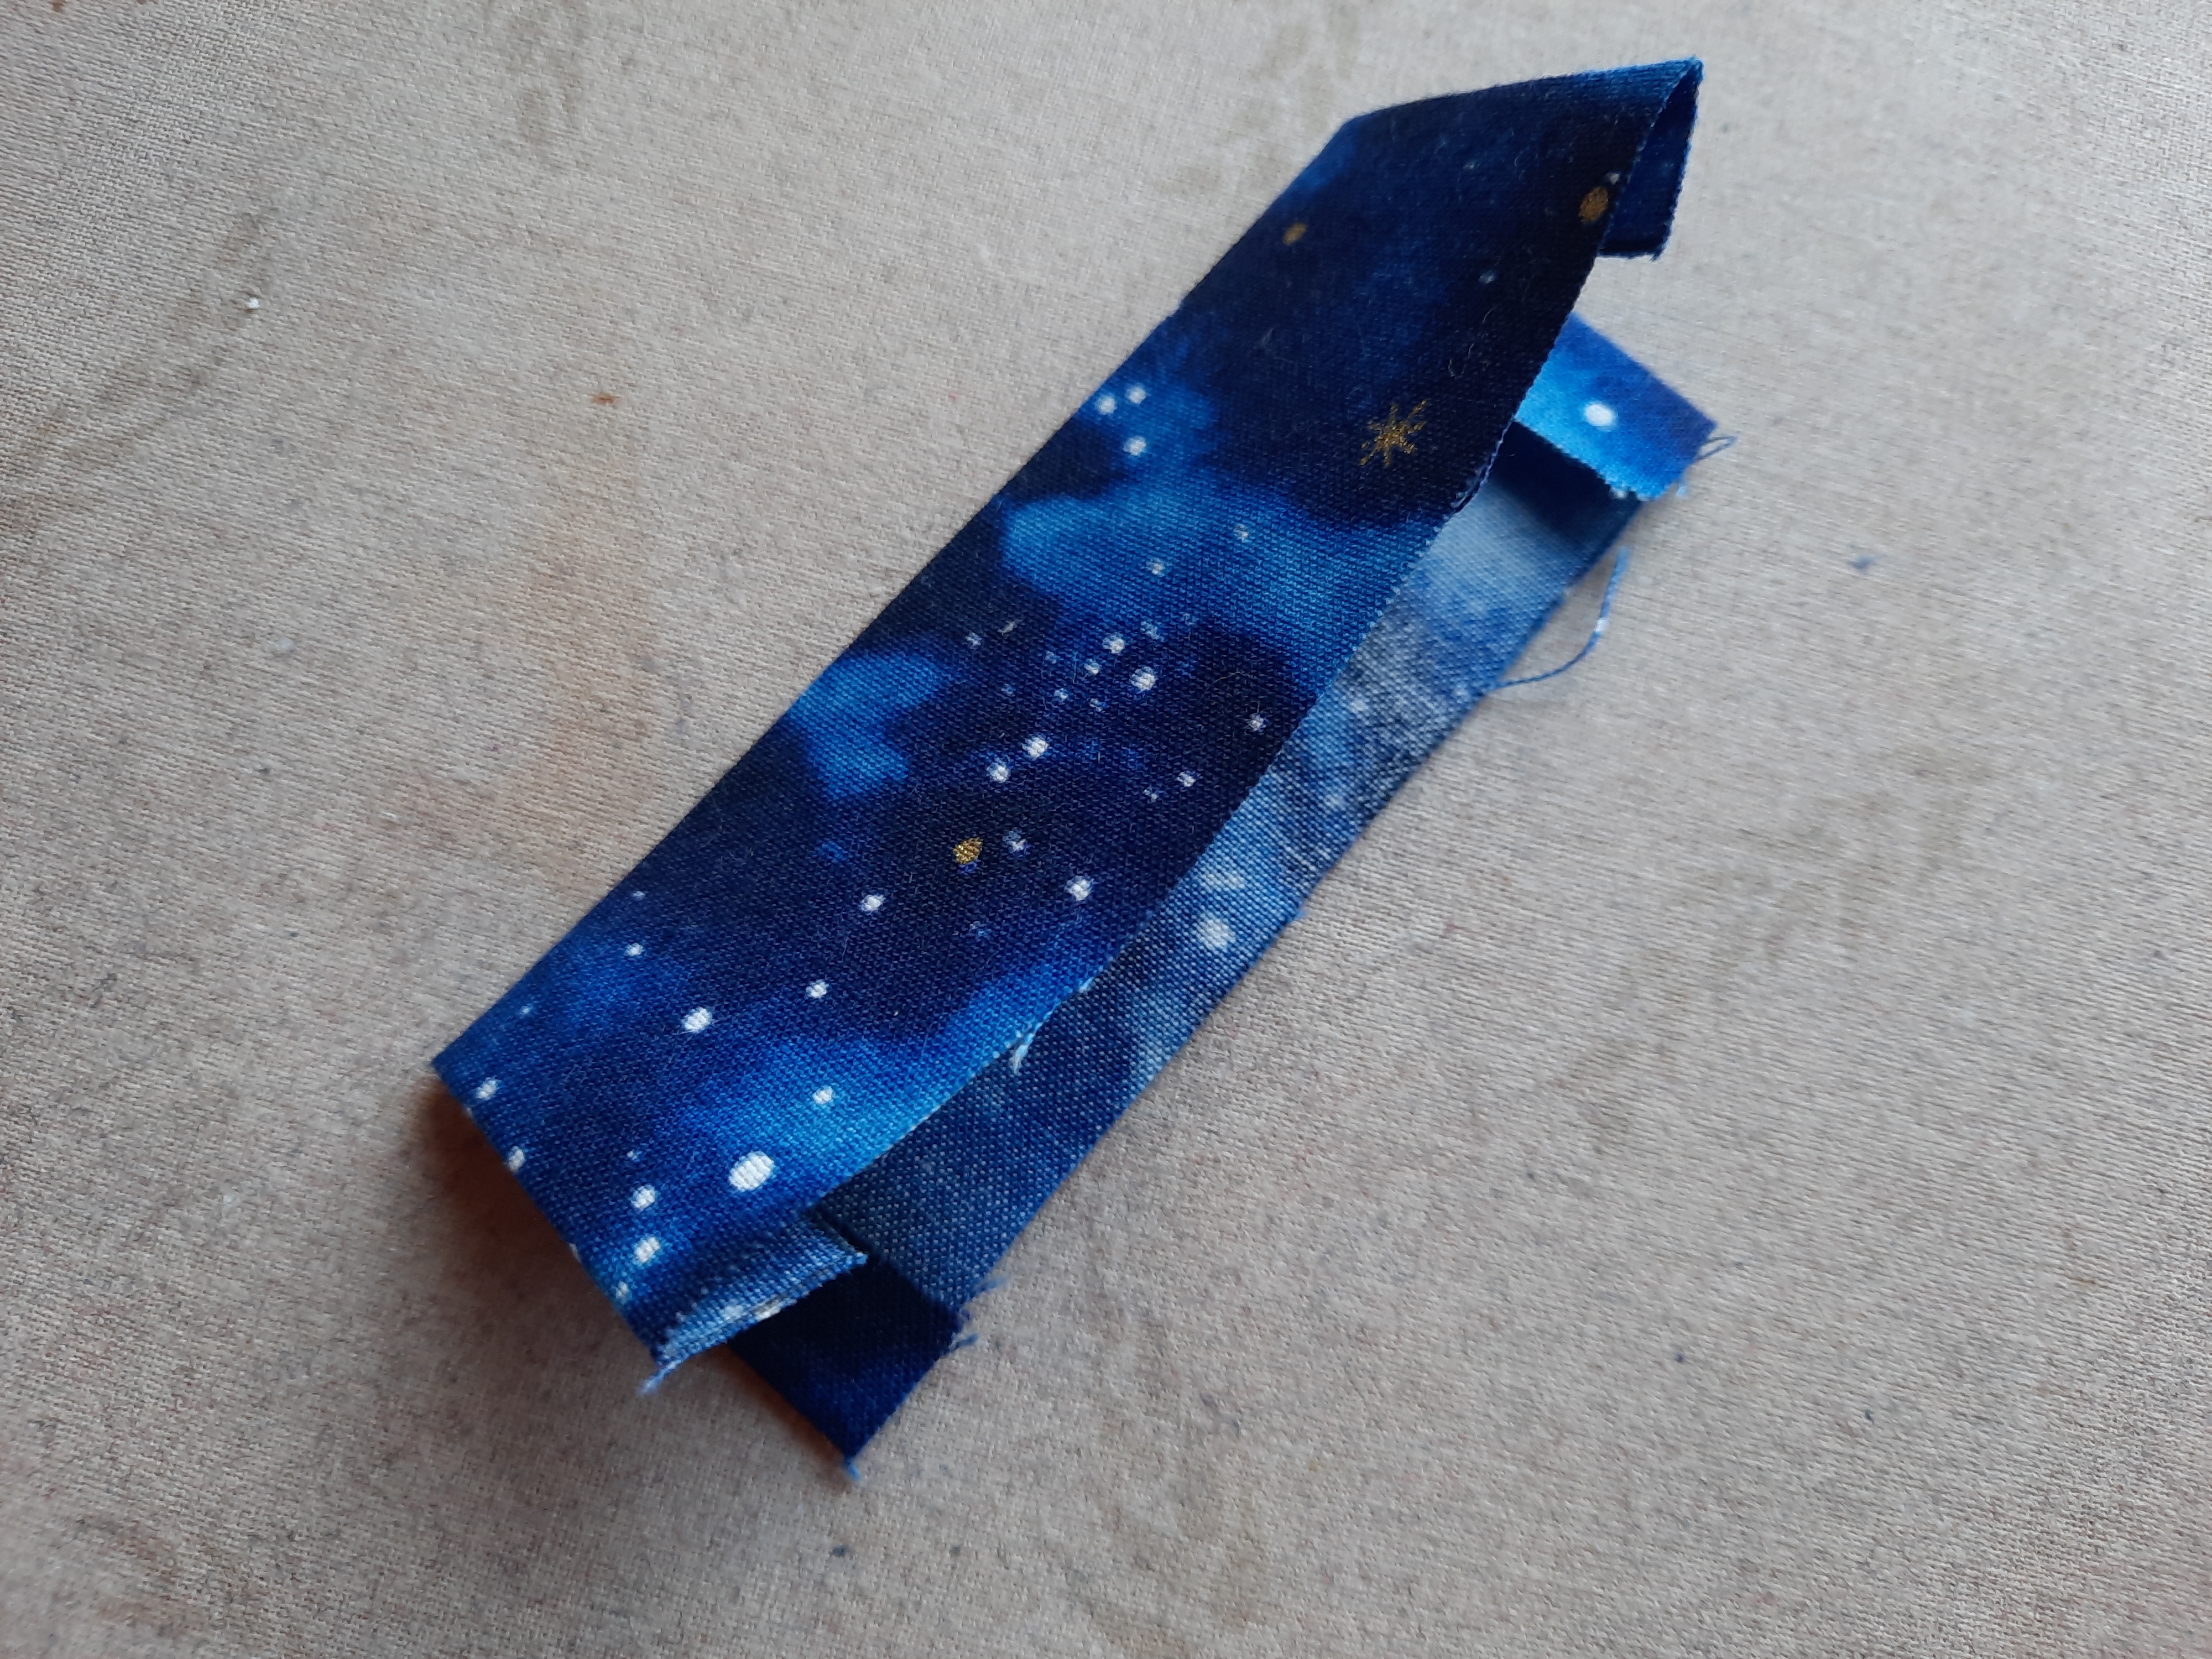
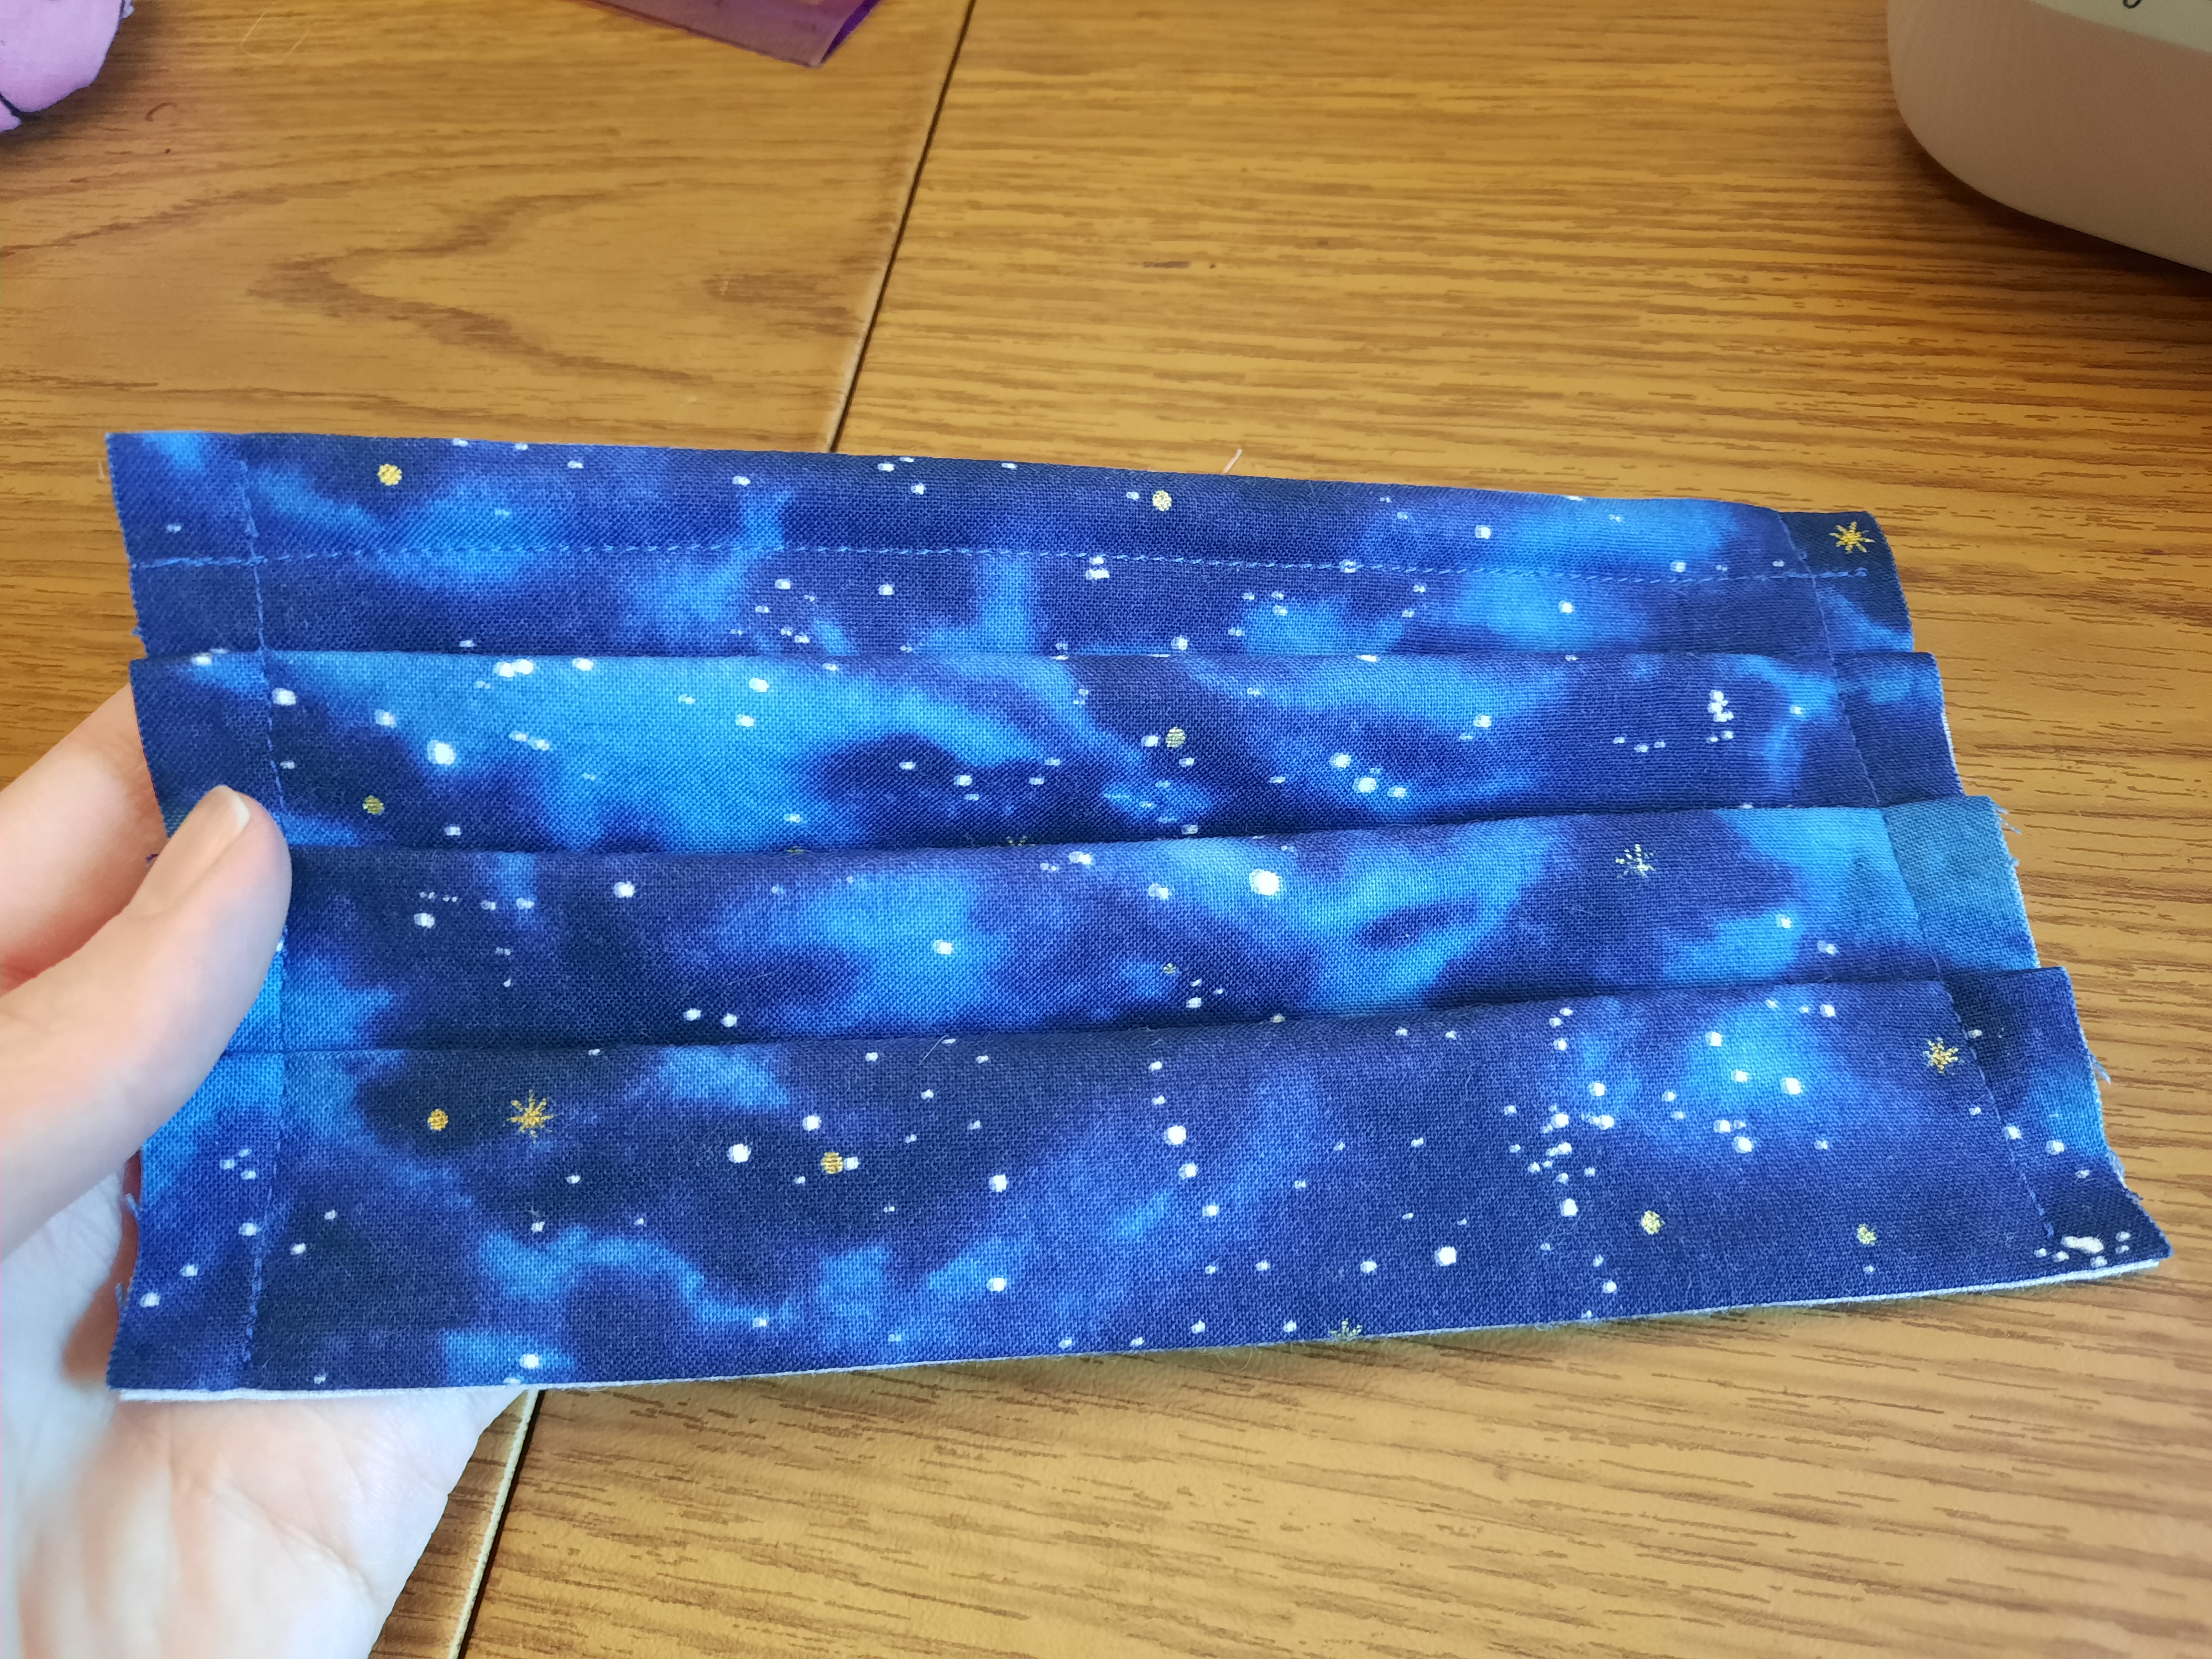
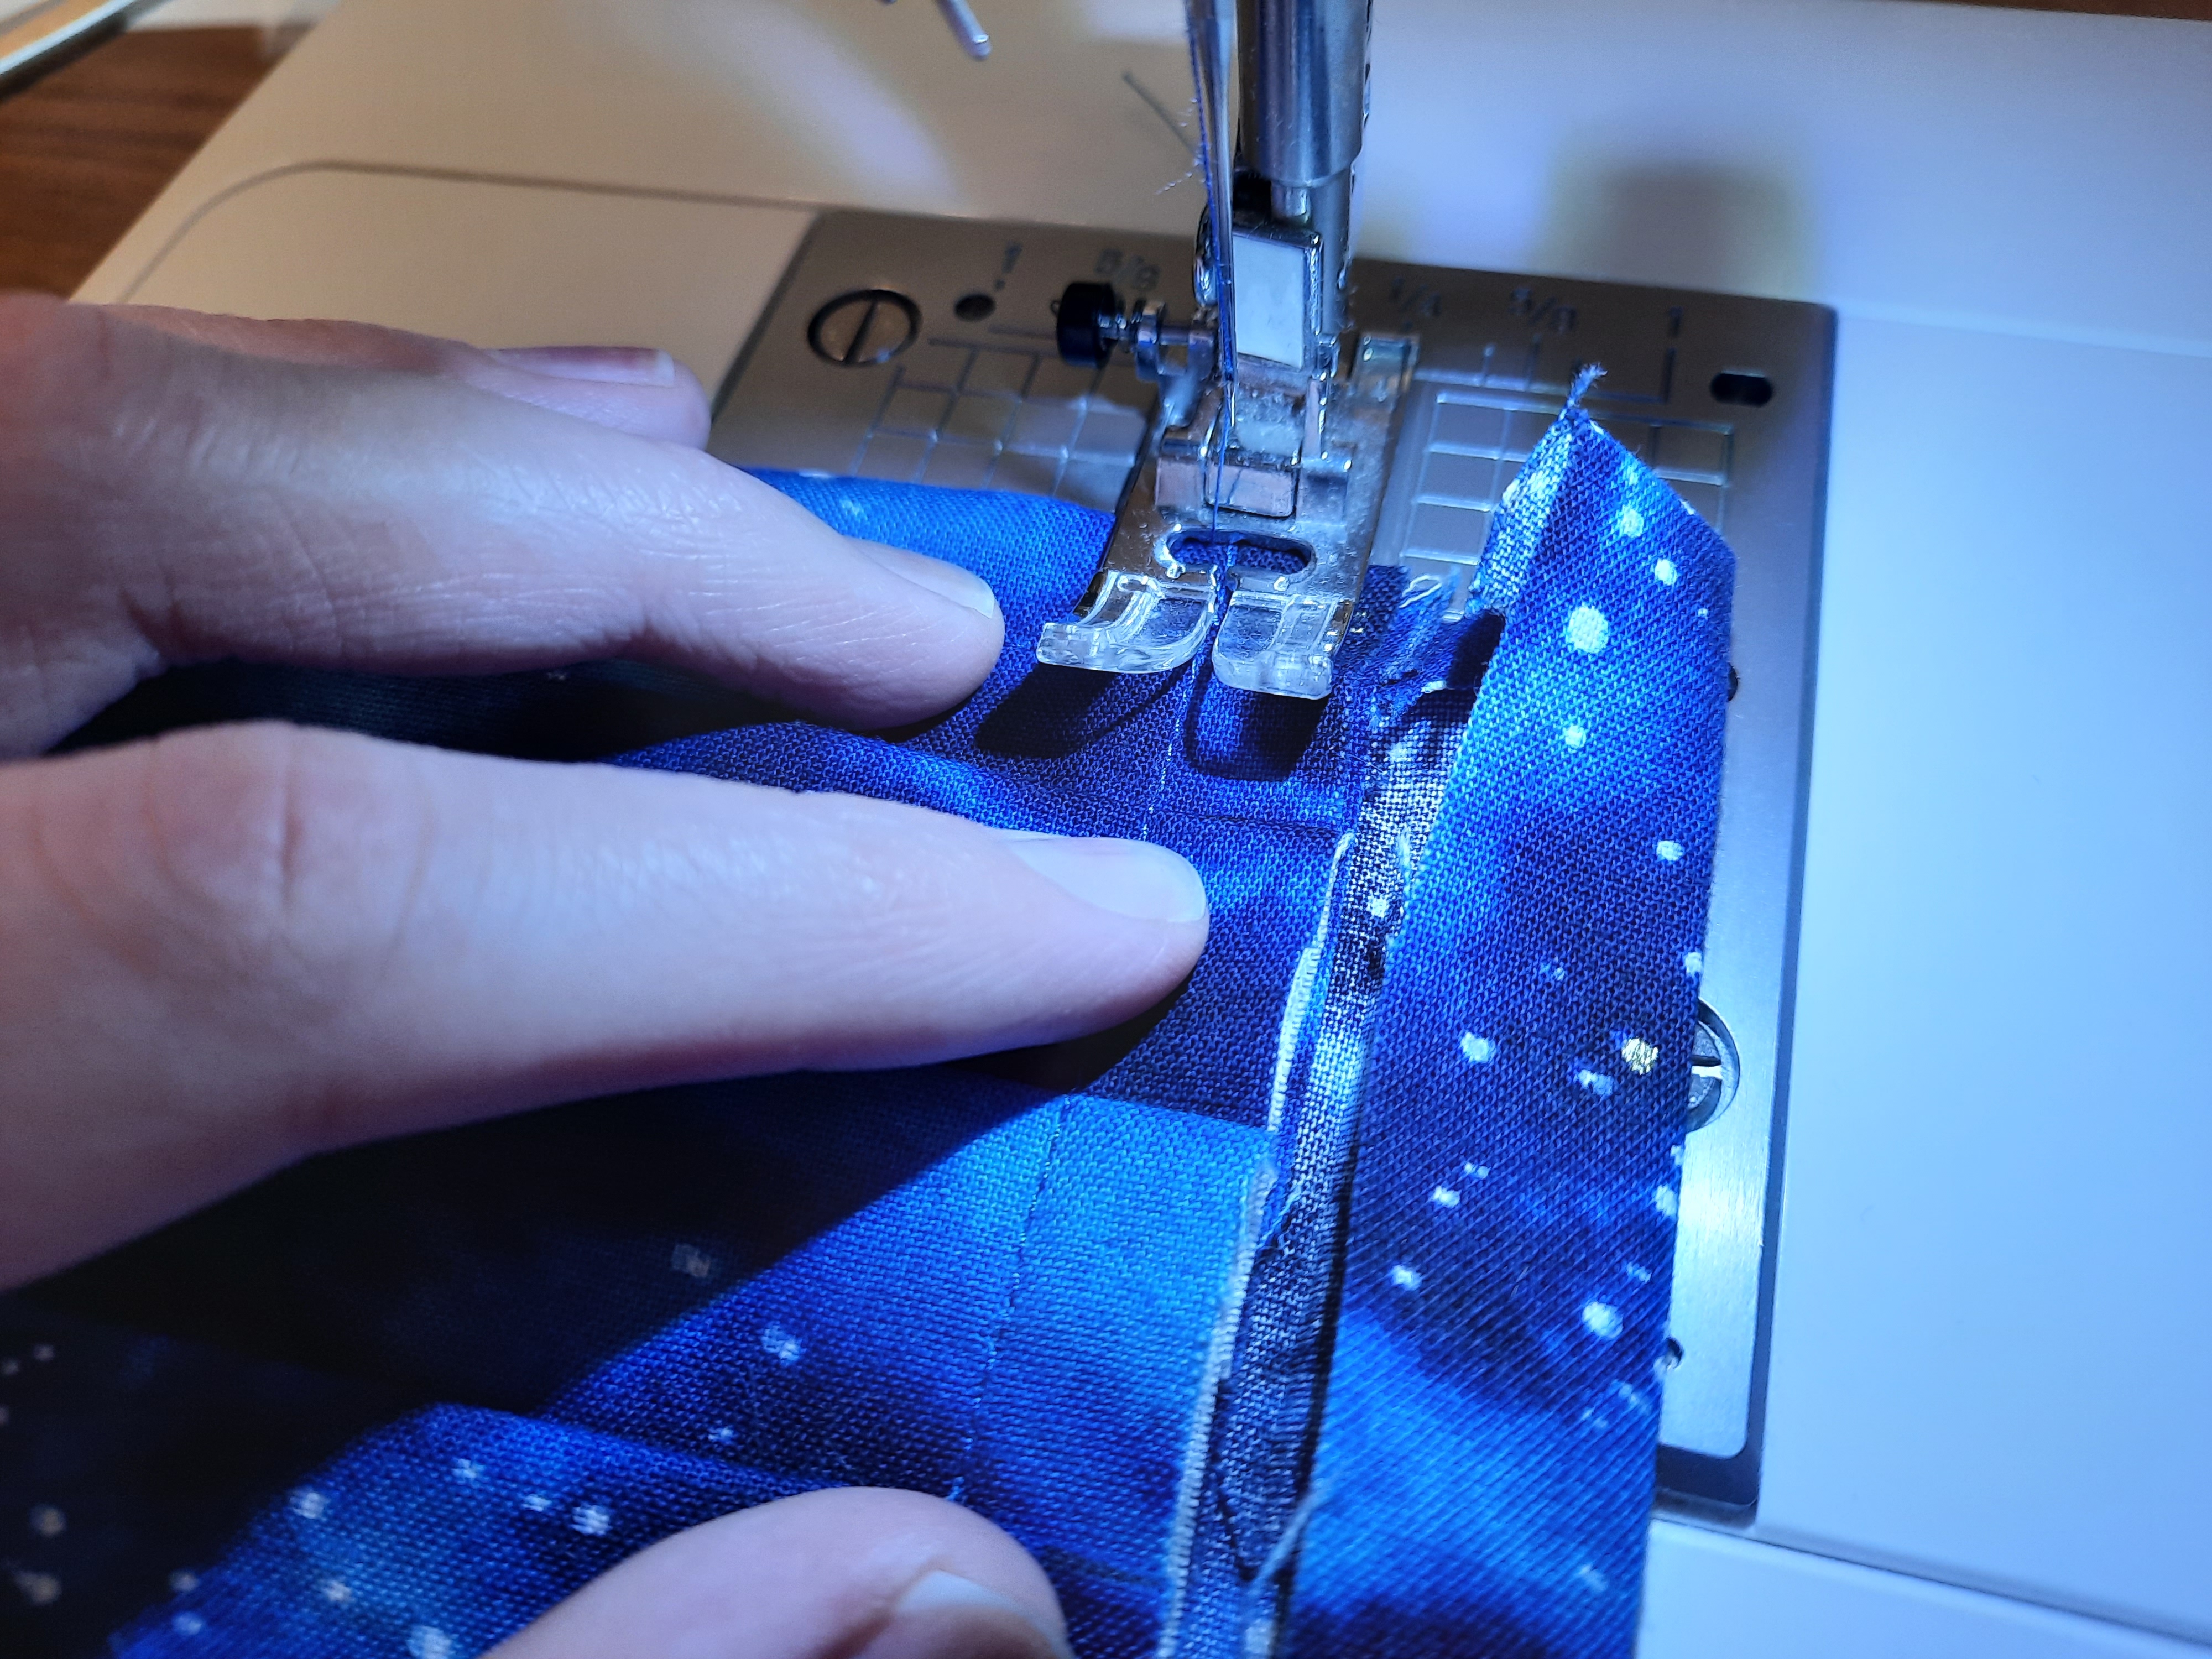
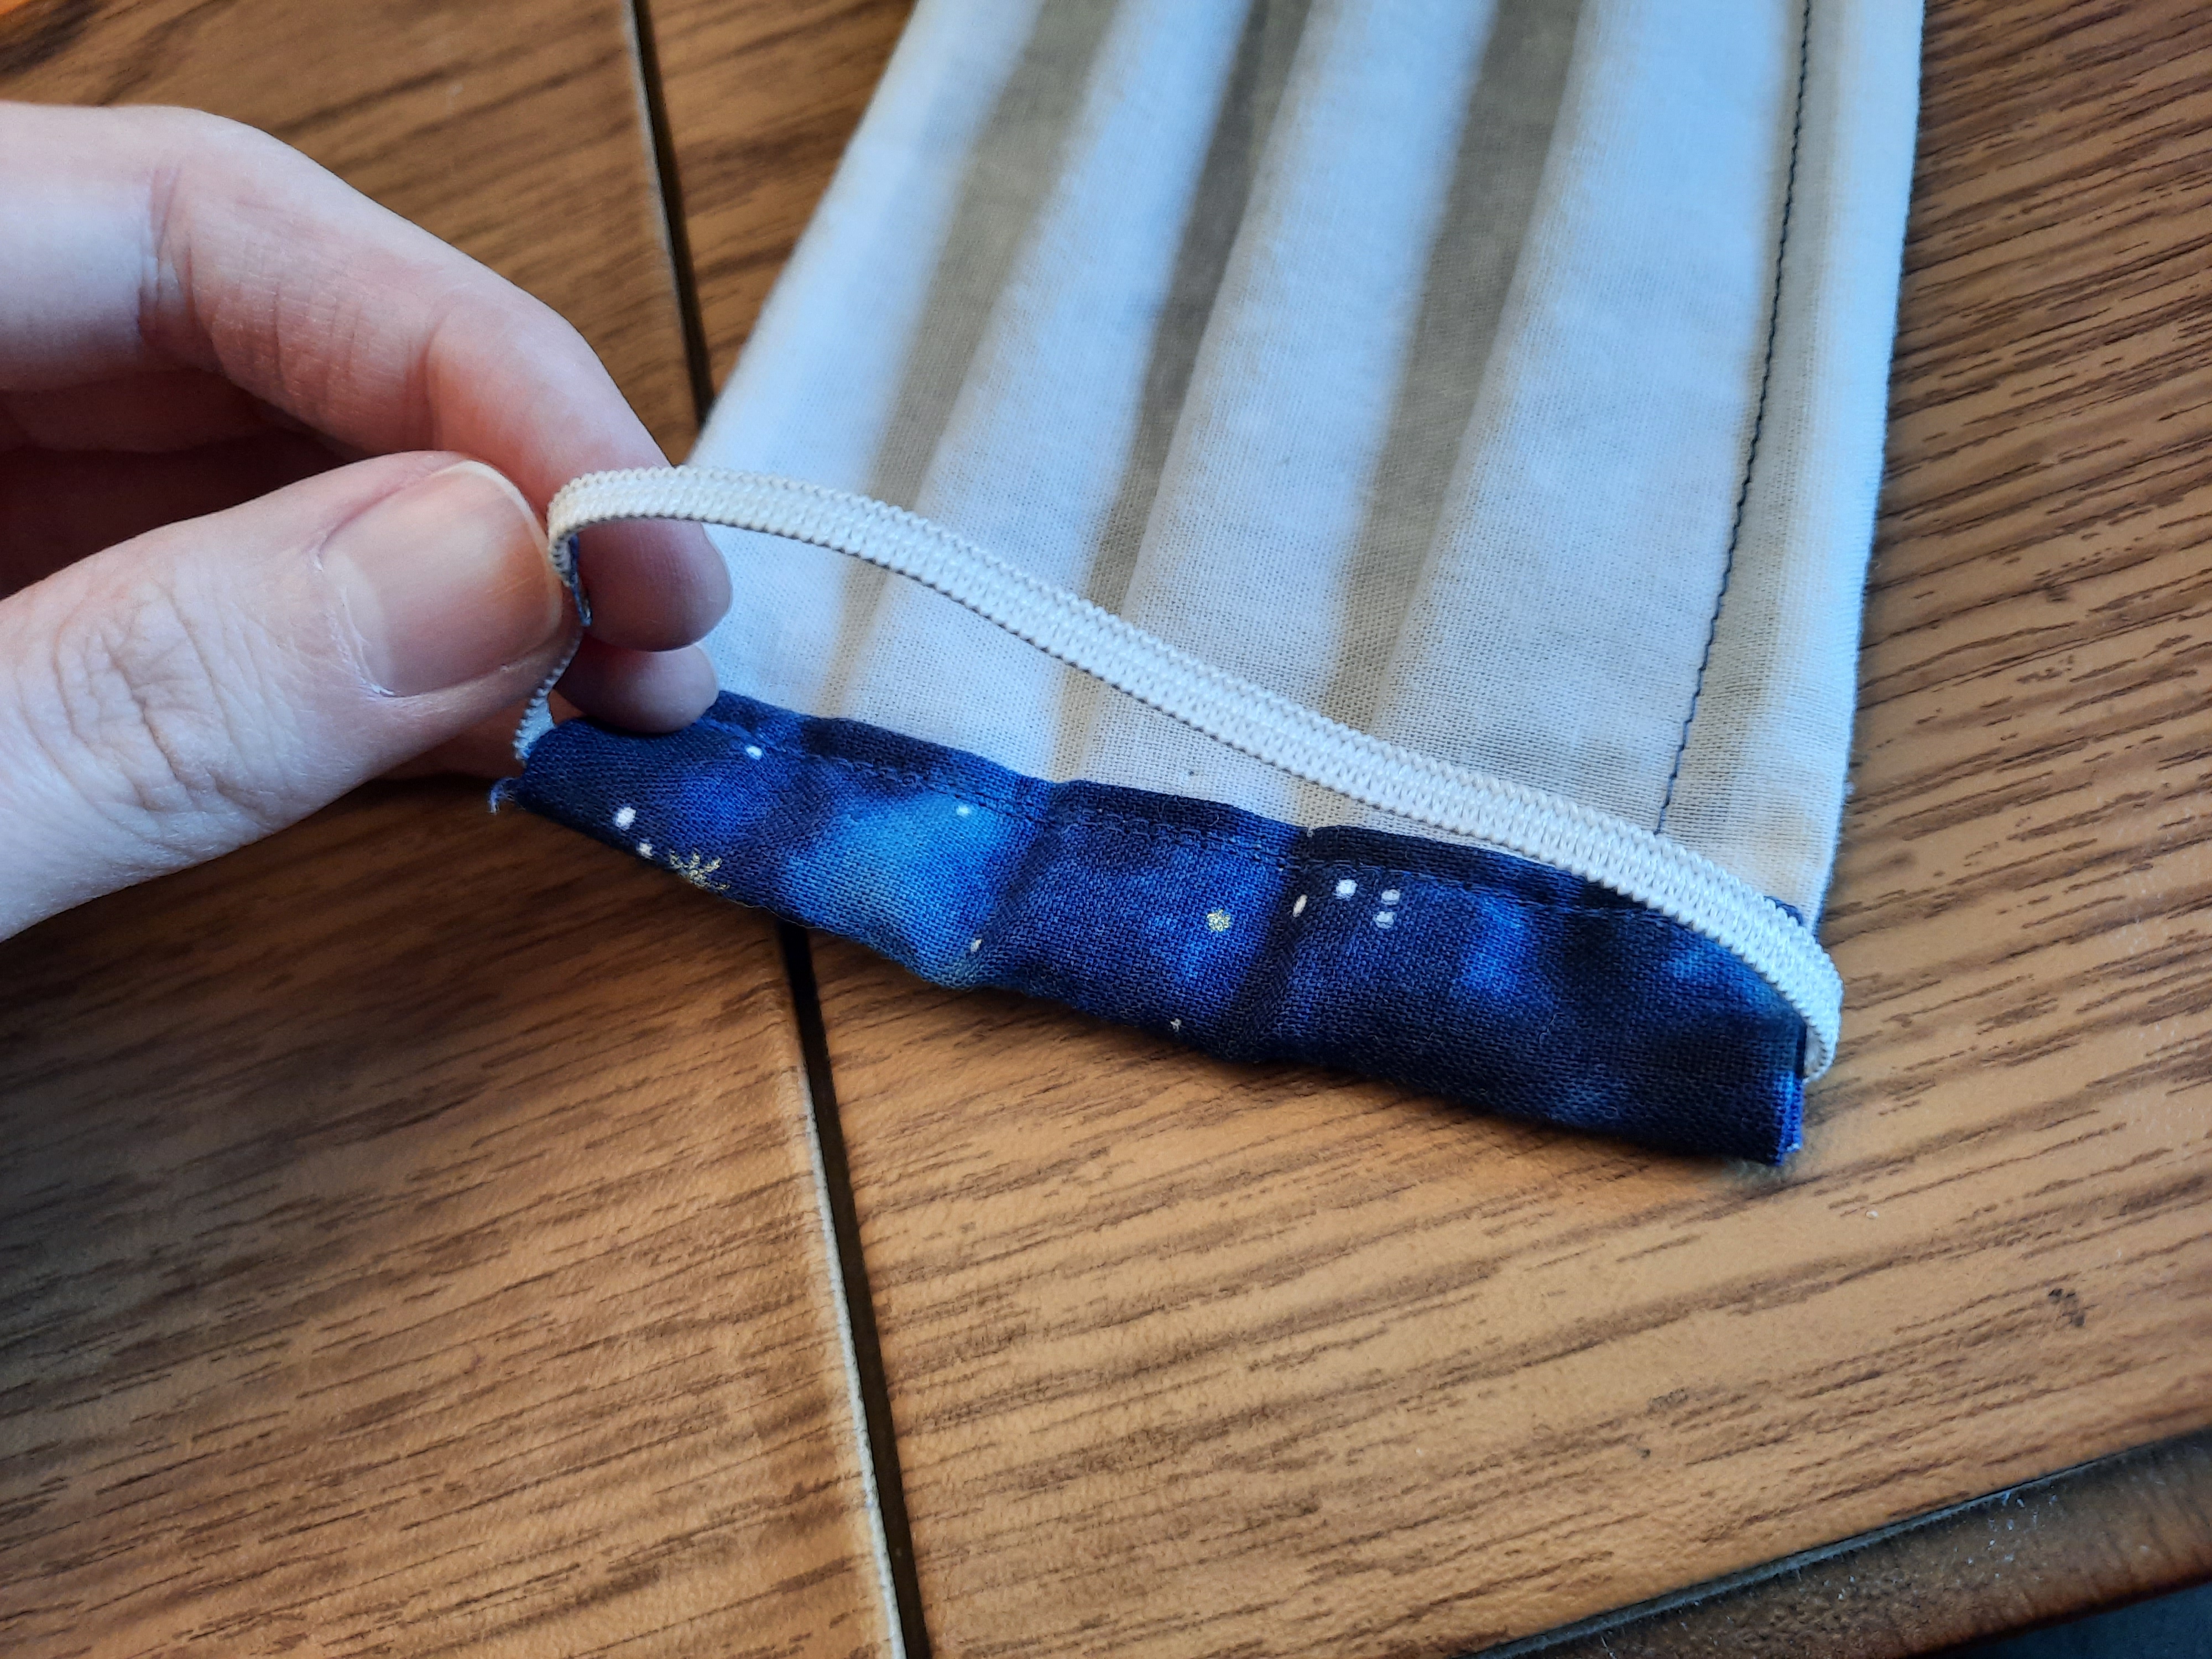
Fold the bias tape ("close the book") around the side of the mask. Leave a little bit of breathing room so that it's not shoved in as close as possible to the edge of the mask; this'll help us out later. Pin through all layers at the top and the bottom, then sew through along the edge of the bias tape - look at the image below and note where the sewing line is.
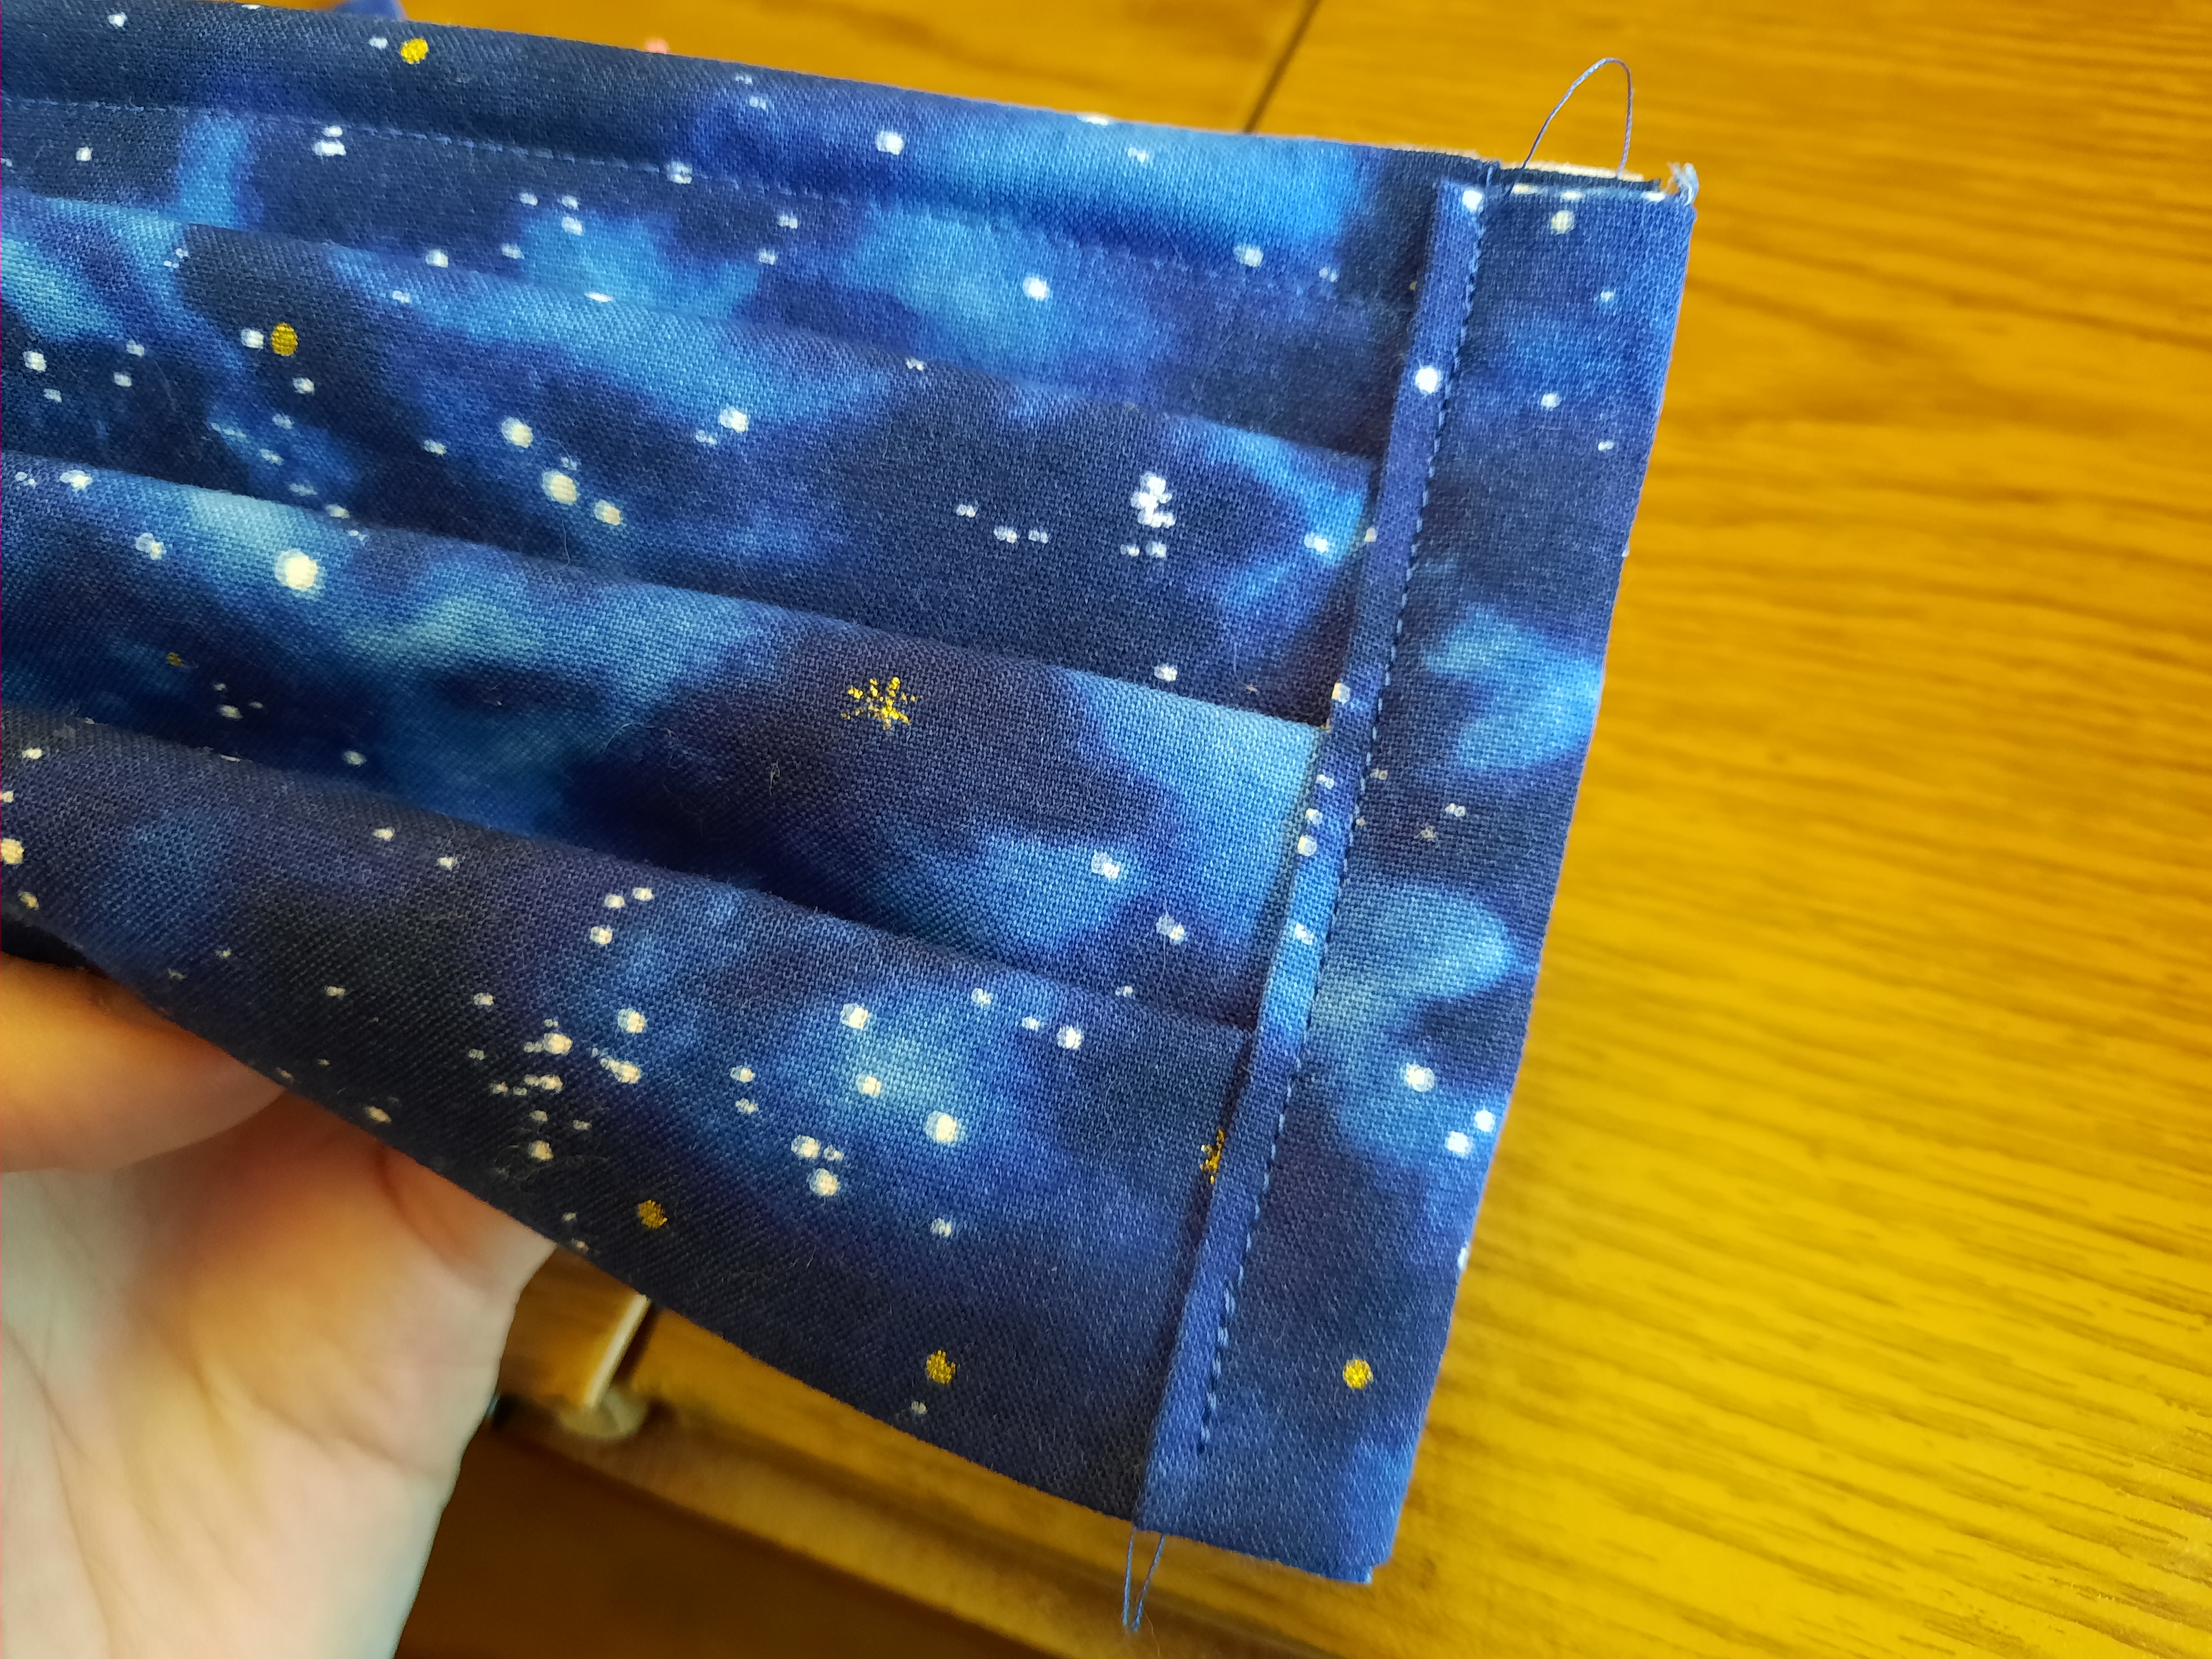
Repeat the entire step for the other side of the mask. I believe in you.
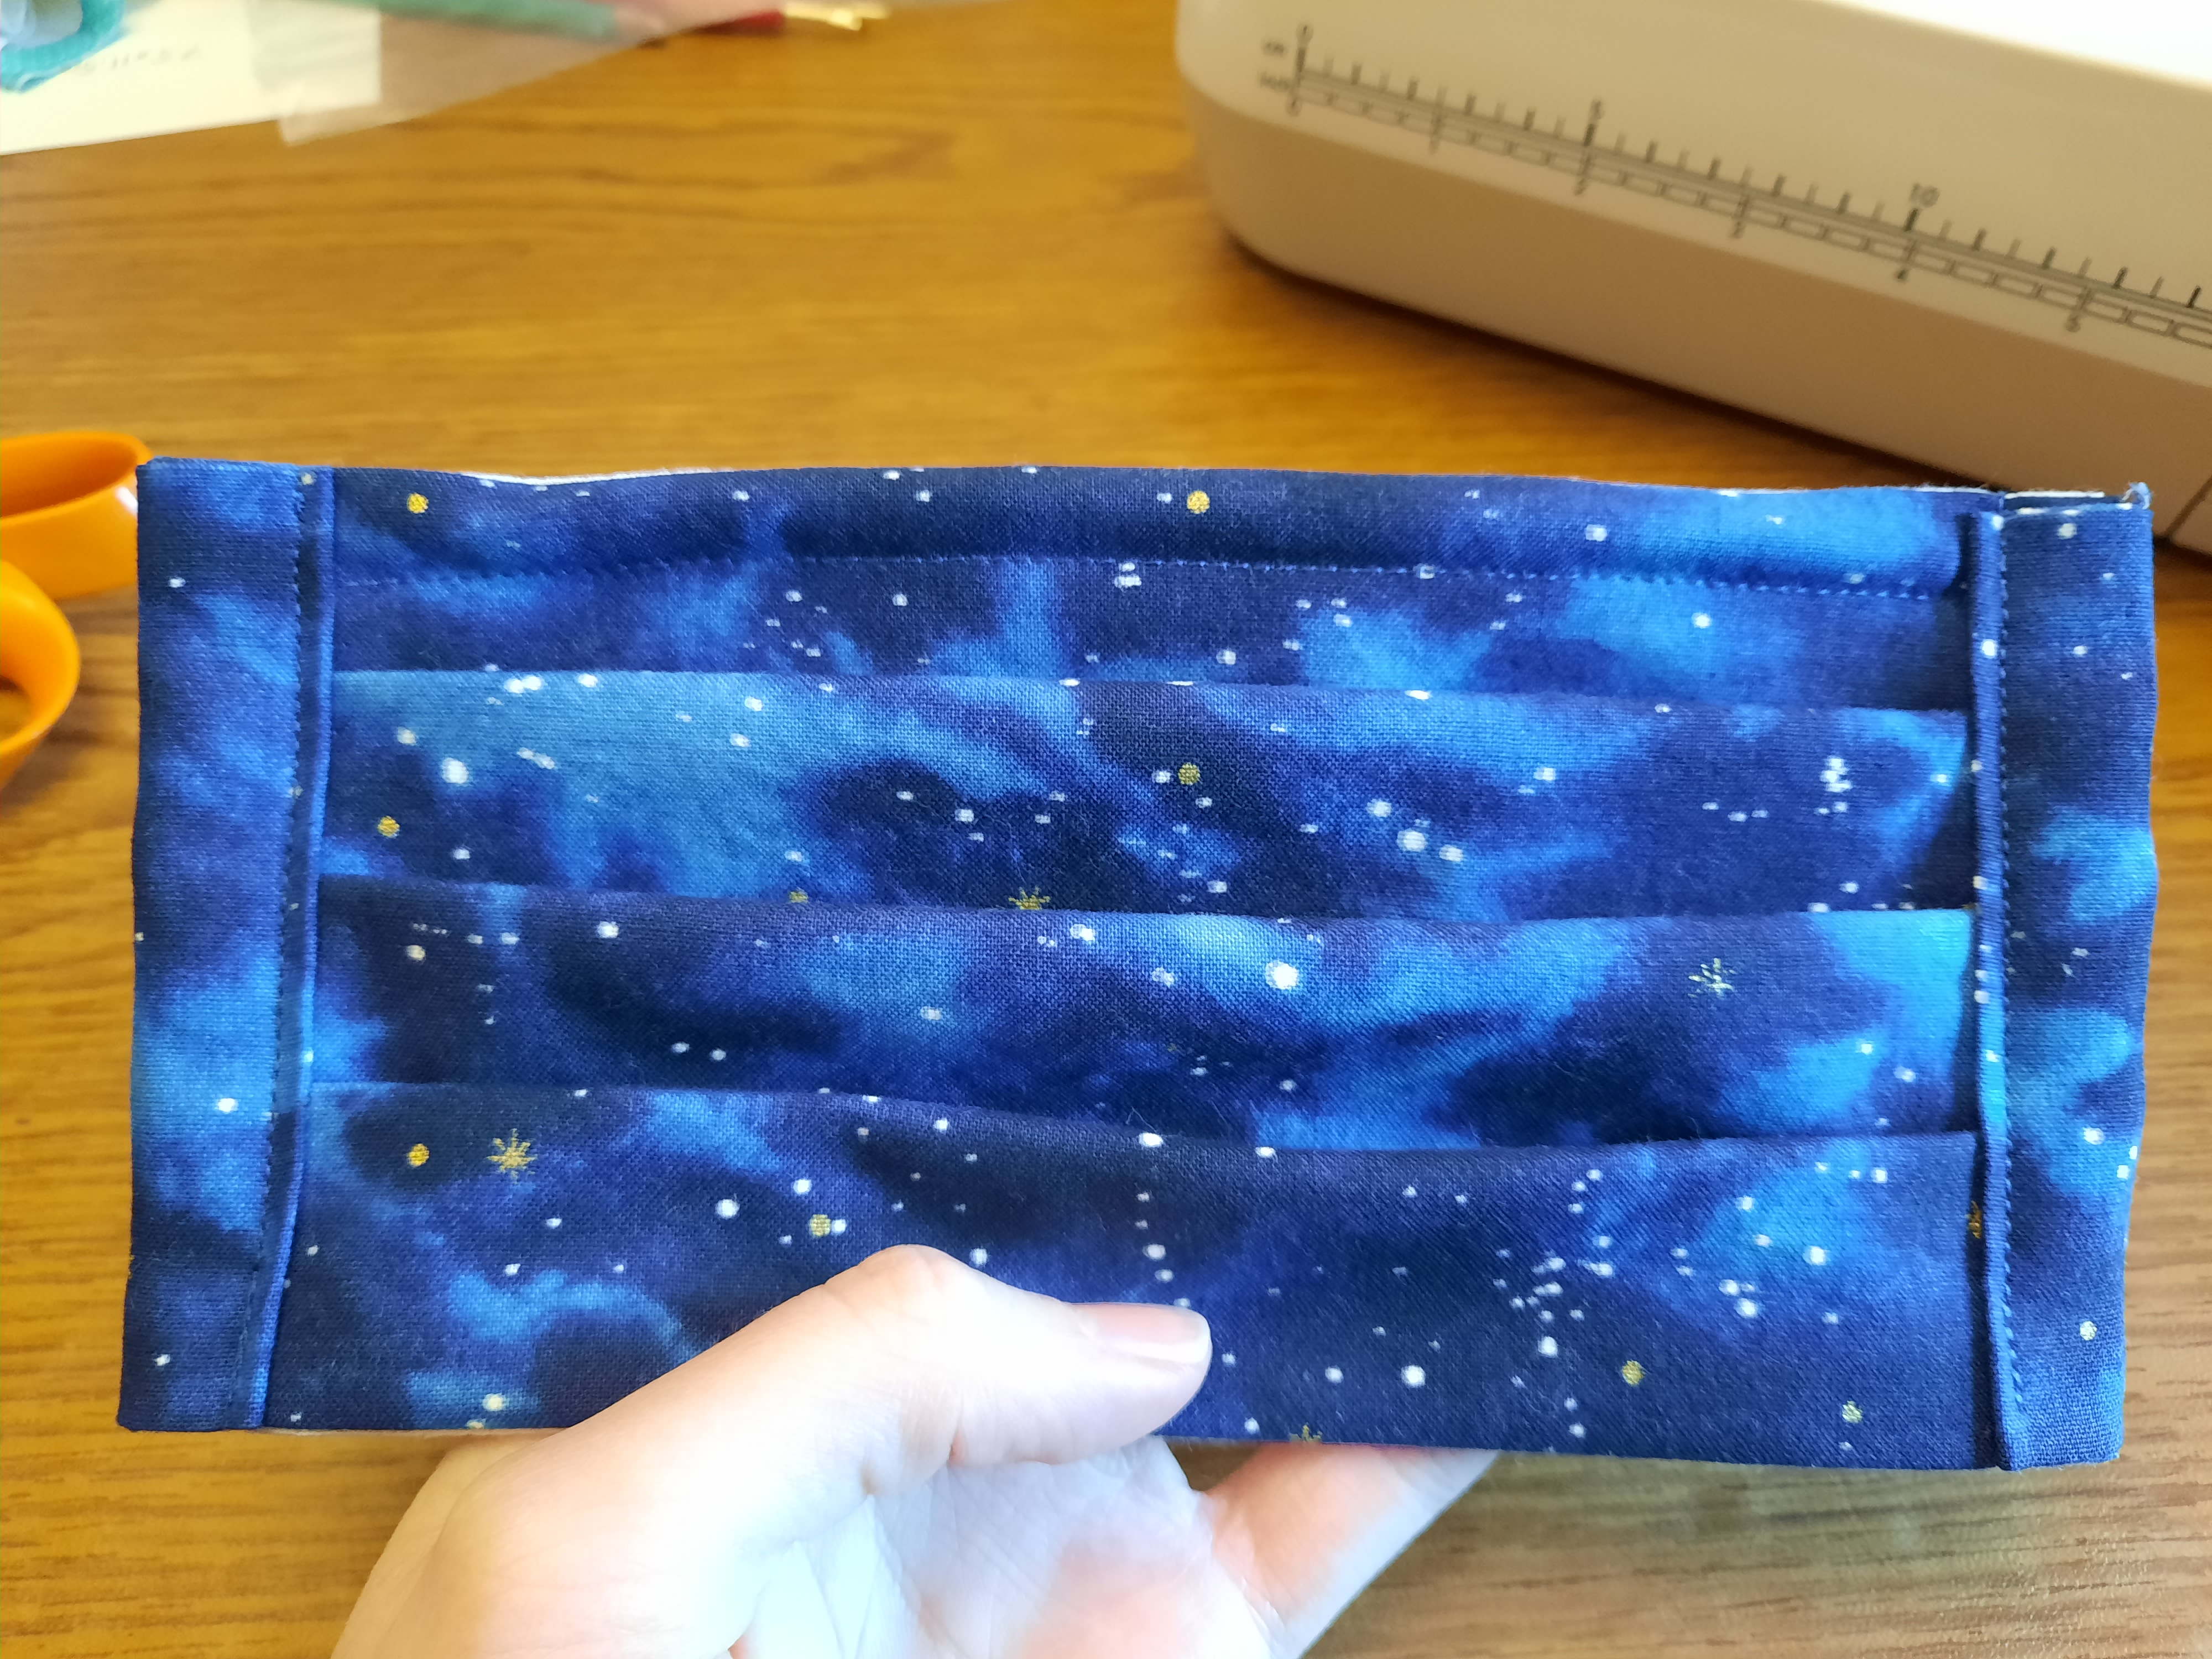
Step 6
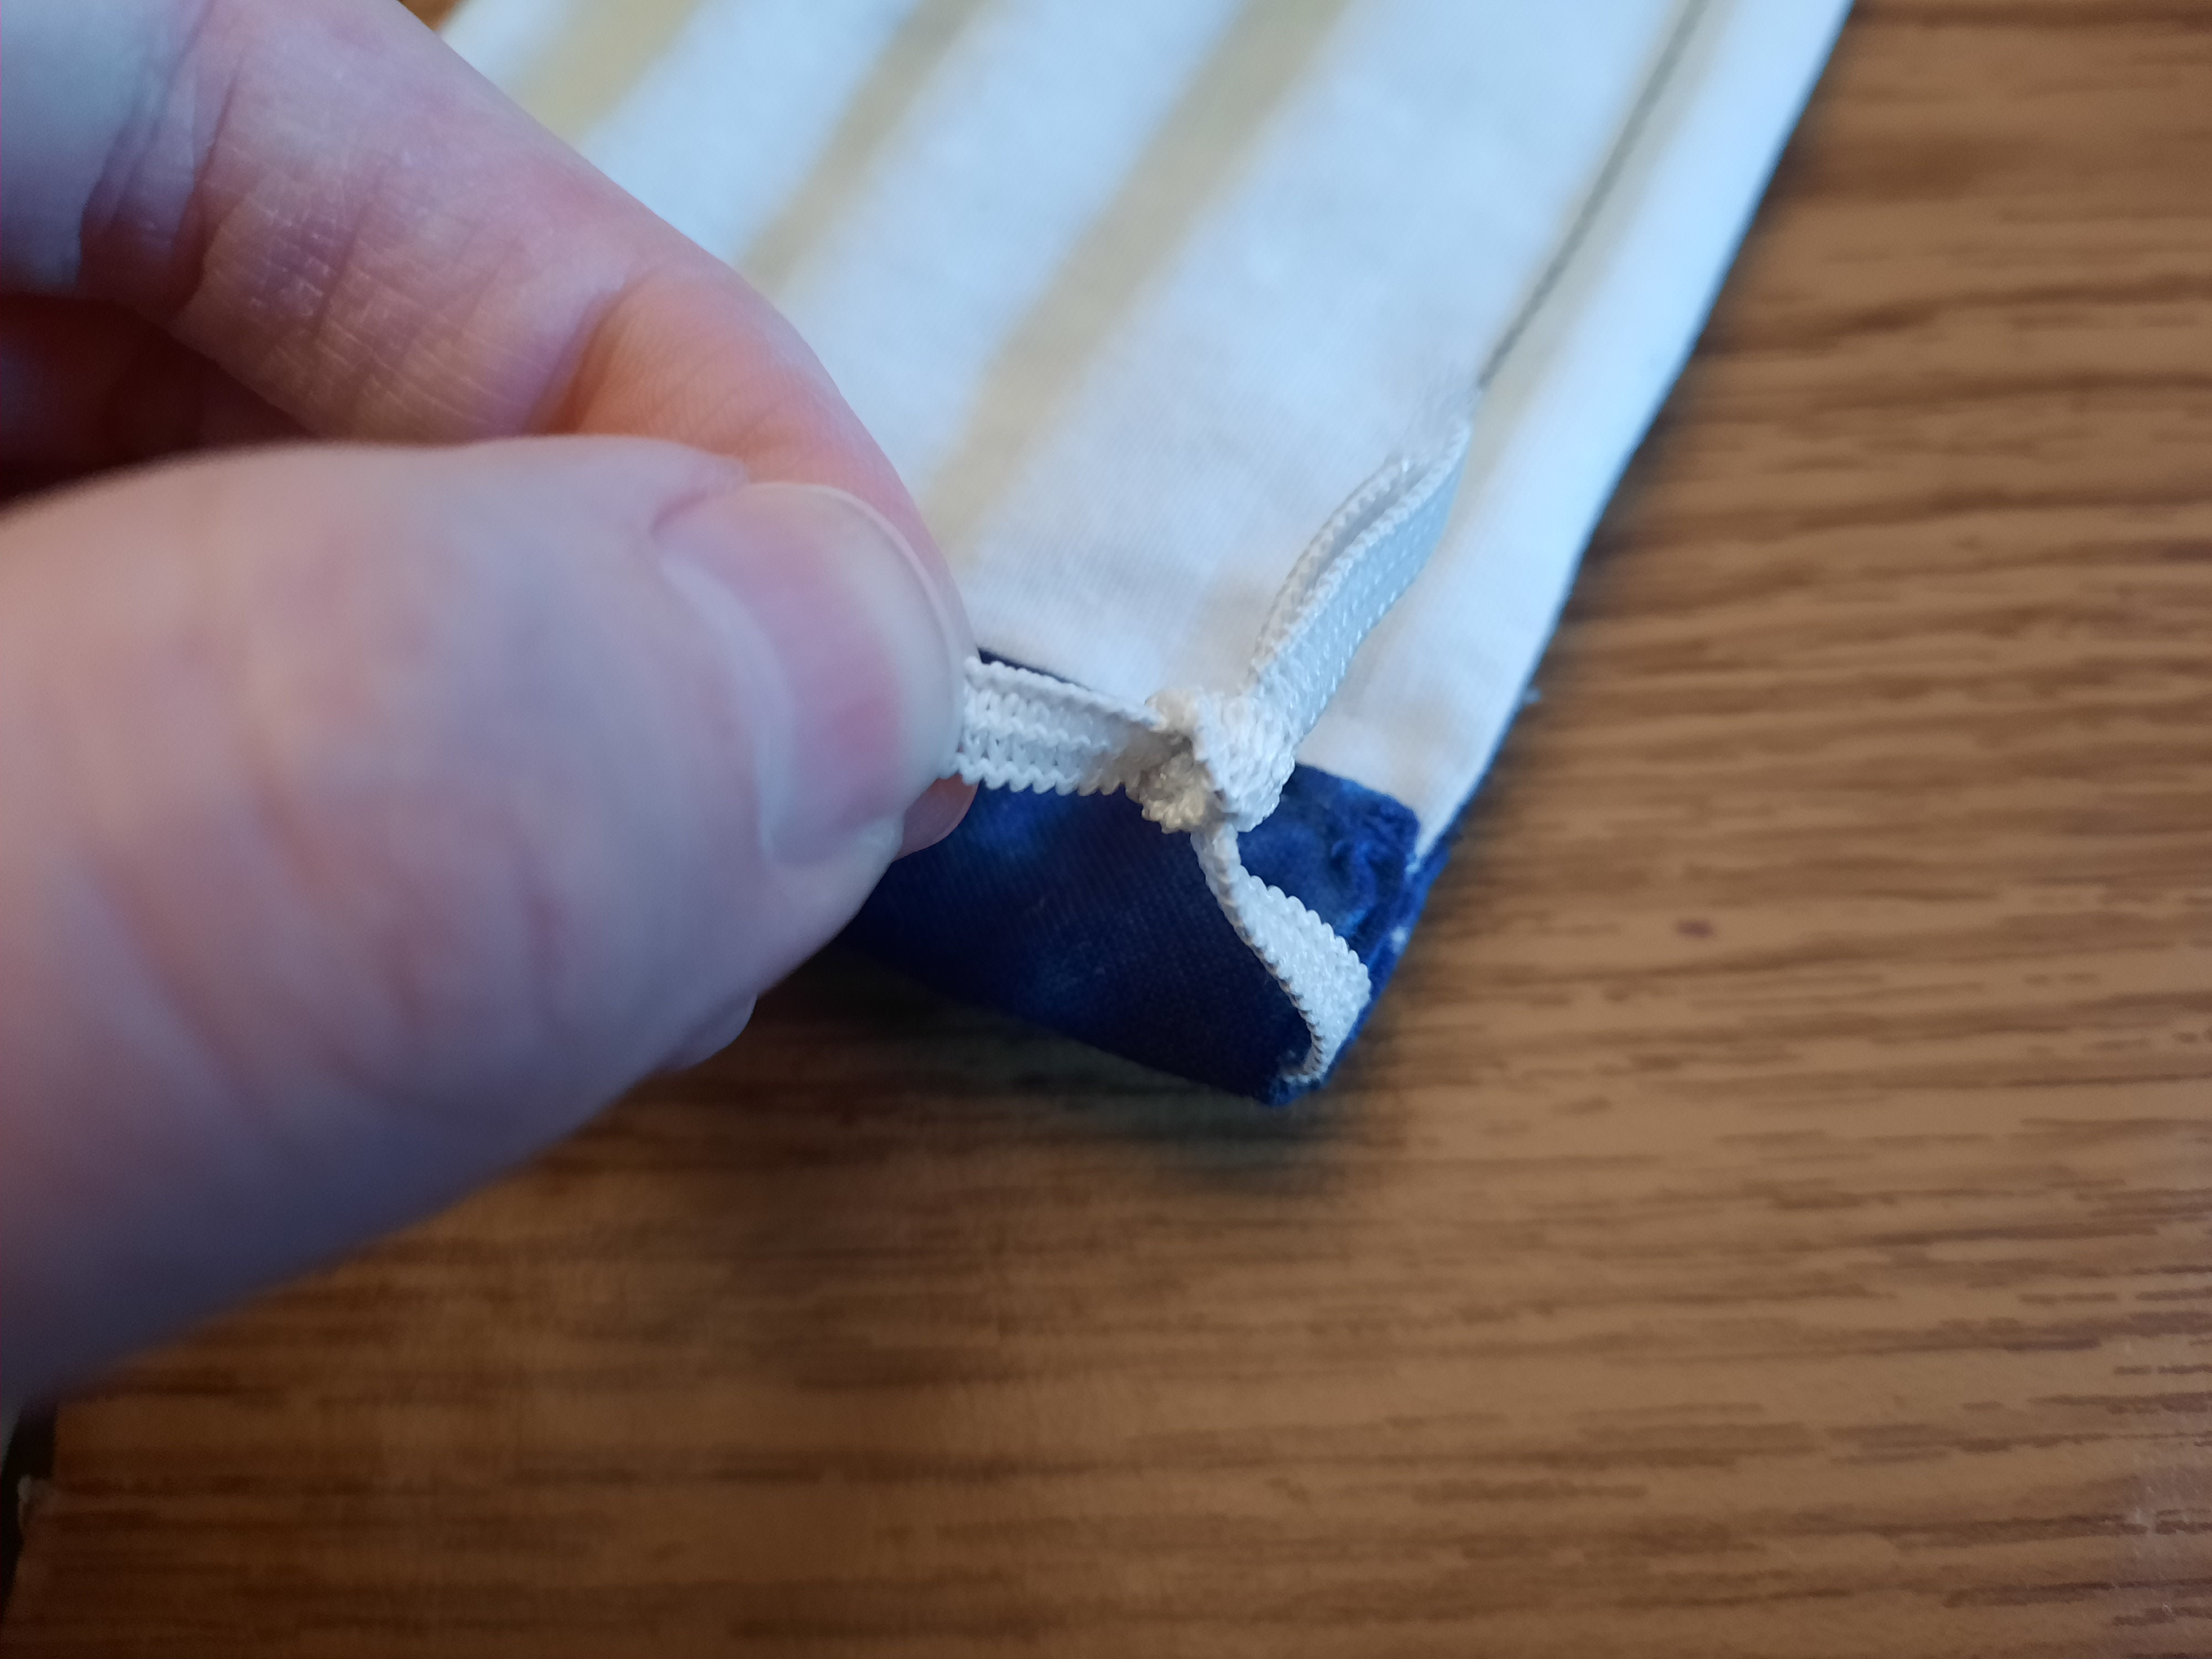
Bring in the elastic earloops: we'll feed one string of elastic through the edge, then tie the ends together.
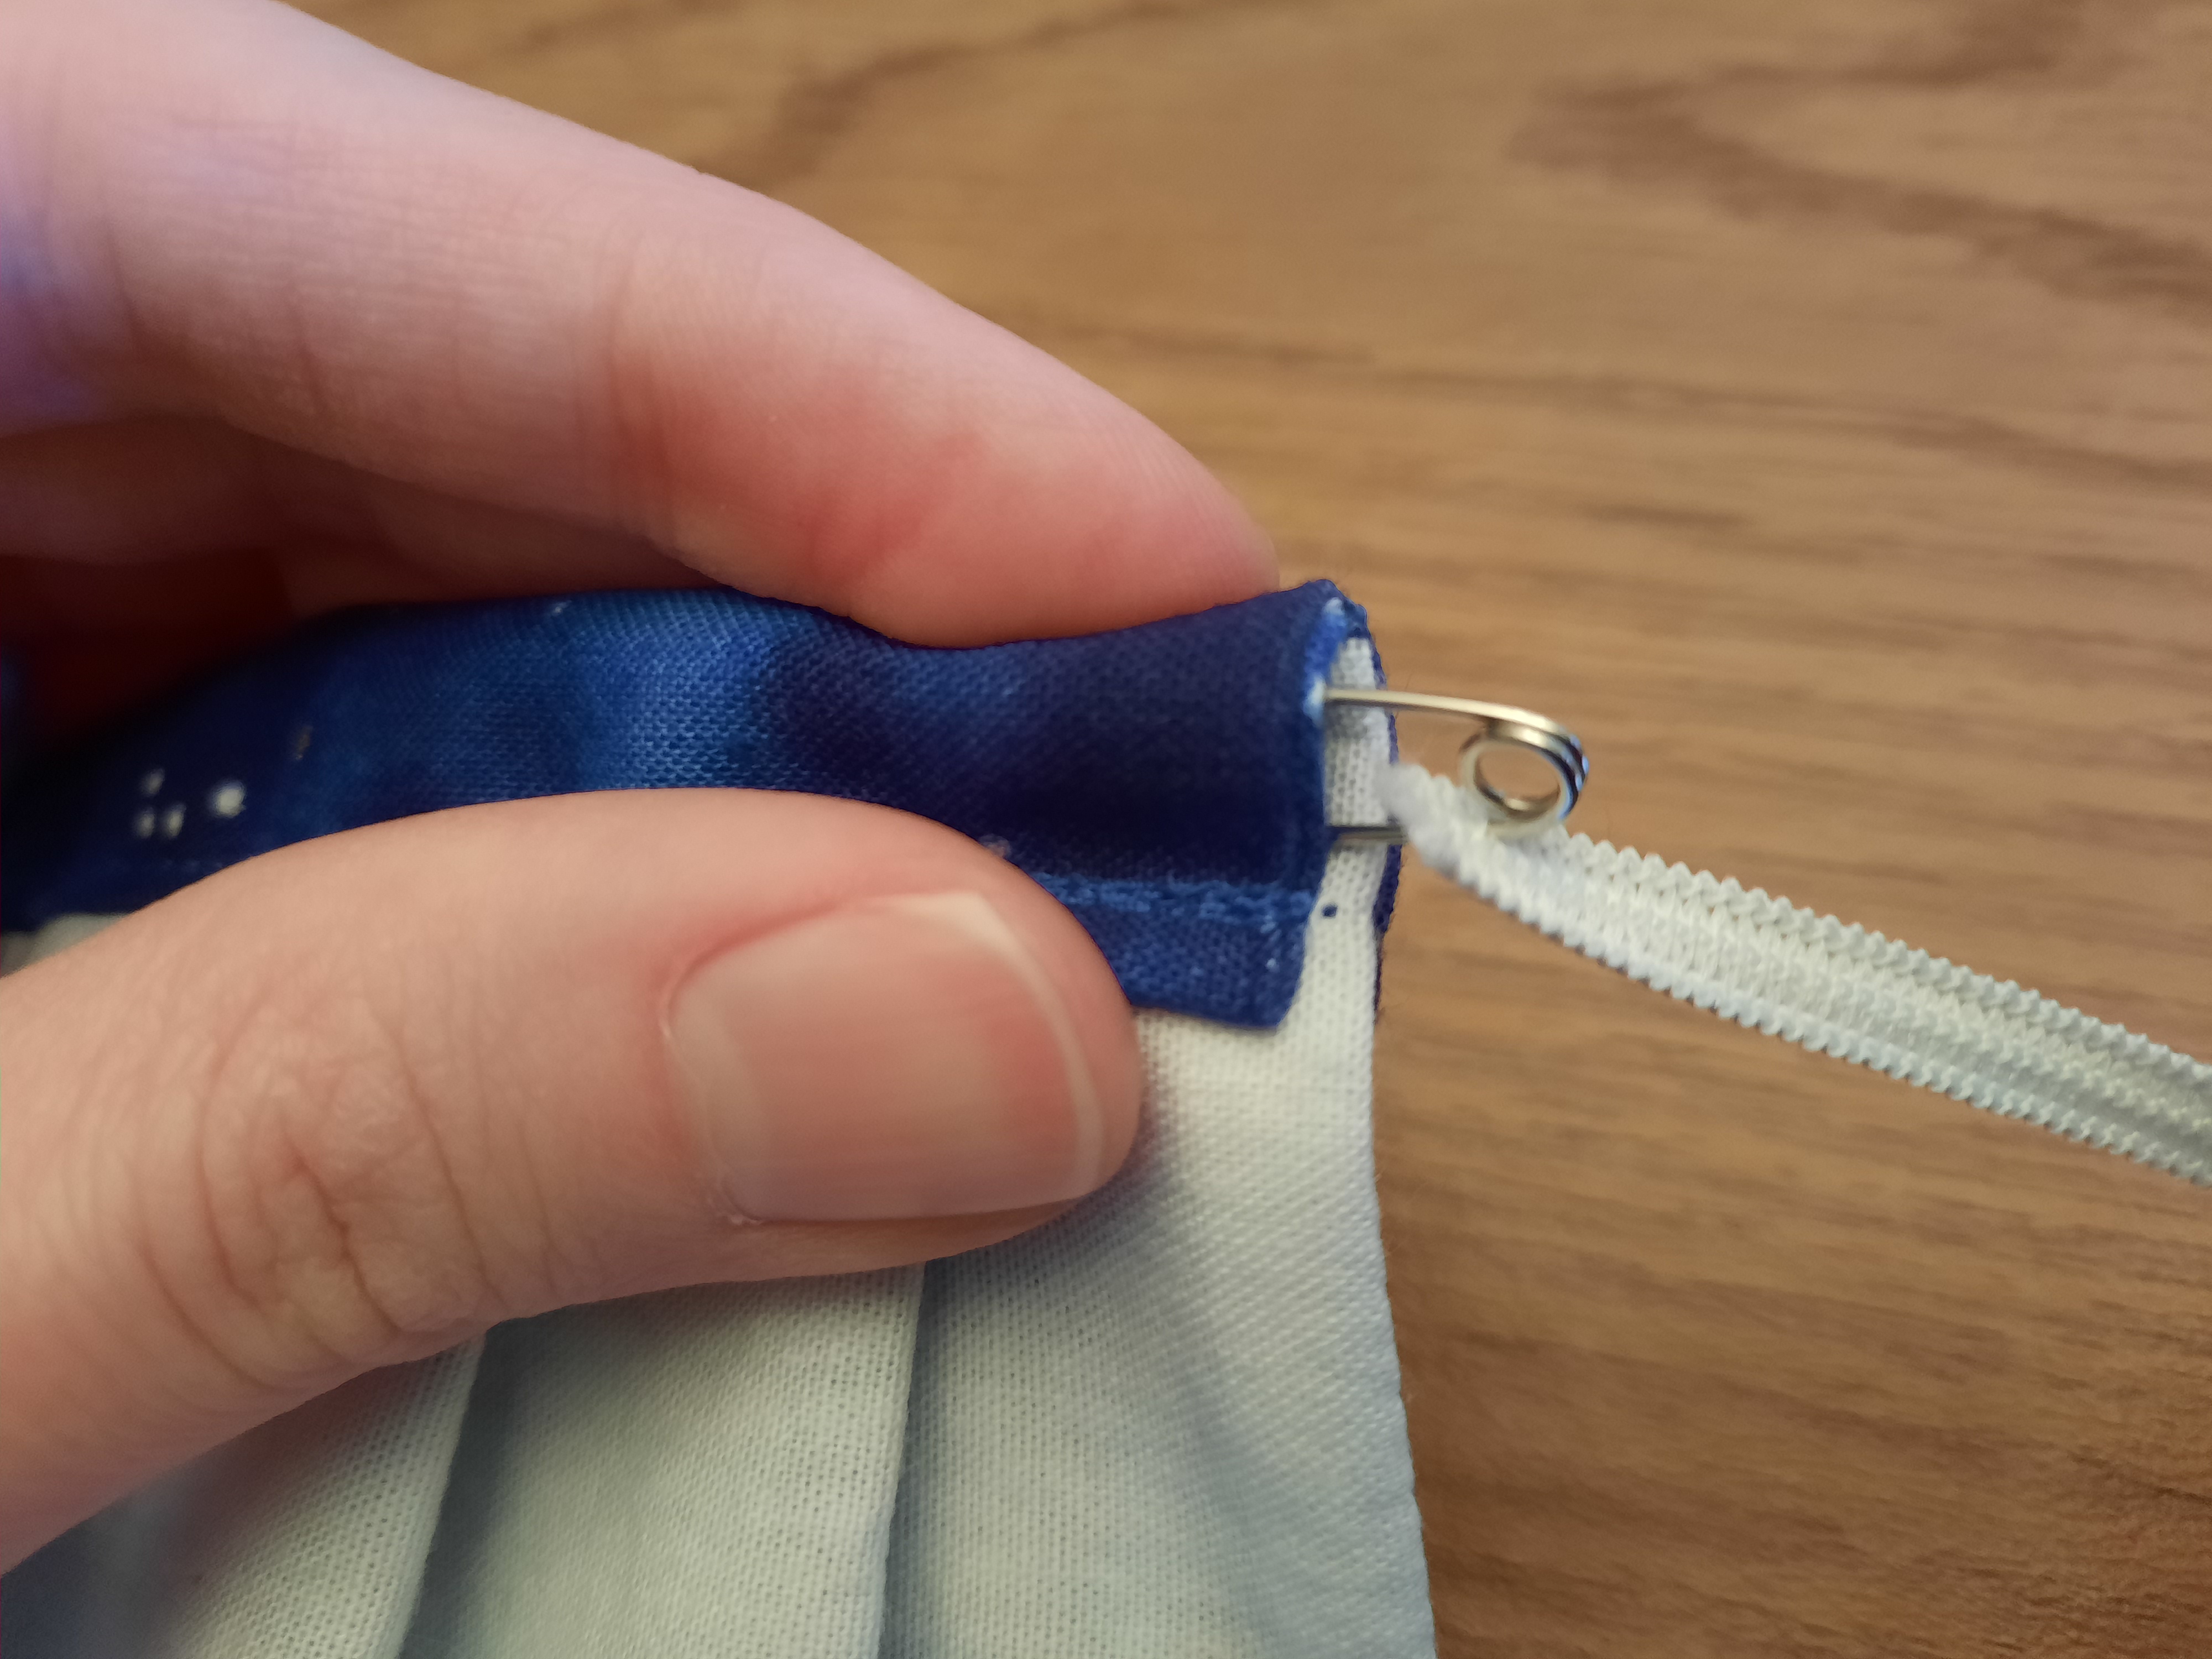
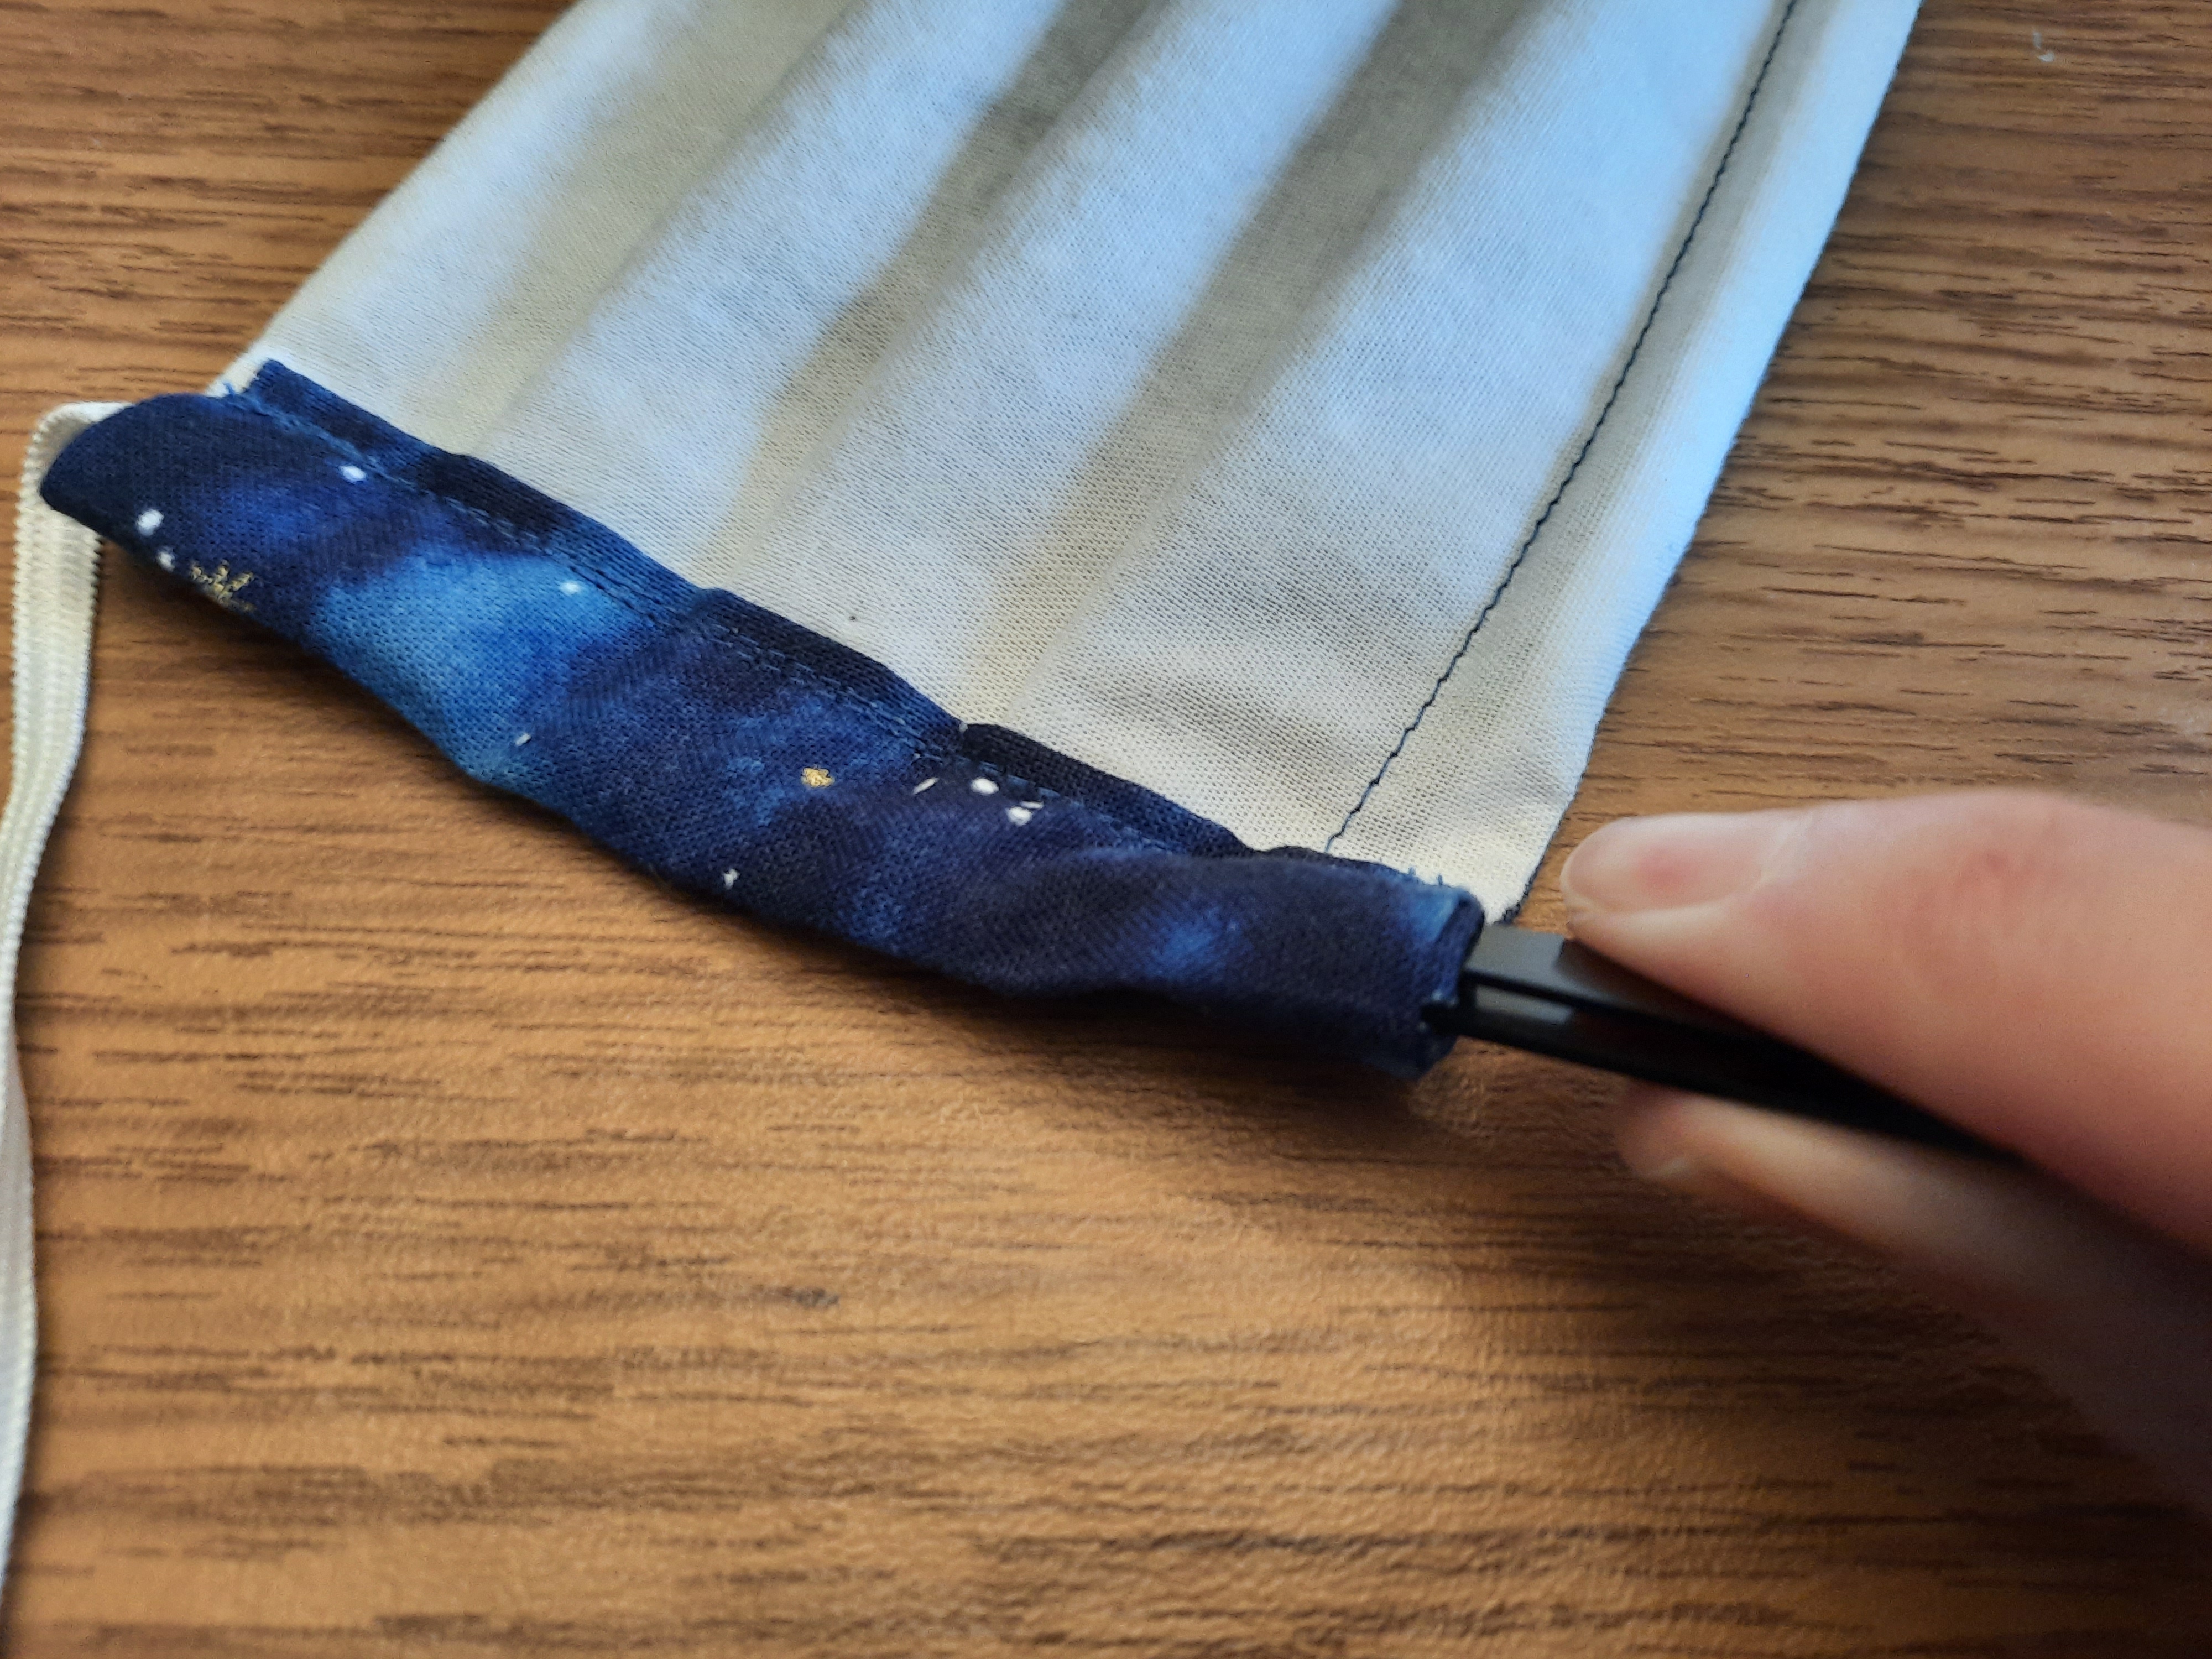
Grab the safety pin and poke it through one end of the elastic and close it secure. Now feed the safety pin into the casing on one of the sides we just formed in step 5. Getting the safety pin through to the other side is a bit tricky, I like to use a pair of tweezers to grab the safety pin from the other side of the casing. Once the safety pin and thus the elastic are through, open and remove the safety pin.
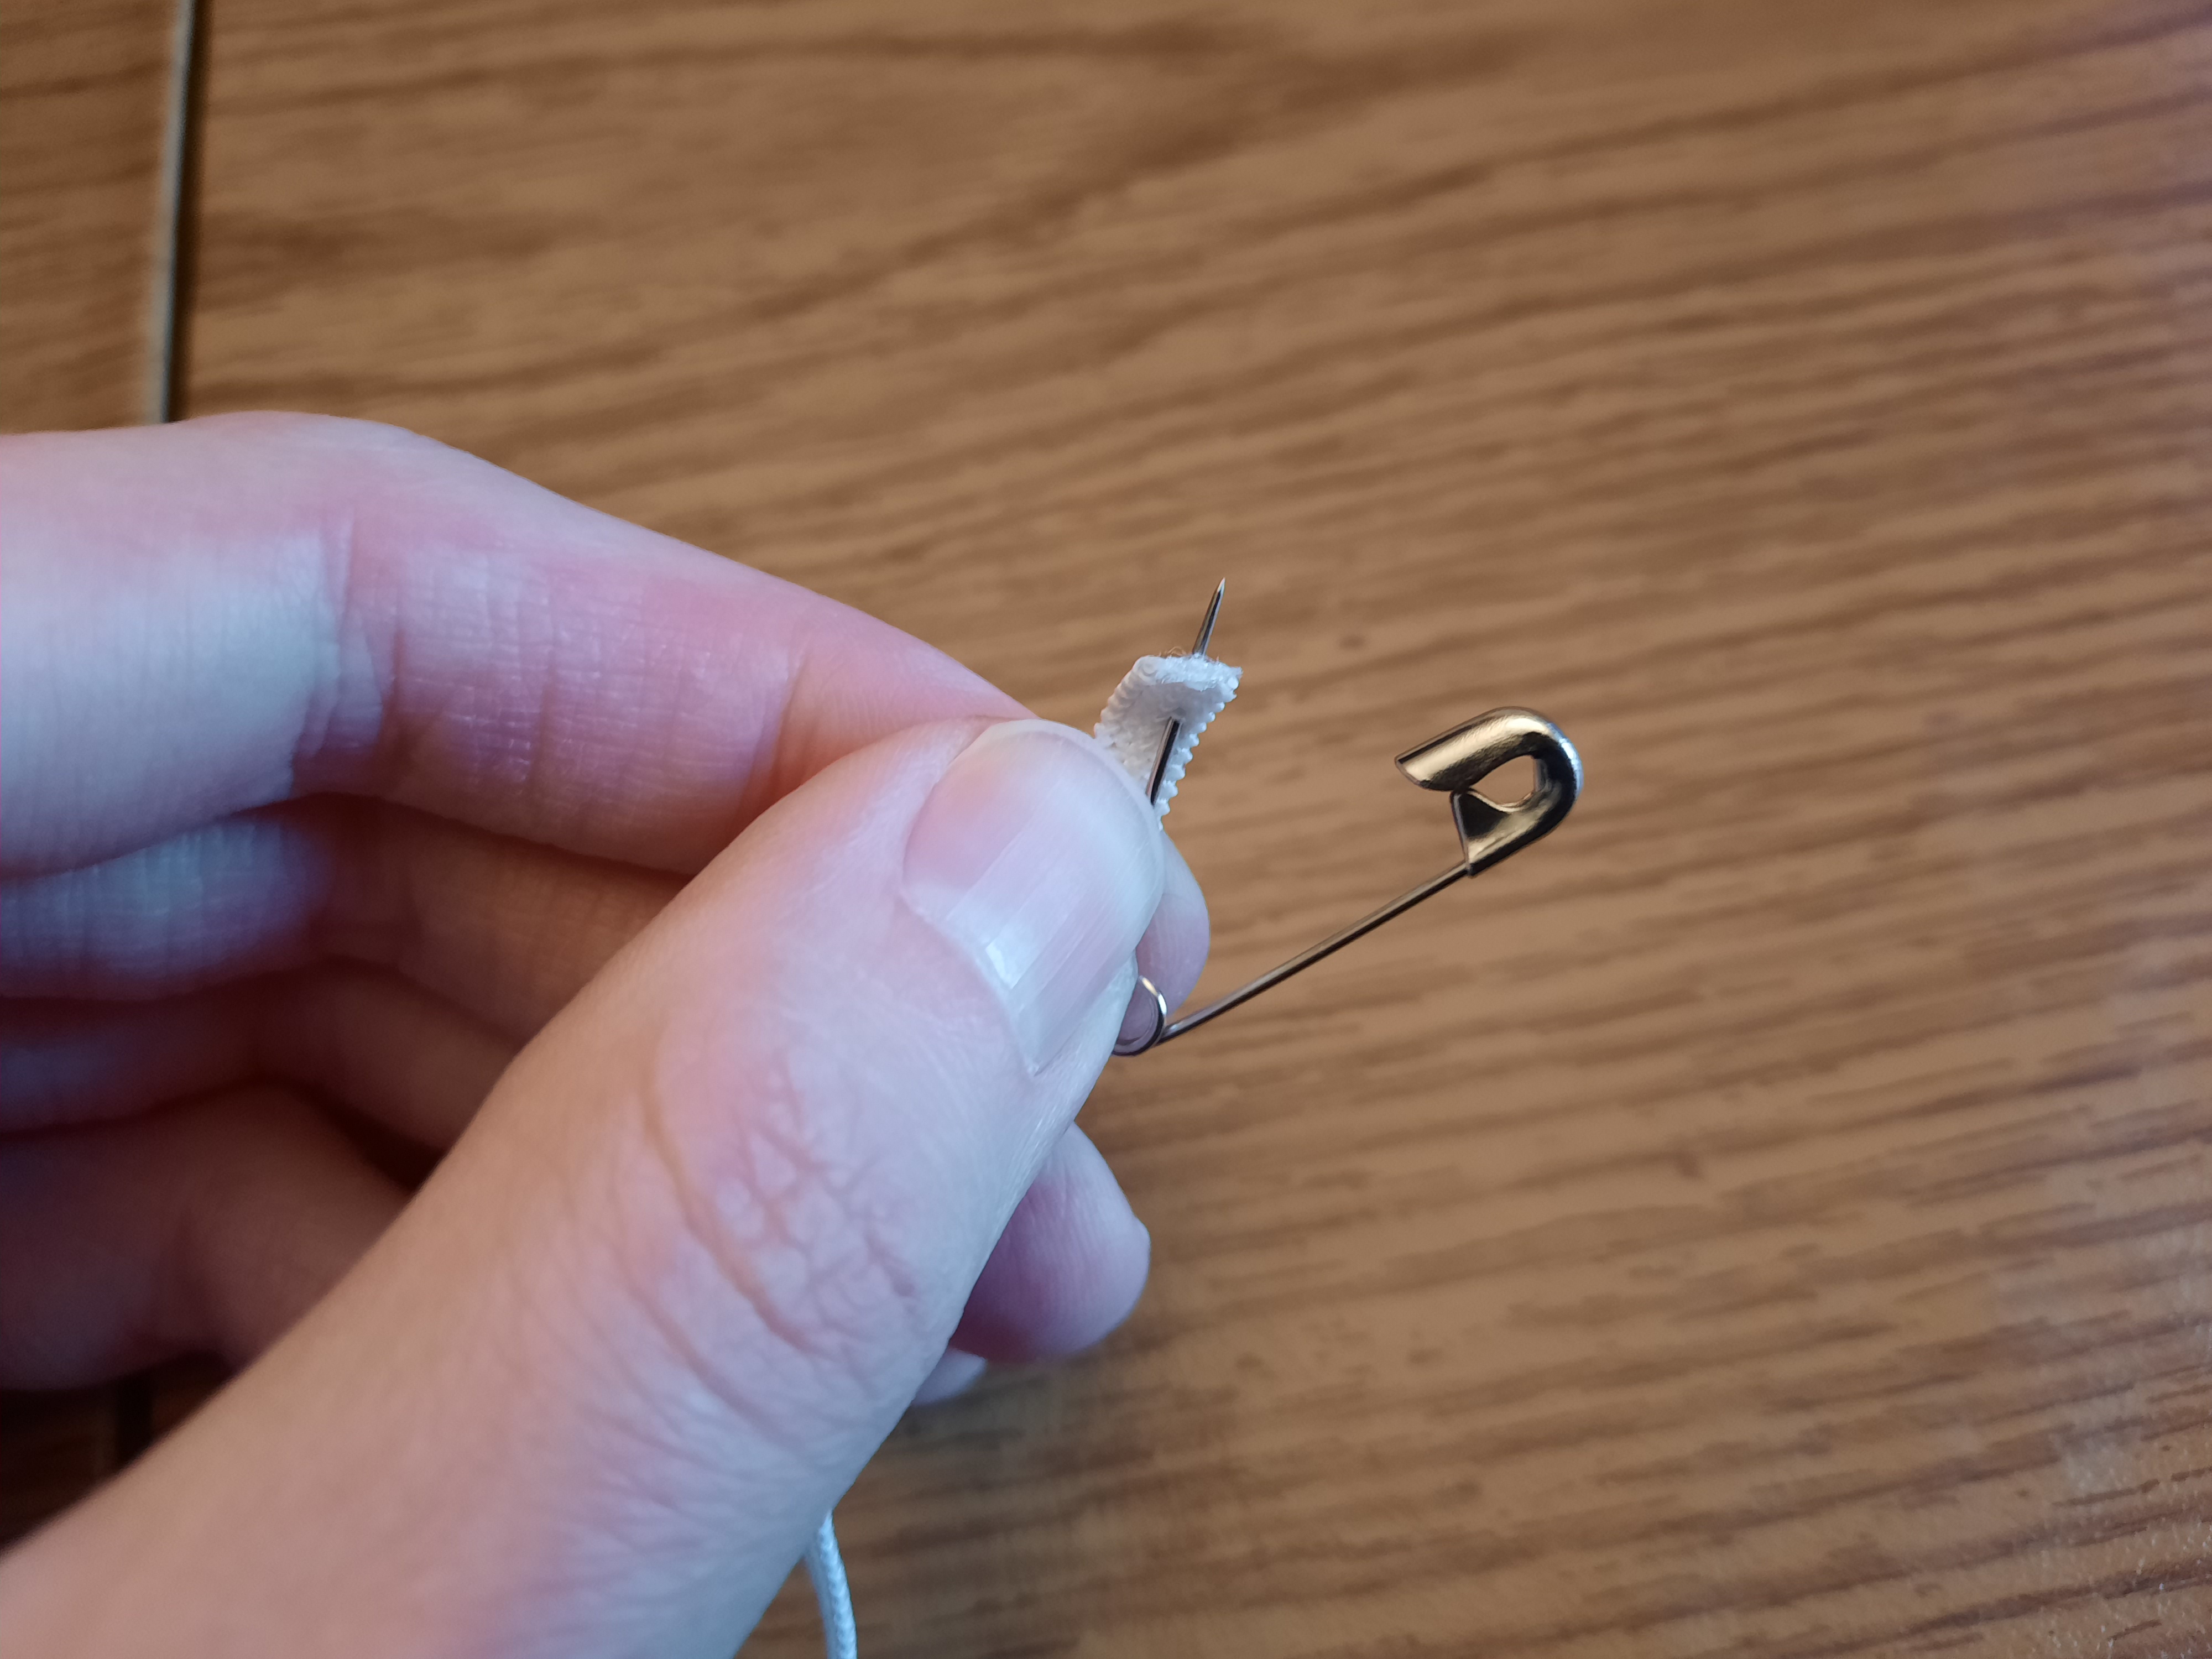
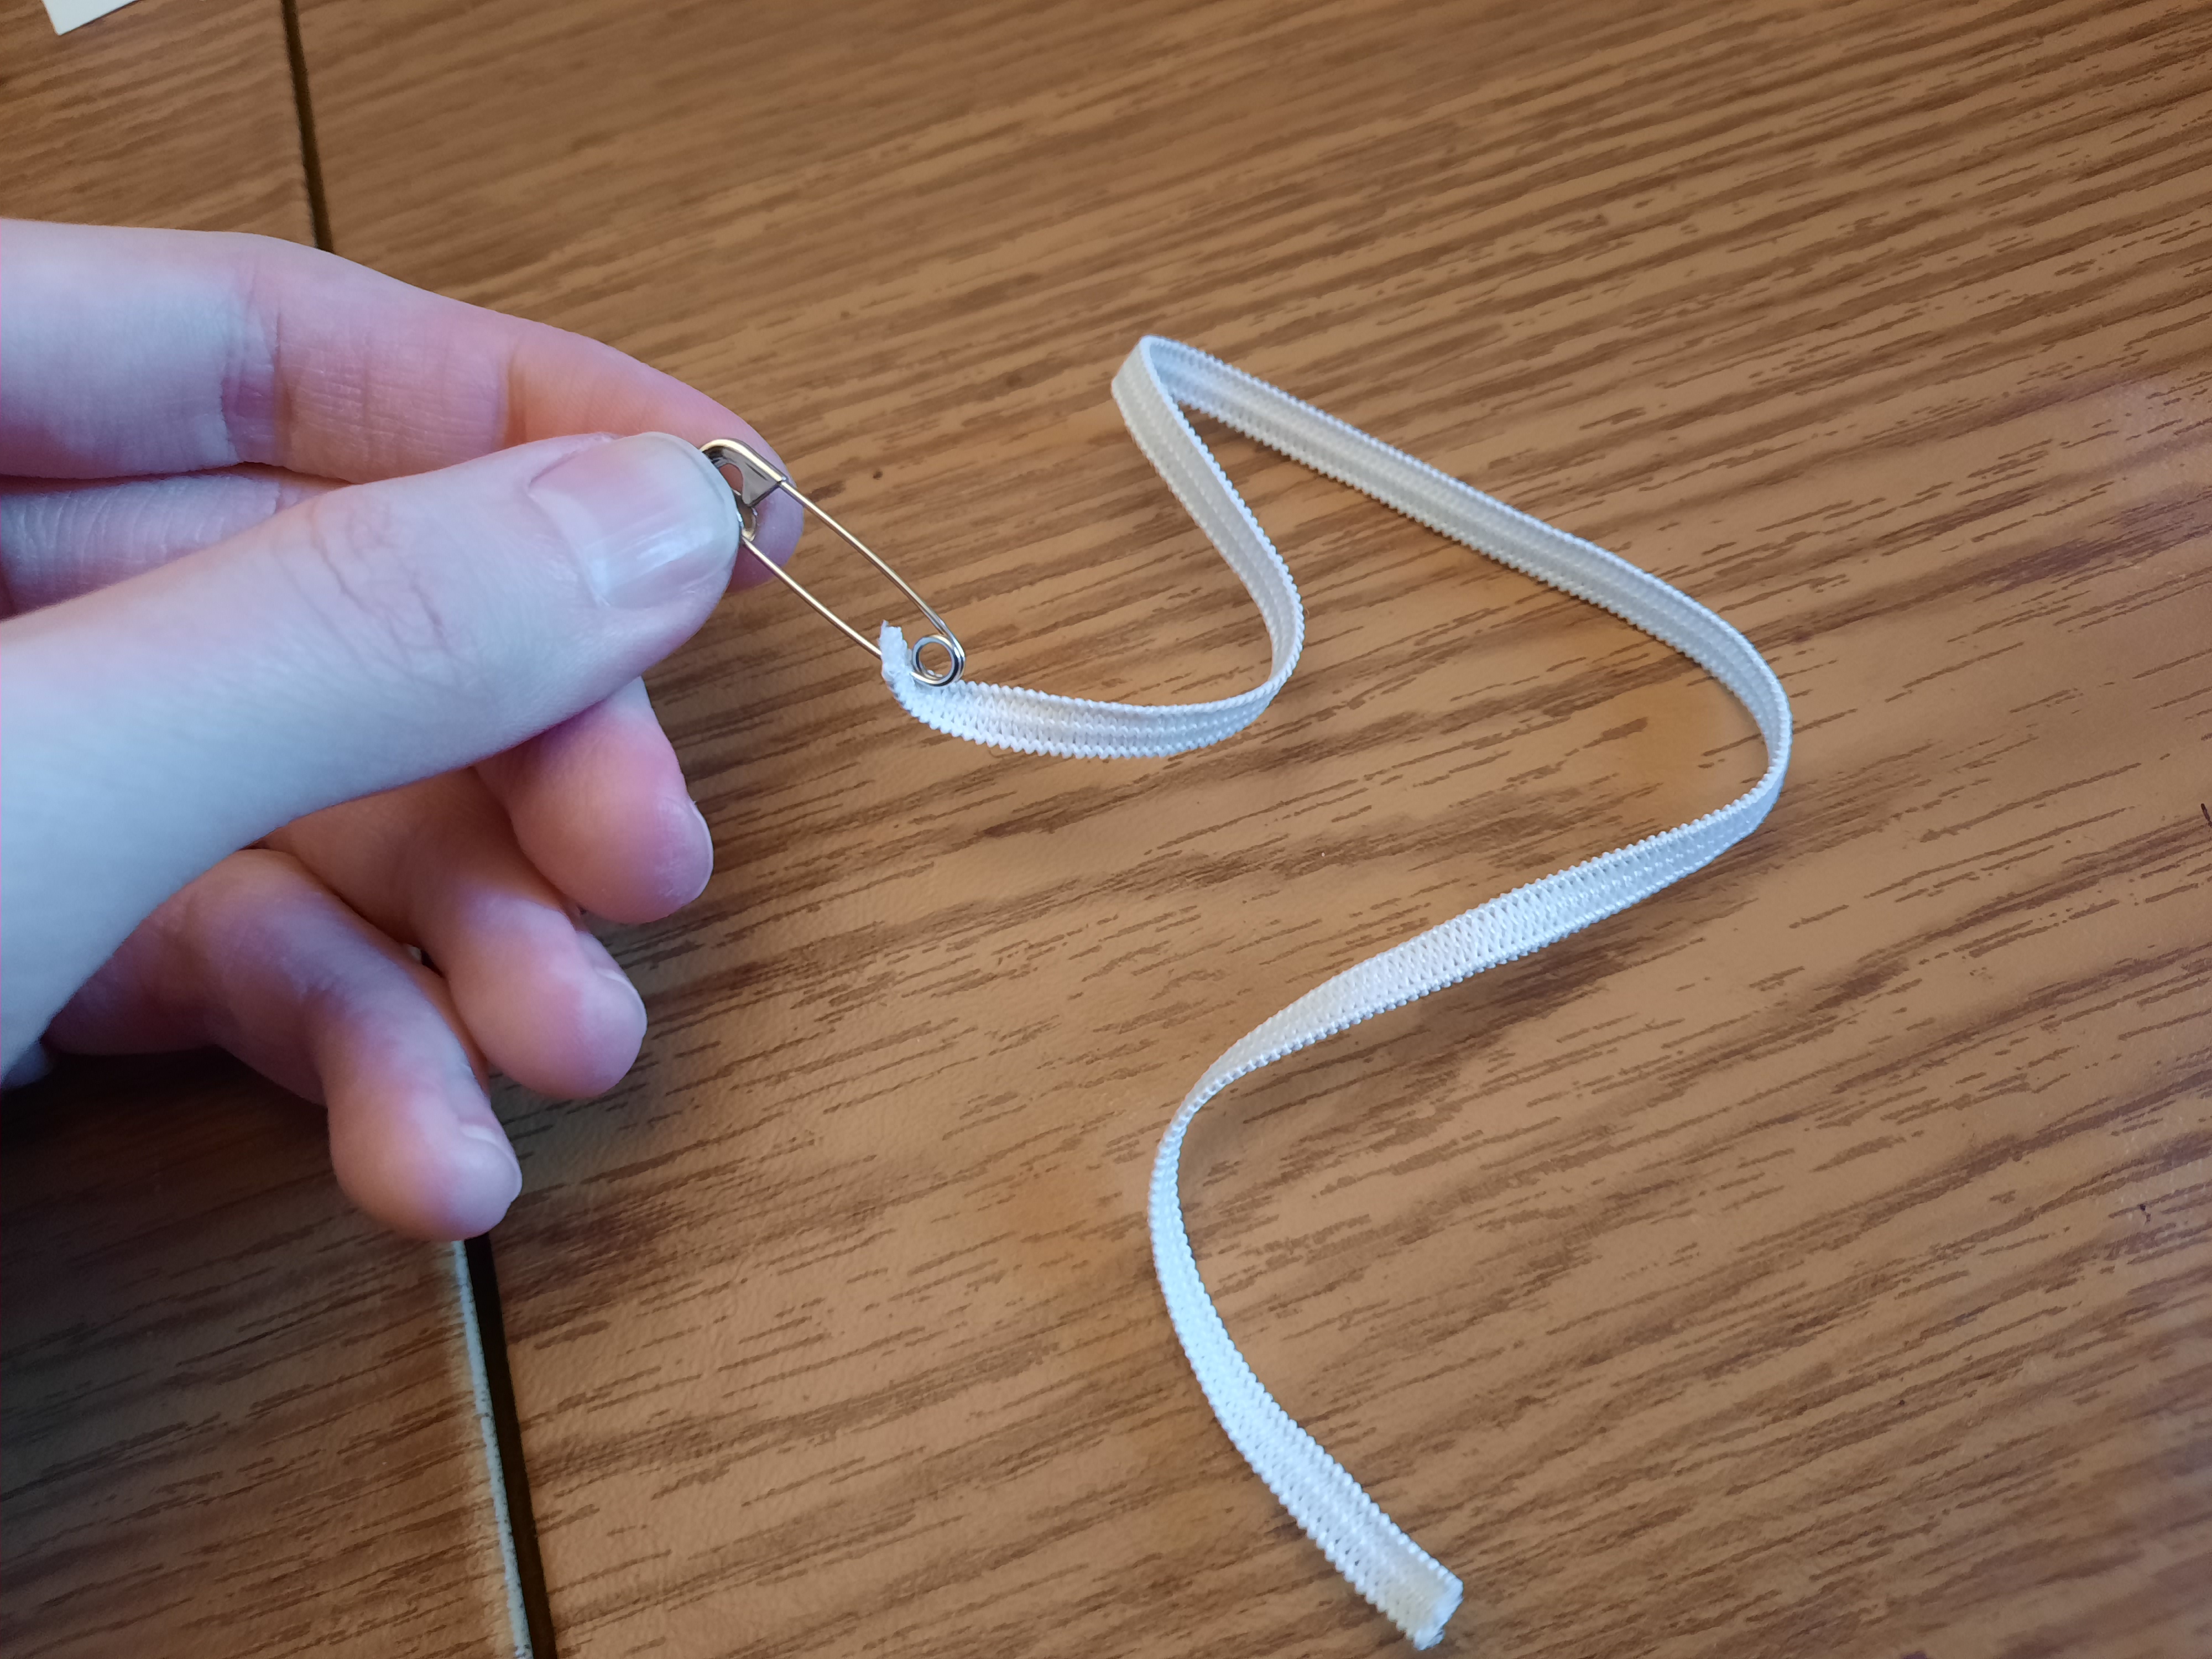
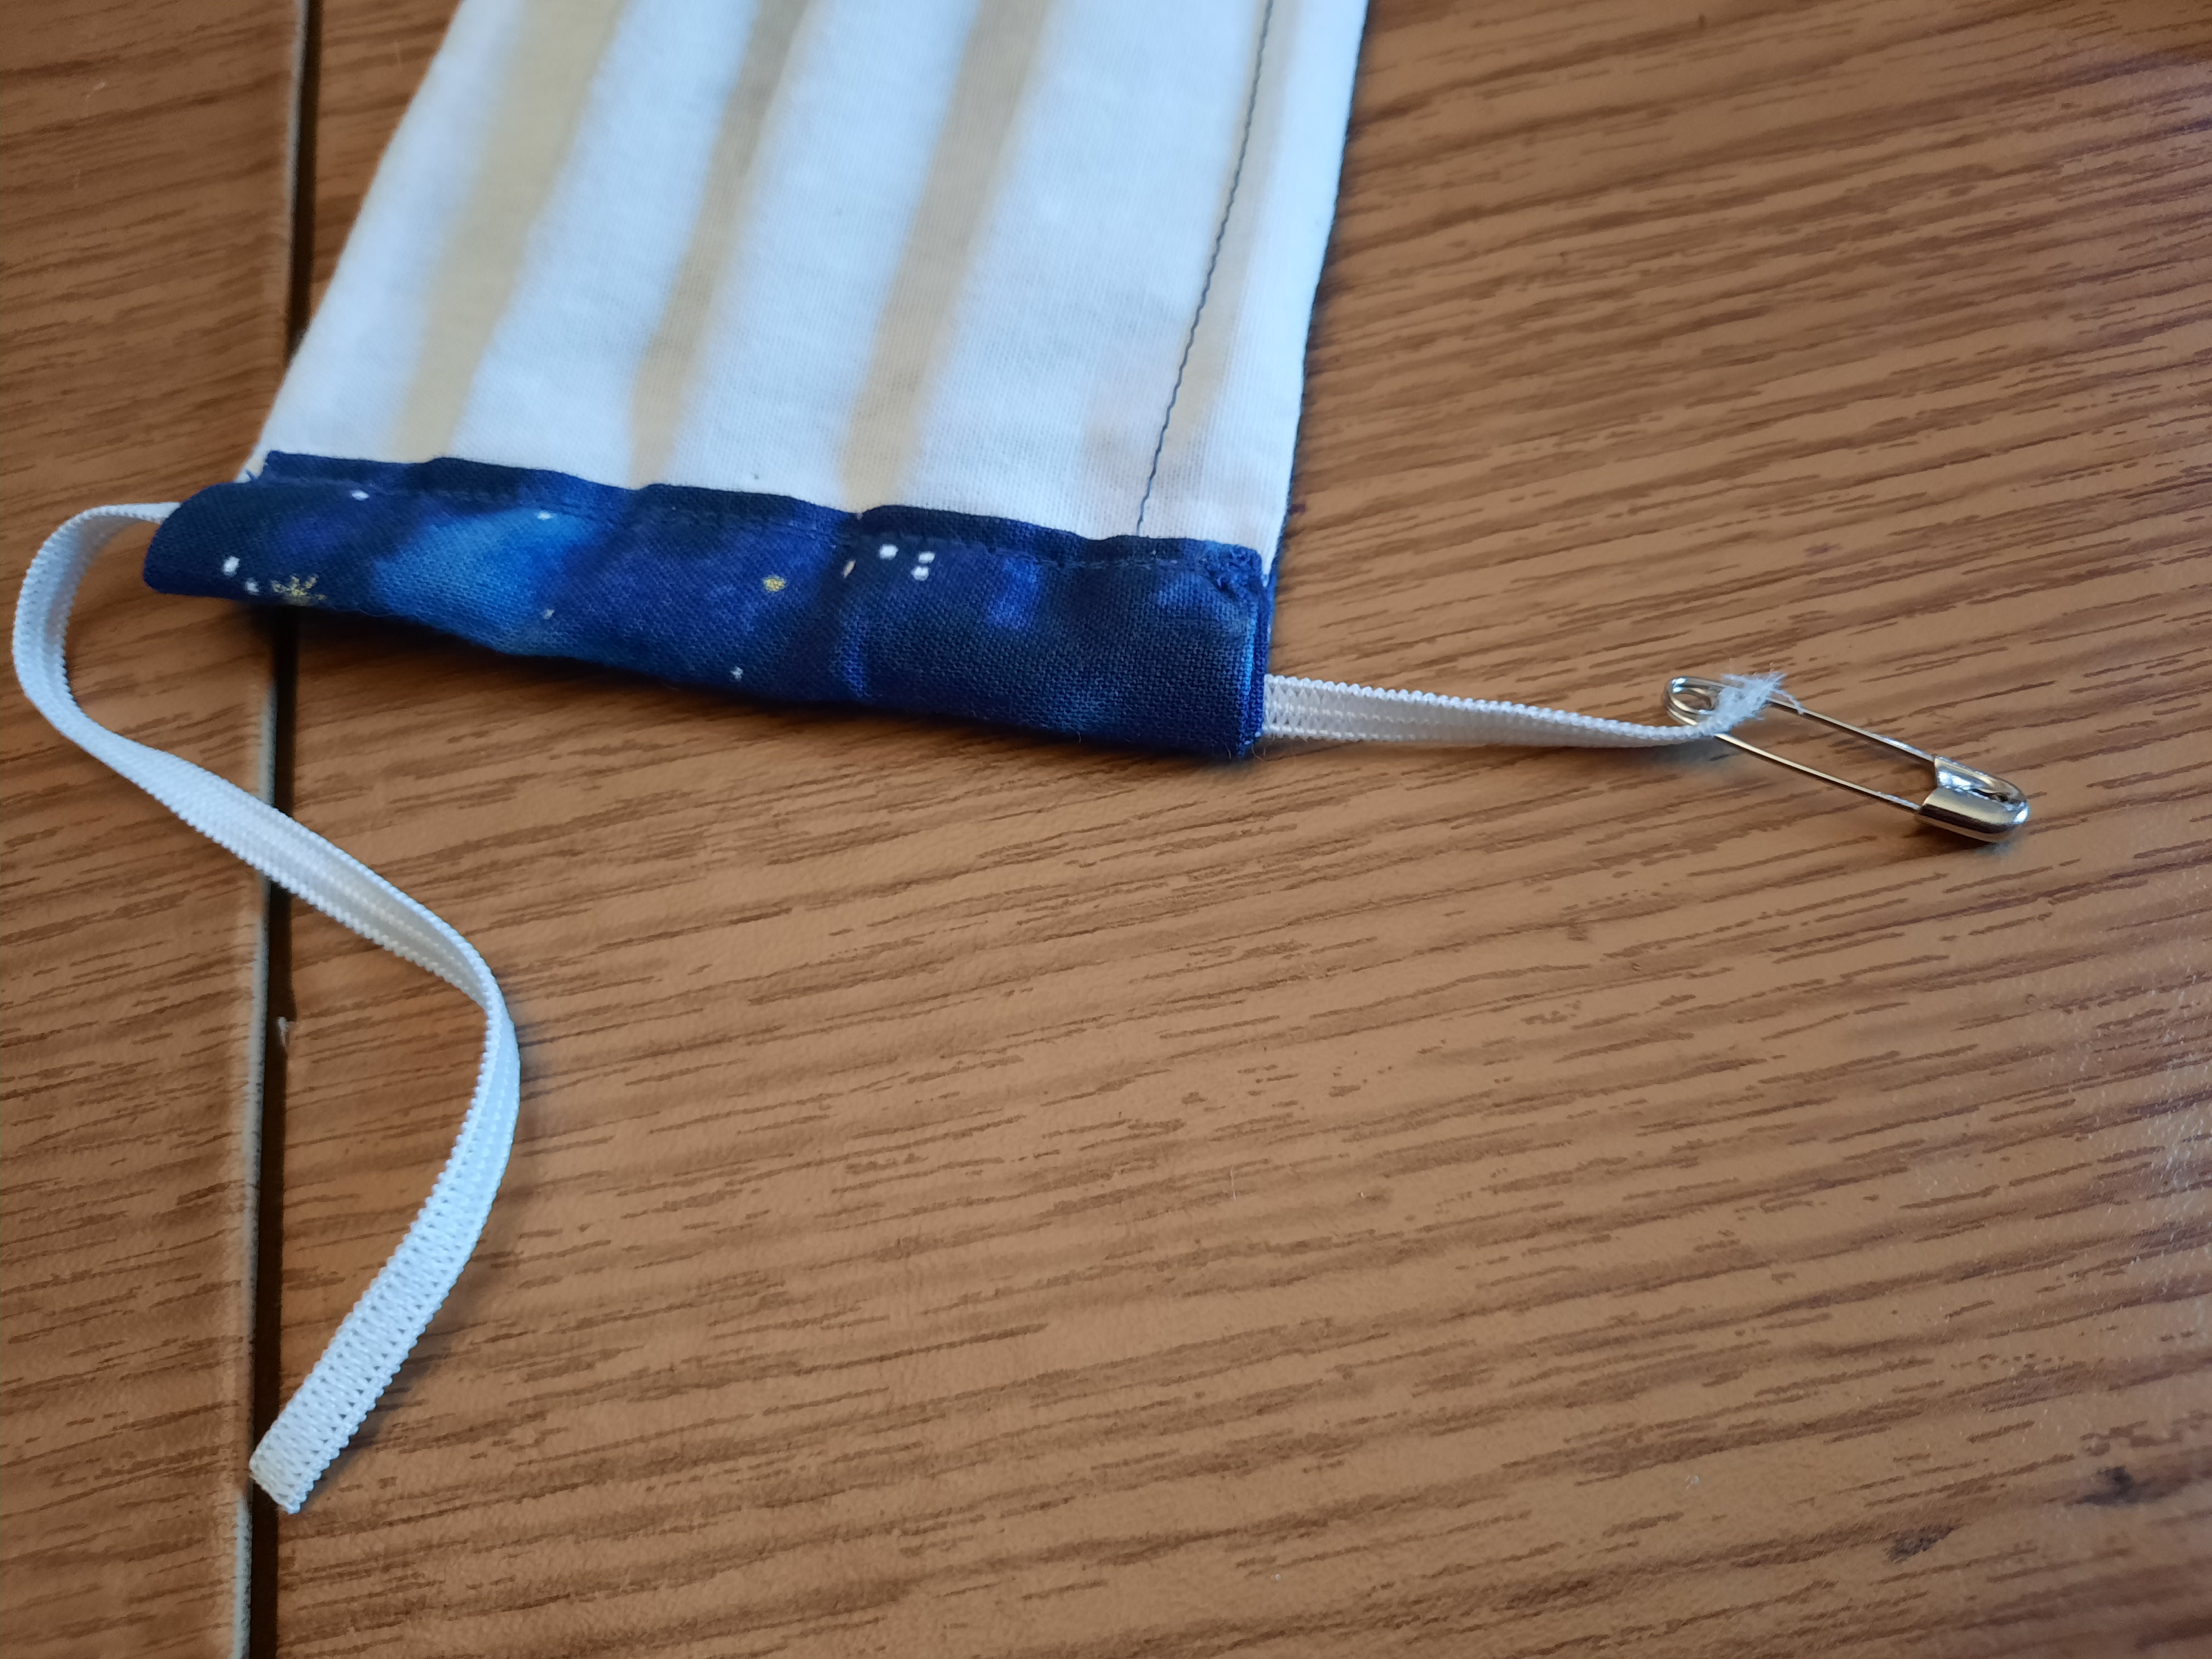
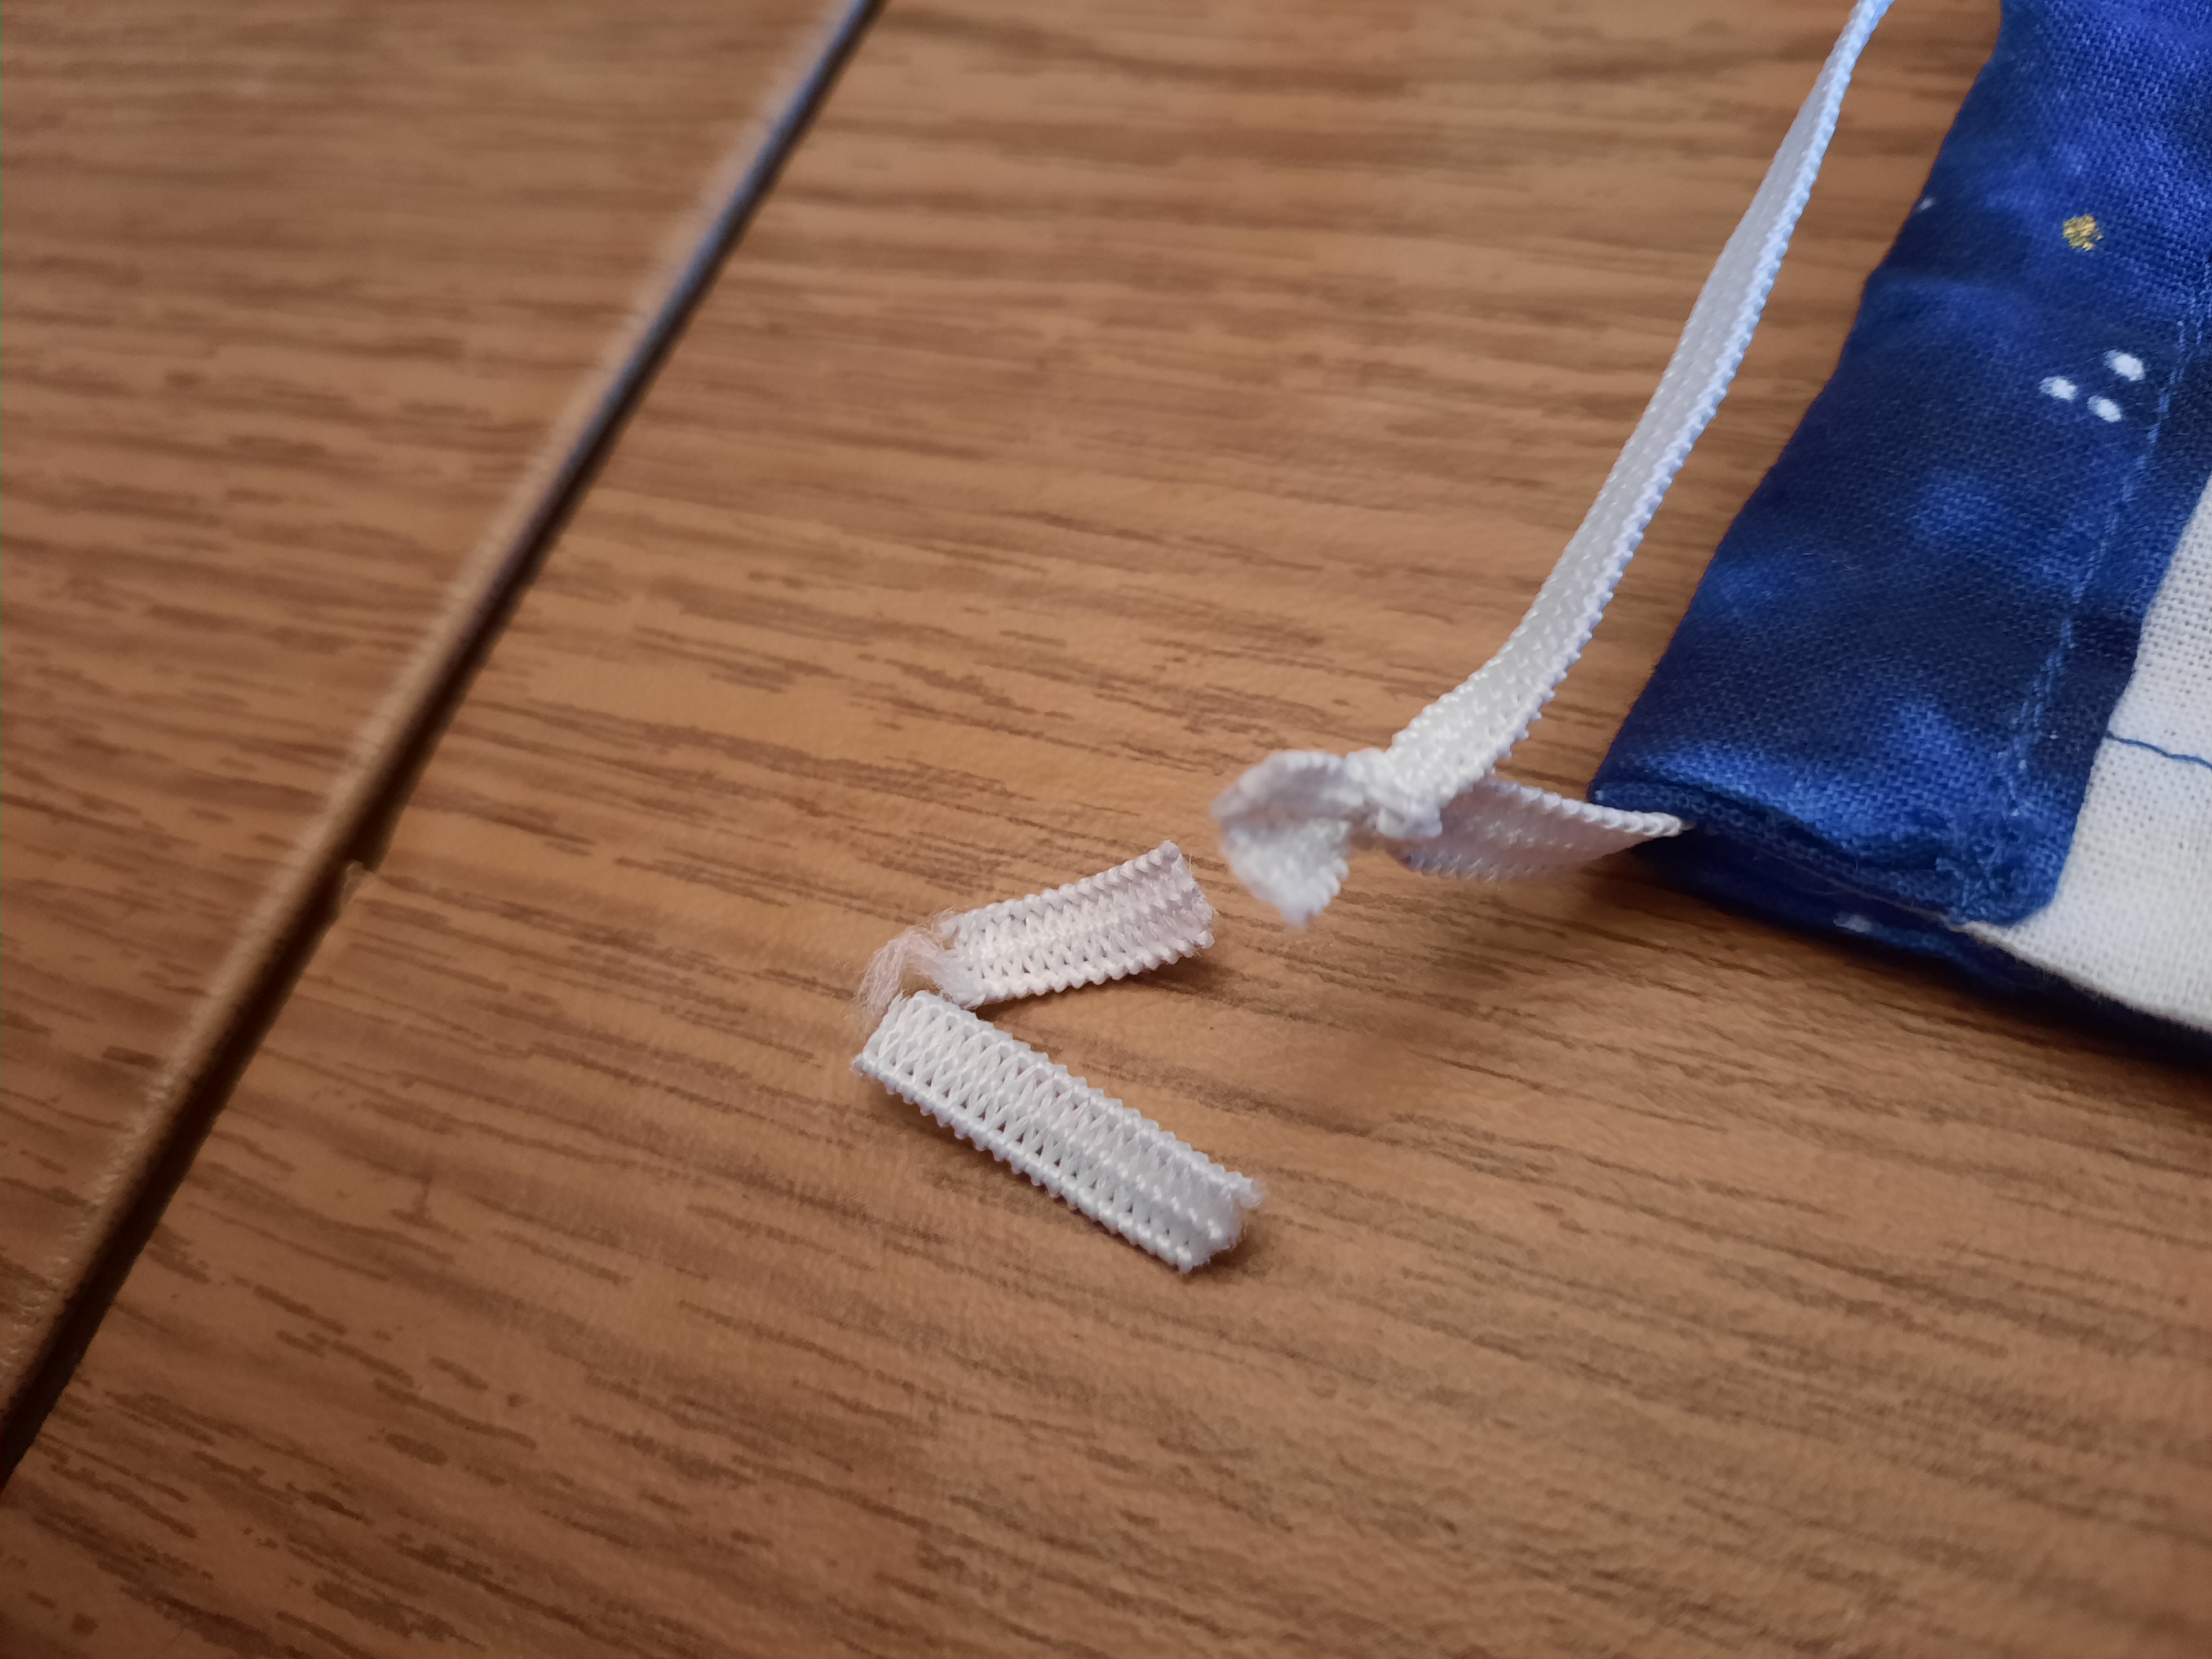
Bring the ends of the elastic together, and tie with a slip knot (see the image below). Cinch the slip knot as tight as you can, while being sure the knot is somewhat close to the ends of the elastic. Trim the ends of the elastic a bit, just so it's not so bulky; too short will risk the knot coming undone. Repeat the entire step for the other side.
Done!
Problems I've run into
Considering that the pattern I followed from Little Stitch Studio was only the second one I'd tried, my first several masks were more experiments than wearable items. Below are some of the problems I've experienced while making these masks, and my strategy for resolving them.
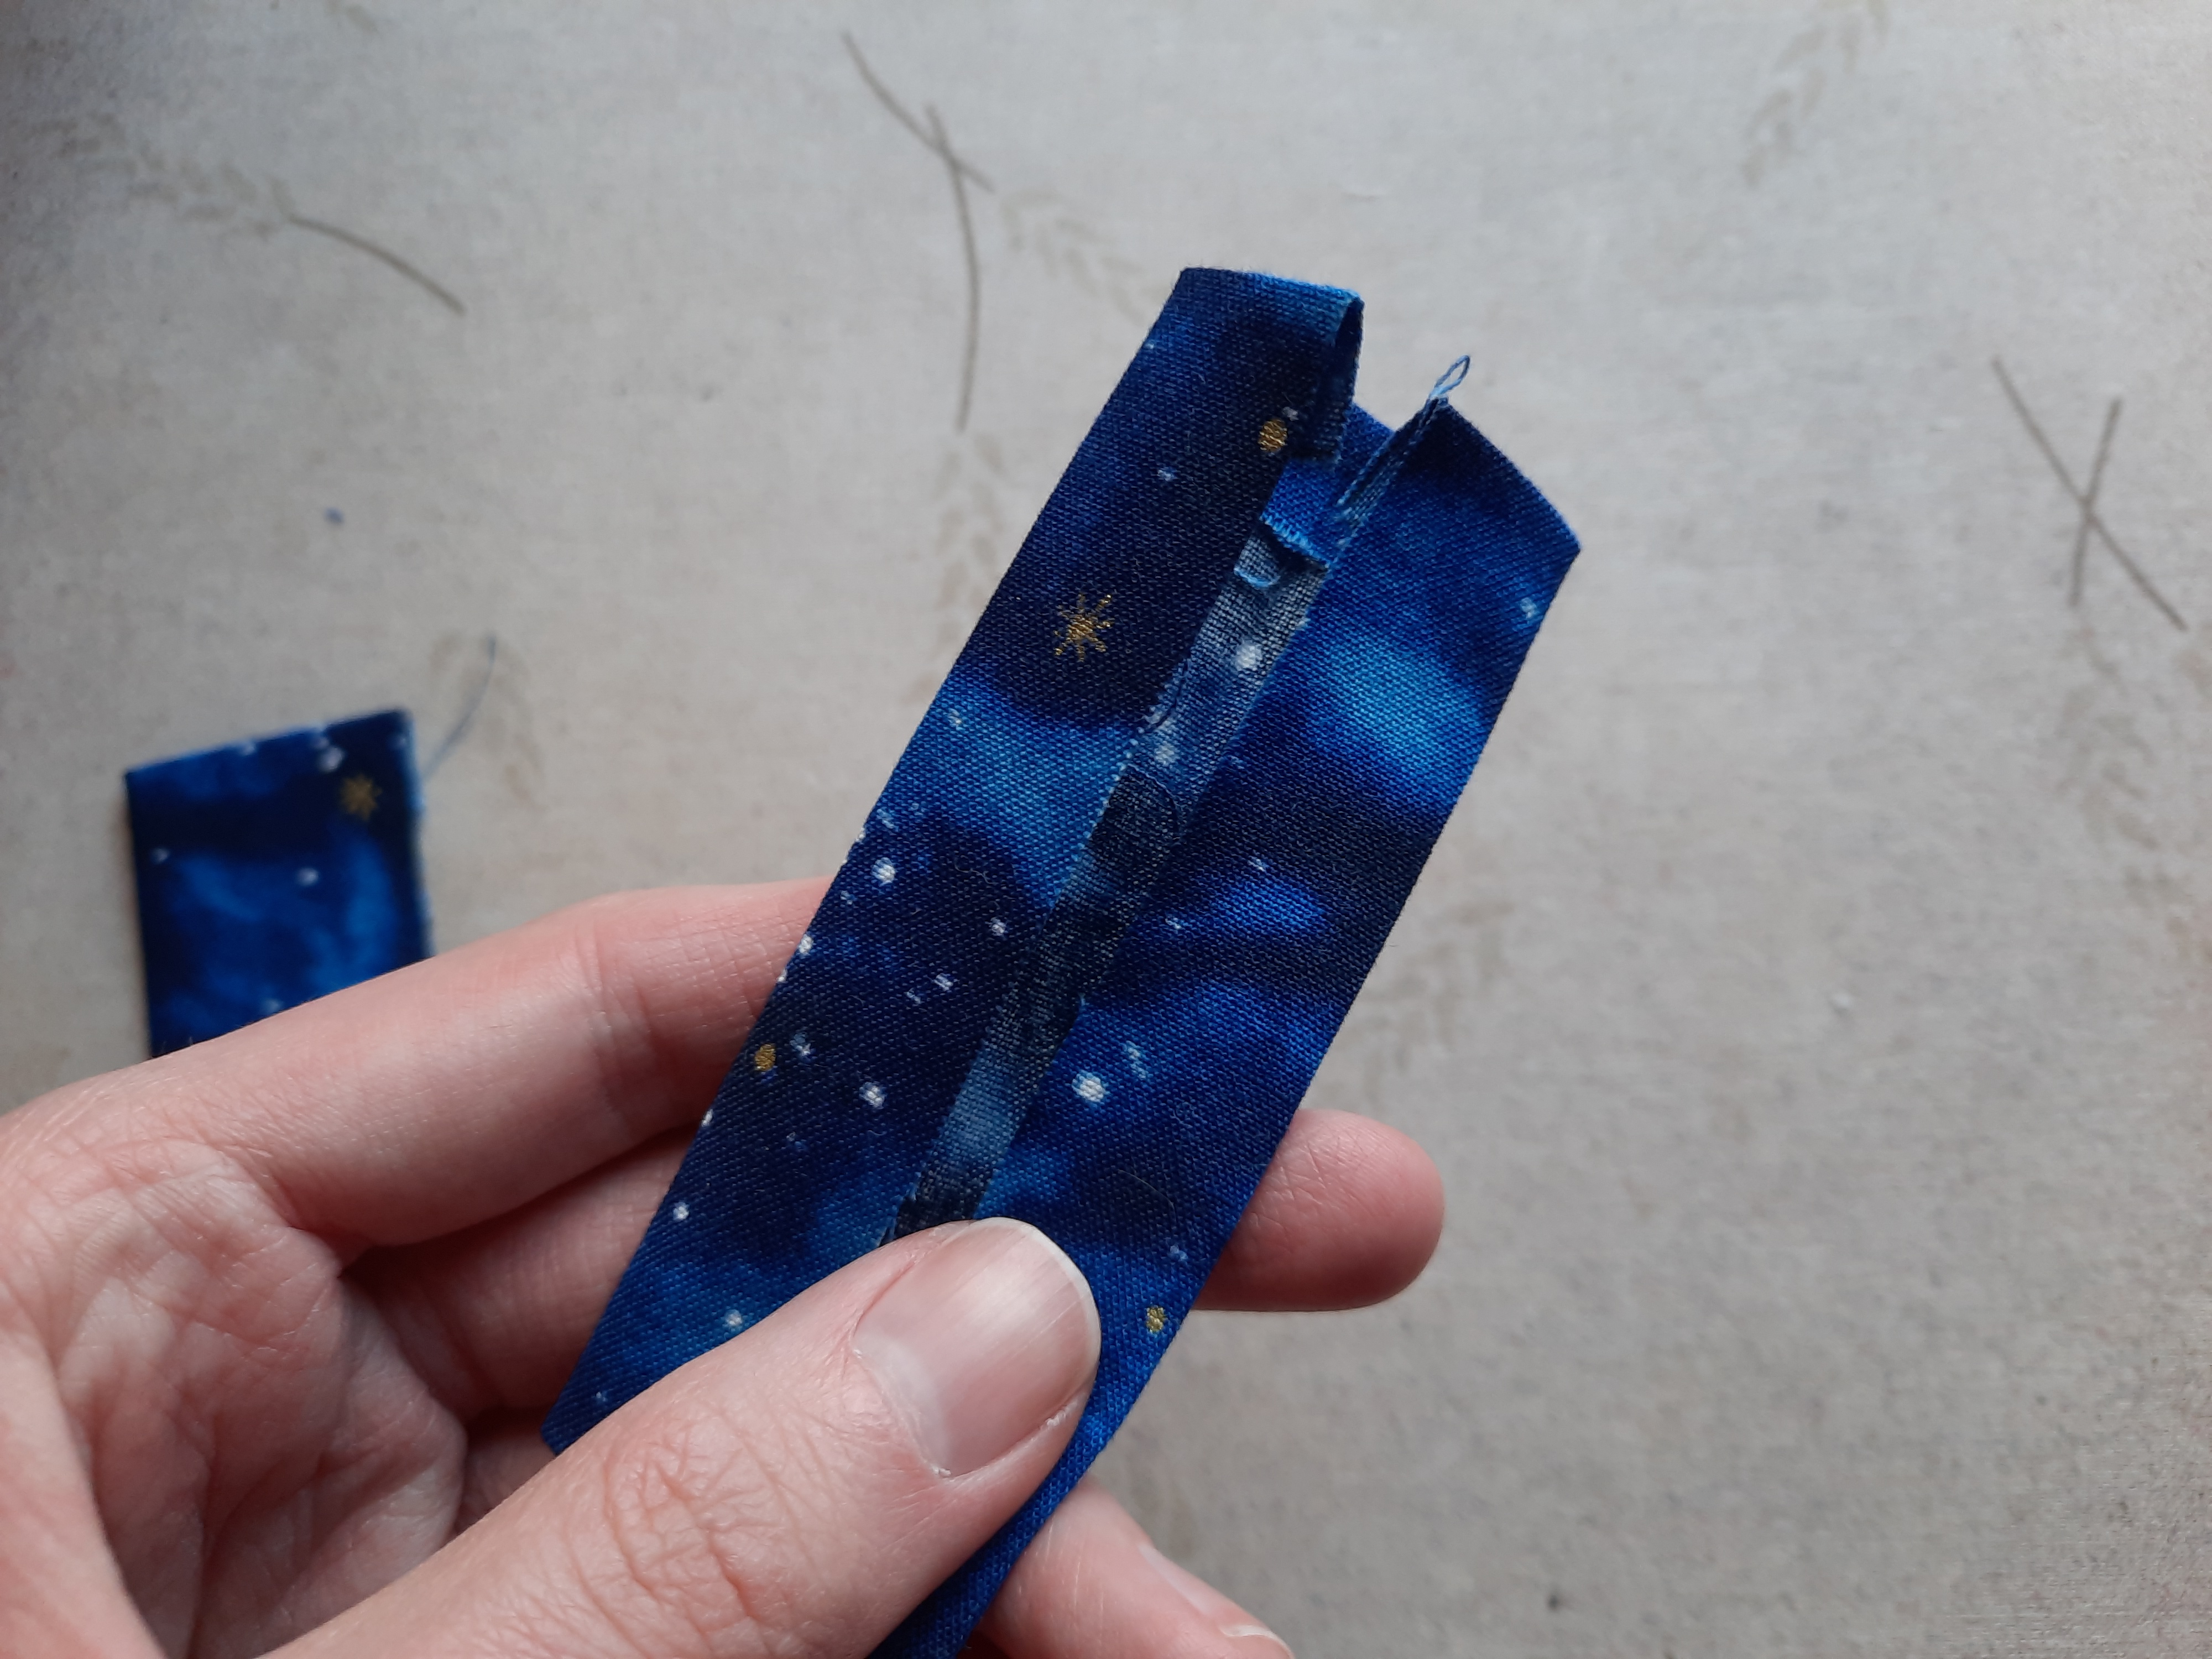
The wire / pipe cleaner poked through.
Make sure that you're folding in the very ends. Another idea, that I have not tried, is taping the ends (after folding in) with masking tape or something similarly bulky. This might cause problems with forming the mask to your nose, which would defeat the purpose. Worth experimenting with I suppose.
I washed my mask and now there's a tear on the top seam.
This usually happens to me when I trim my seam allowance too short. Make sure the stitch has some breathing room.
My sewing machine is really struggling to stitch the bias tape to the mask, it just gets so thick by this point.
I haven't solved this problem yet. My guess is that the fabric I'm using (every fabric I've used so far..???) is very thick, which naturally will cause problems for an improperly sized needle. The solution may be as simple as switching out the needle for a thicker(?) one, but I currently don't have any other needles.